Draw SpongeBob Crying in WC Step-by-Step

Bob is the beloved sponge that lives at the bottom of the sea. A fun, whimsy character that people love coloring and drawing. Are you a fan? If not, this free step-by-step guide will surely change your mind! So grab your drawing tools, and let’s start drawing!
SpongeBob Square Pants, a beloved character from the hit cartoon show of the same name, has captured the hearts of all ages over the past few decades.
Through his optimistic and enthusiastic personality, SpongeBob has taught kids essential values such as perseverance, determination, one's work, and loyalty to friends. This is why he has a massive fan base worldwide and why people often turn to online guides to learn how to draw their favorite characters.
Struggling on the toilet is one of the most relatable struggles people face, and SpongeBob is no exception. Drawing SpongeBob crying on the toilet can not only be a fun exercise in creativity, but it can also be a conversation starter. This conversation can help promote empathy and understanding for those who may be struggling with similar issues.
Many kids and adults may feel embarrassed or ashamed about struggling with this issue. By depicting a popular character like SpongeBob experiencing the same struggle it helps to normalize the experience and make those going through it feel like they aren't alone. In this blog, we have compiled a step-by-step guide on how to draw SpongeBob crying while sitting on the toilet. This drawing captures the humor and relatability of this common struggle while providing a fun and lighthearted way to express it.
This guide offers a delightful way to engage further with the character, providing an opportunity to color SpongeBob in a unique and creative way.
So, let's start drawing.
Step 1 – Draw the Basic Shape of SpongeBob's Body
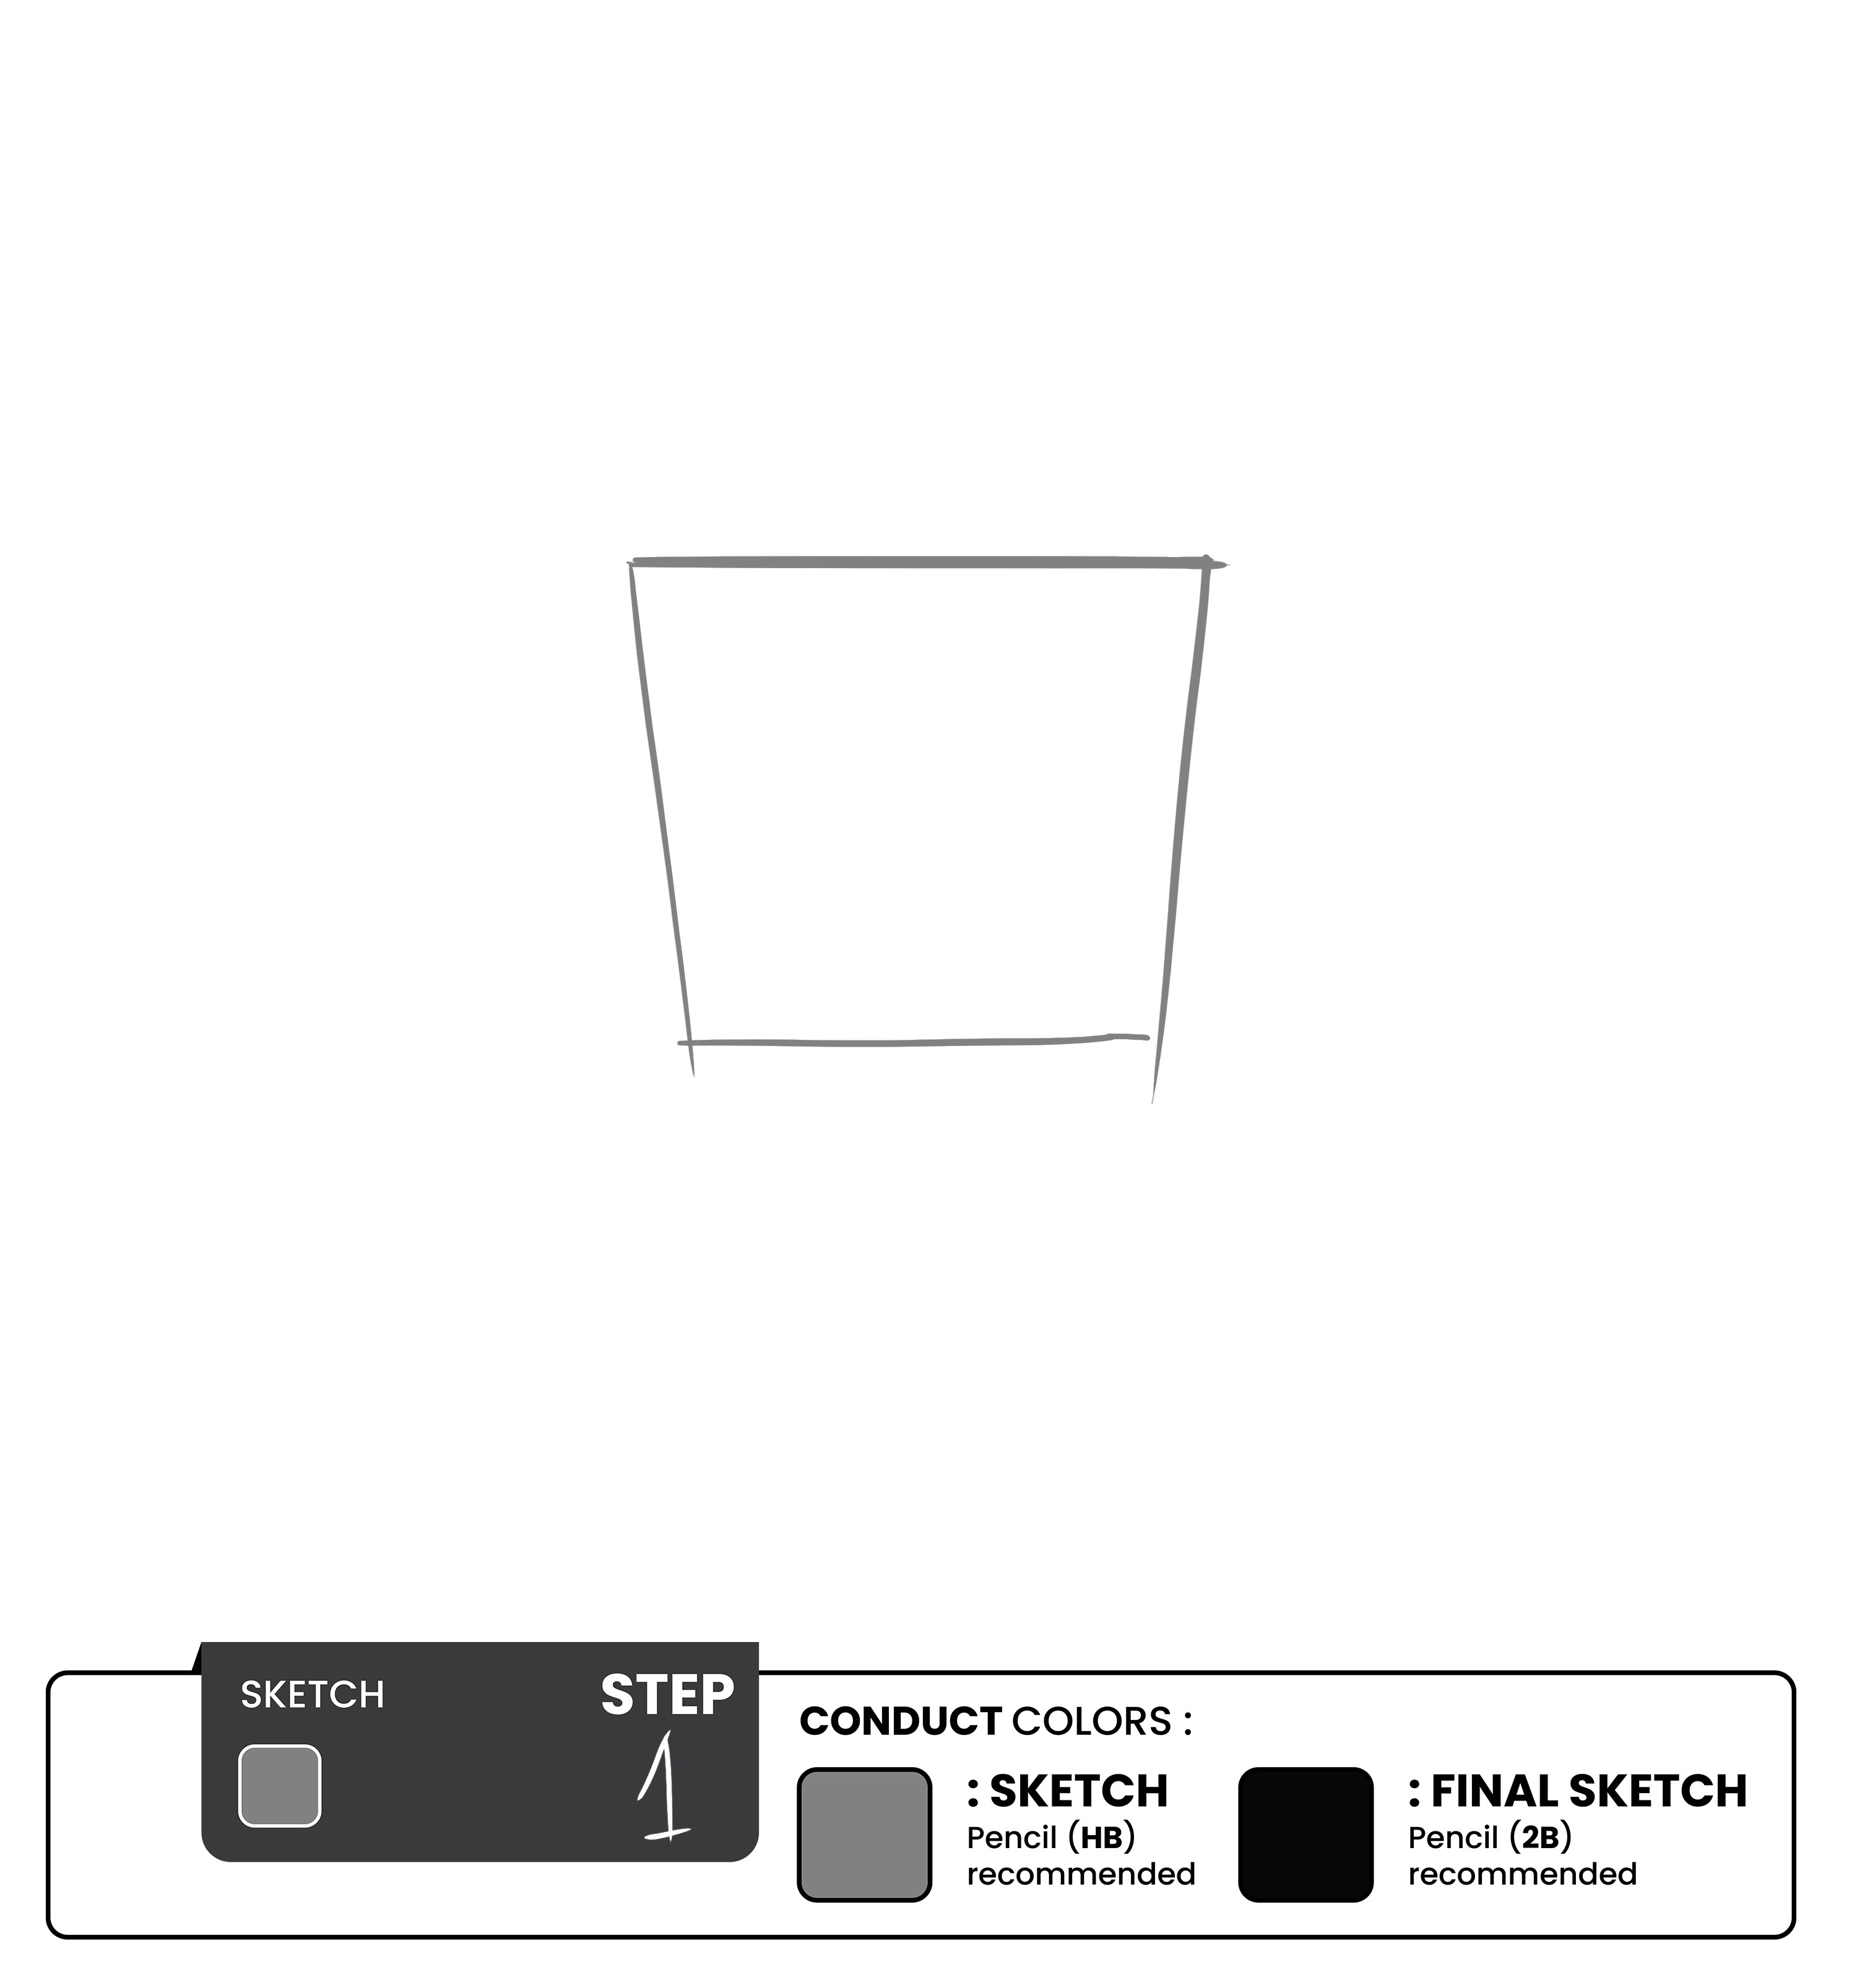
Start with drawing a square with slanting sidelines for the basic shape of the head of the SpongeBob Square pants. Use a light pencil to sketch the square with slanting sidelines. This will make it easier to make adjustments to the shape if needed.
Once you are satisfied with the size and shape of the square, you can darken the lines.
It is essential to understand that the square is wider from the top and narrower at the bottom. This serves as a guideline for the rest of the drawing, so make sure this is according to the character size you want.
Step 2 – Add a Rectangle
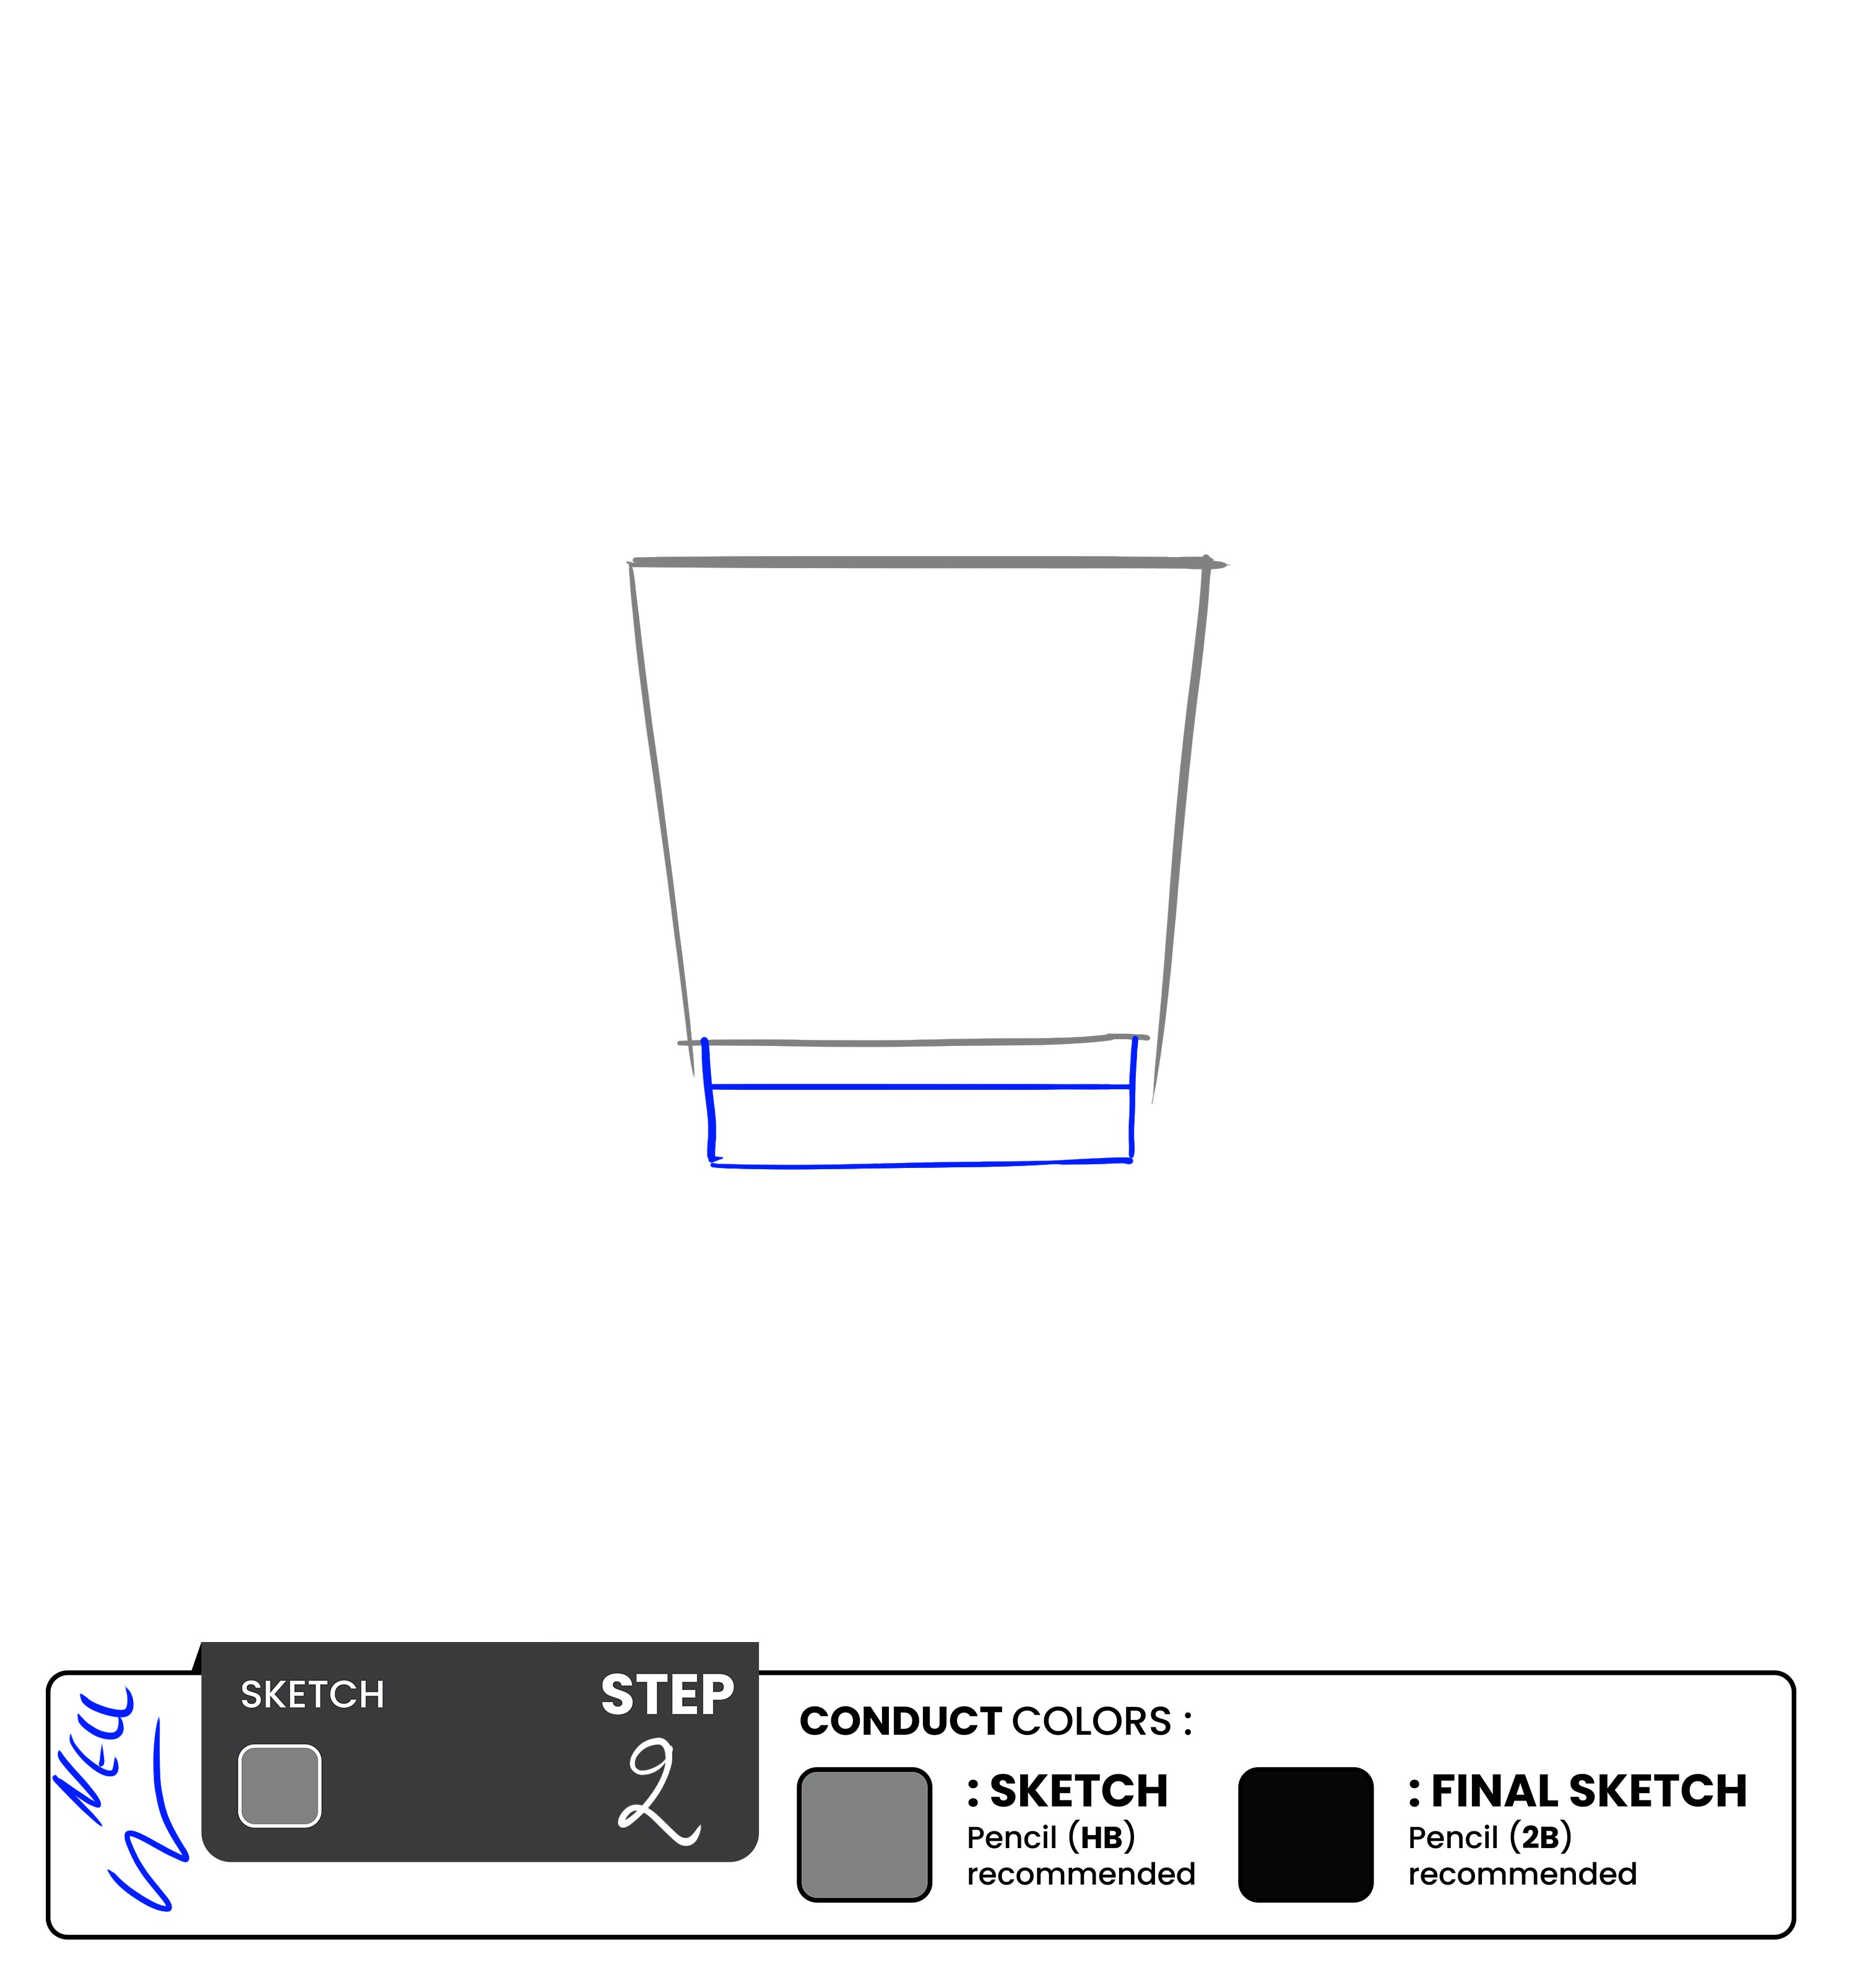
After you are done with the shape of the head, use light sketching to draw the rectangle for SpongeBob's body as well. This will allow you to adjust the shape and size before committing to a darker outline.
Keep proportions in mind when drawing the rectangle for SpongeBob's body. Ensure the width is slightly smaller than the narrower end of the head. This will help maintain the correct proportions and make SpongeBob look more recognizable.
Step 3 - Draw the Eyes
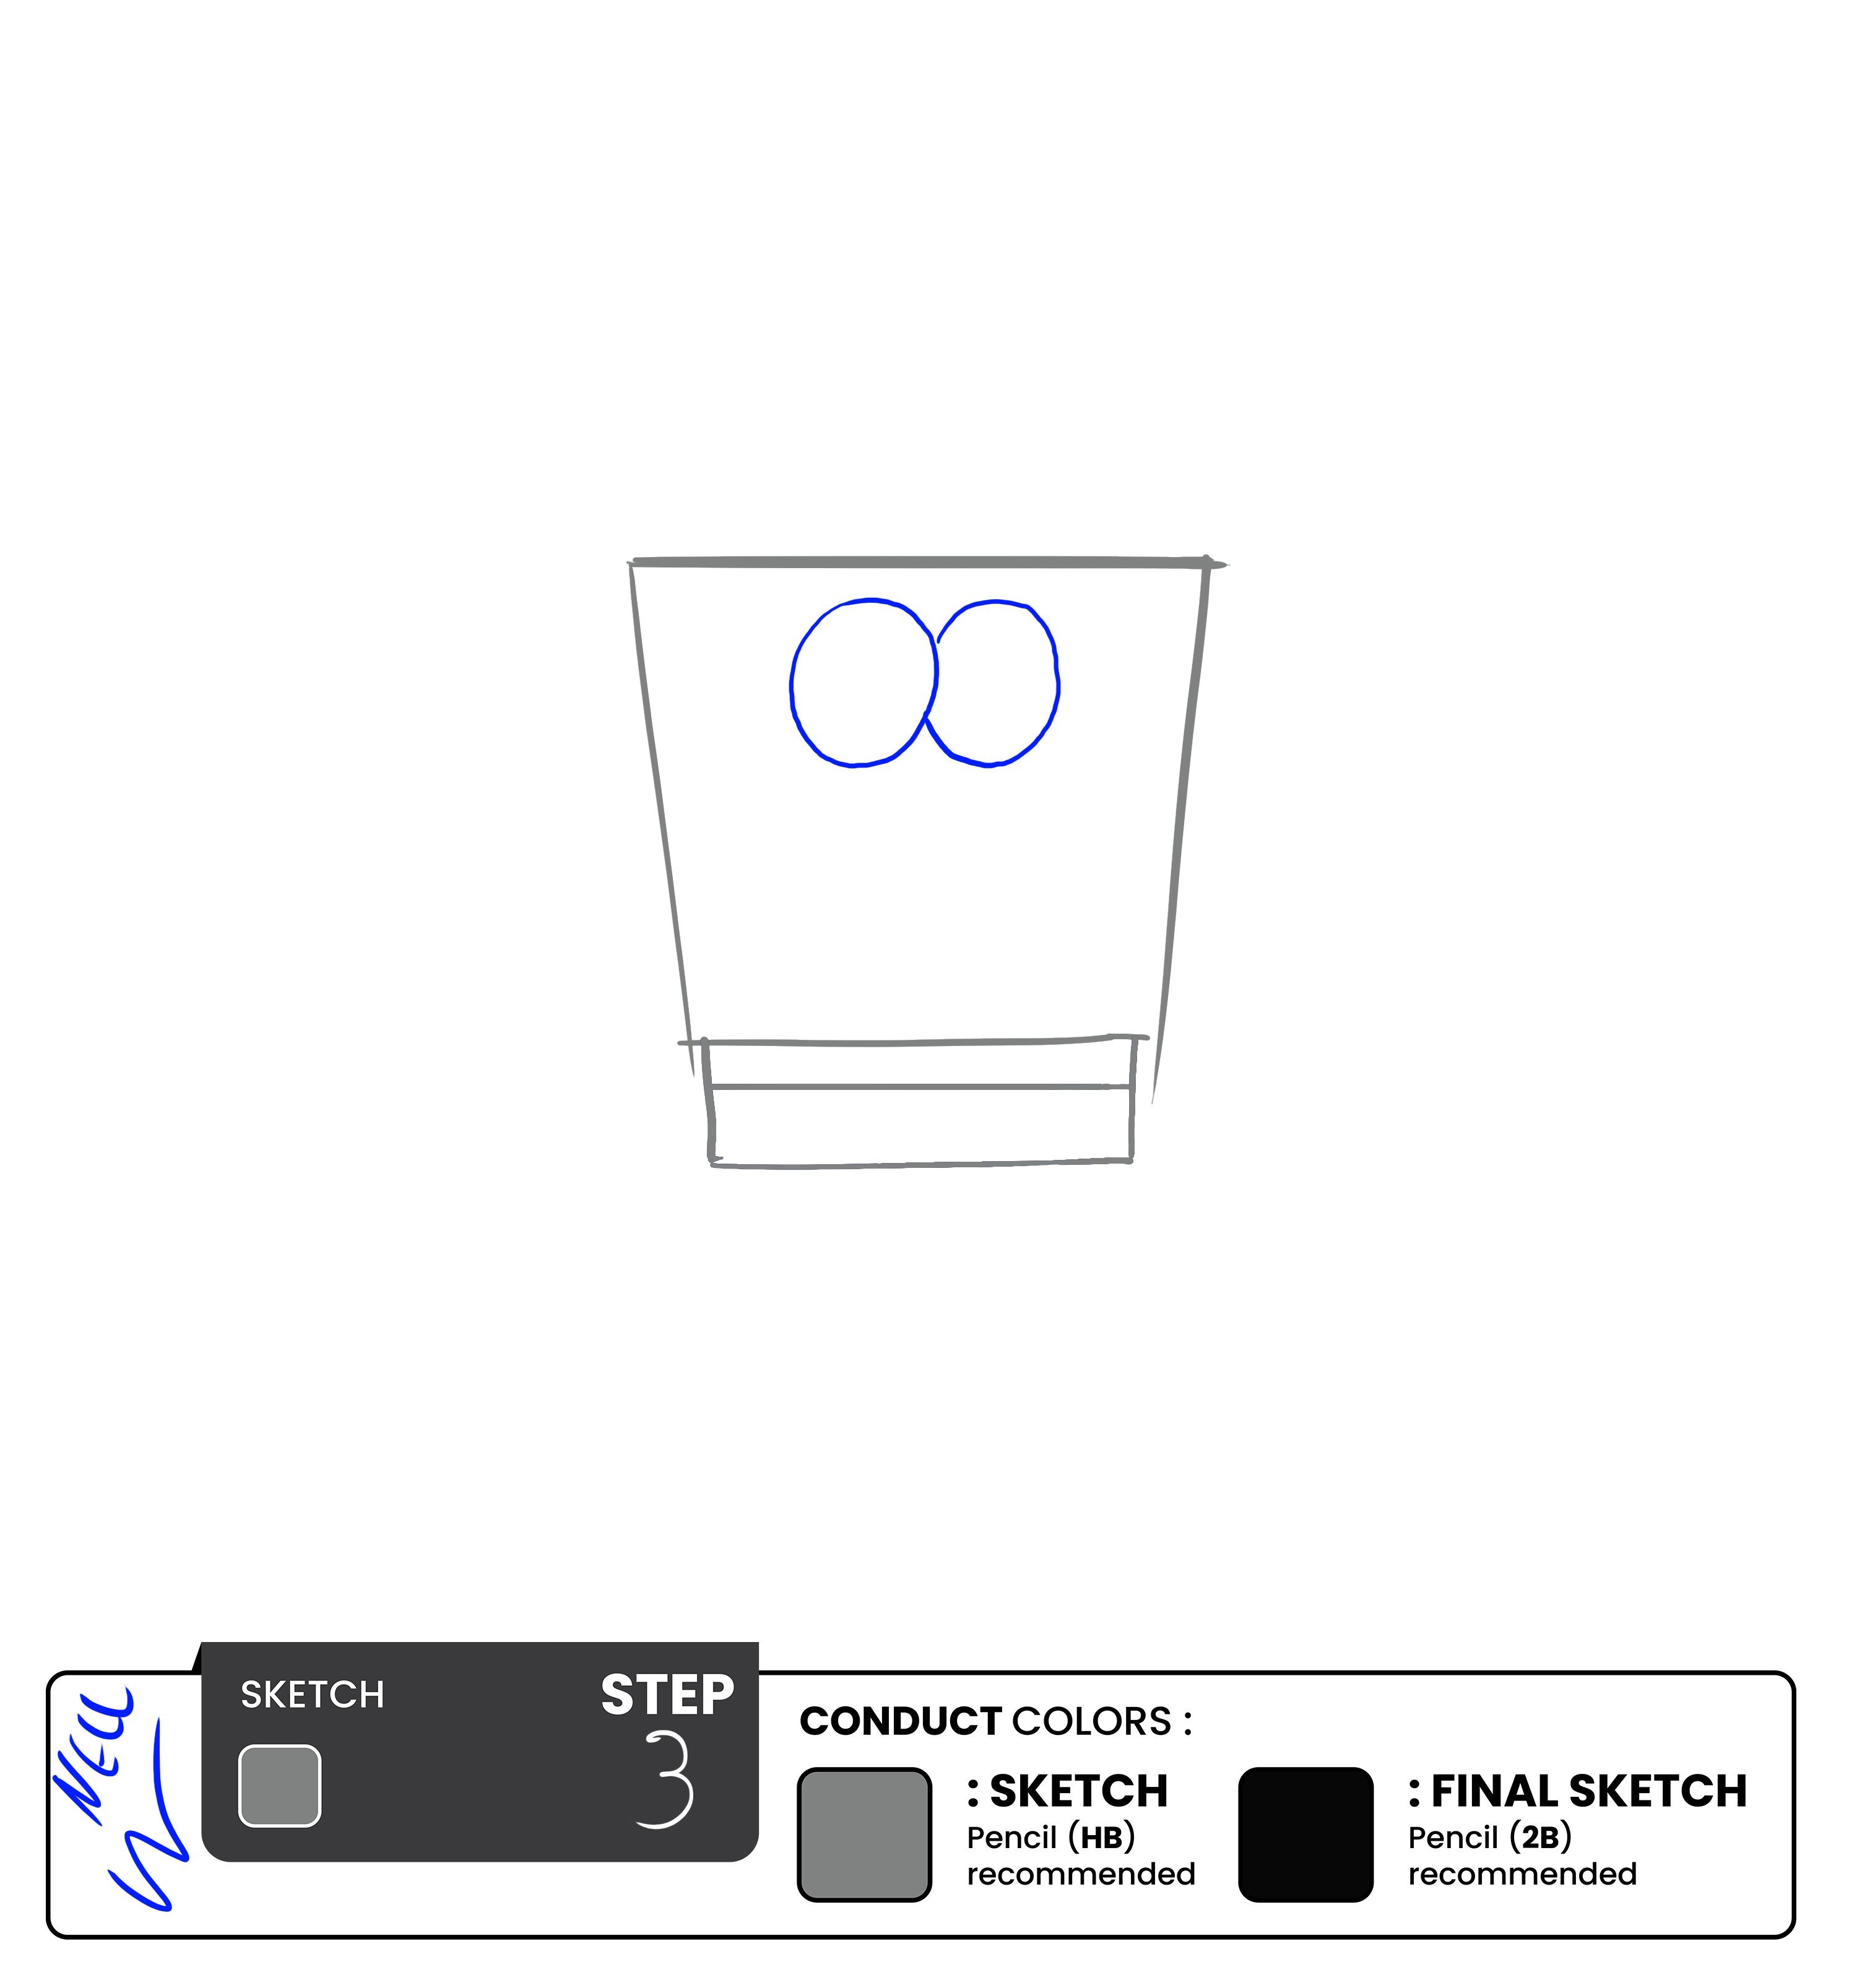
For the eyes, you need to draw two circles, slightly intertwined and positioned in the upper middle part of the head.
Step 4 - Sketch the Mouth
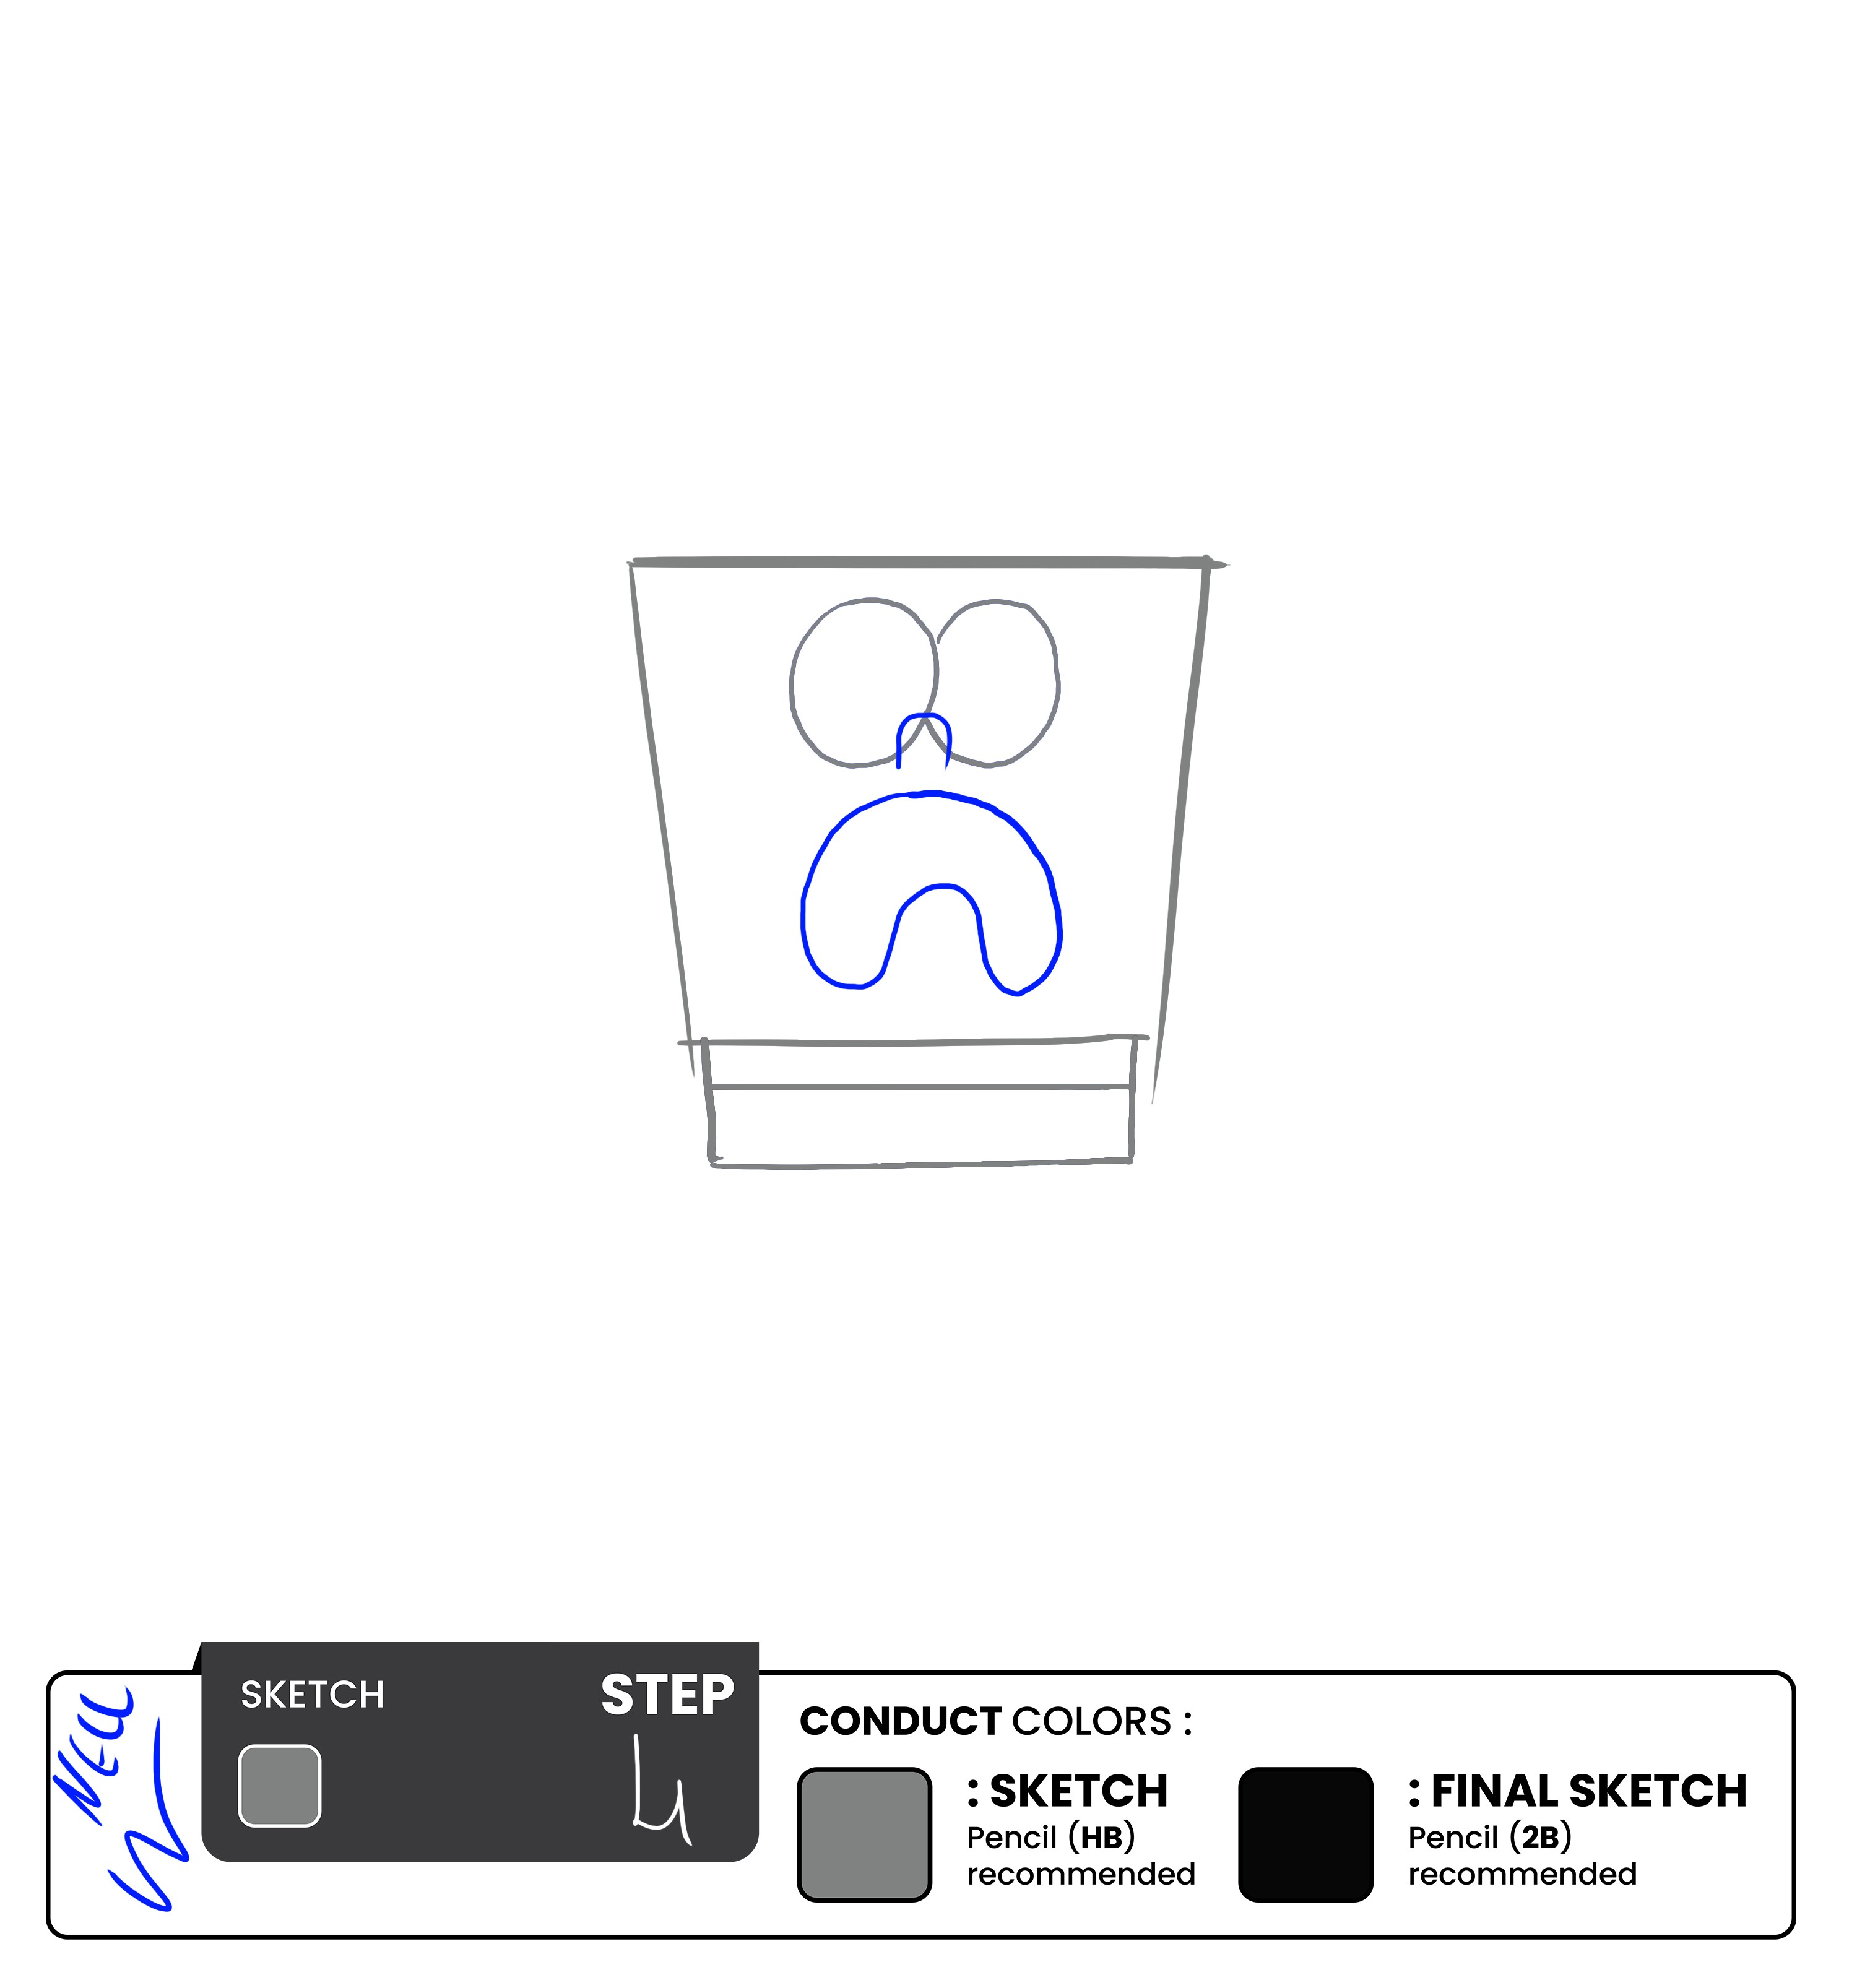
Add the crying mouth that is made like a kidney bean or cashew. Add lines to the bottom to show the folding details of the mouth. Once that’s done, add a small reversed “u” shape for the nose right between the eyes.
Step 5 - Sketch the Arms

Drawing guidelines for the arms of SpongeBob is essential. Ensure you get the arms to fold right, as these guidelines will define how the limbs will turn out later.
Step 6 - Sketch the Legs
Using the same technique used earlier, draw the legs.
Make sure to make them bent to highlight the seating position.
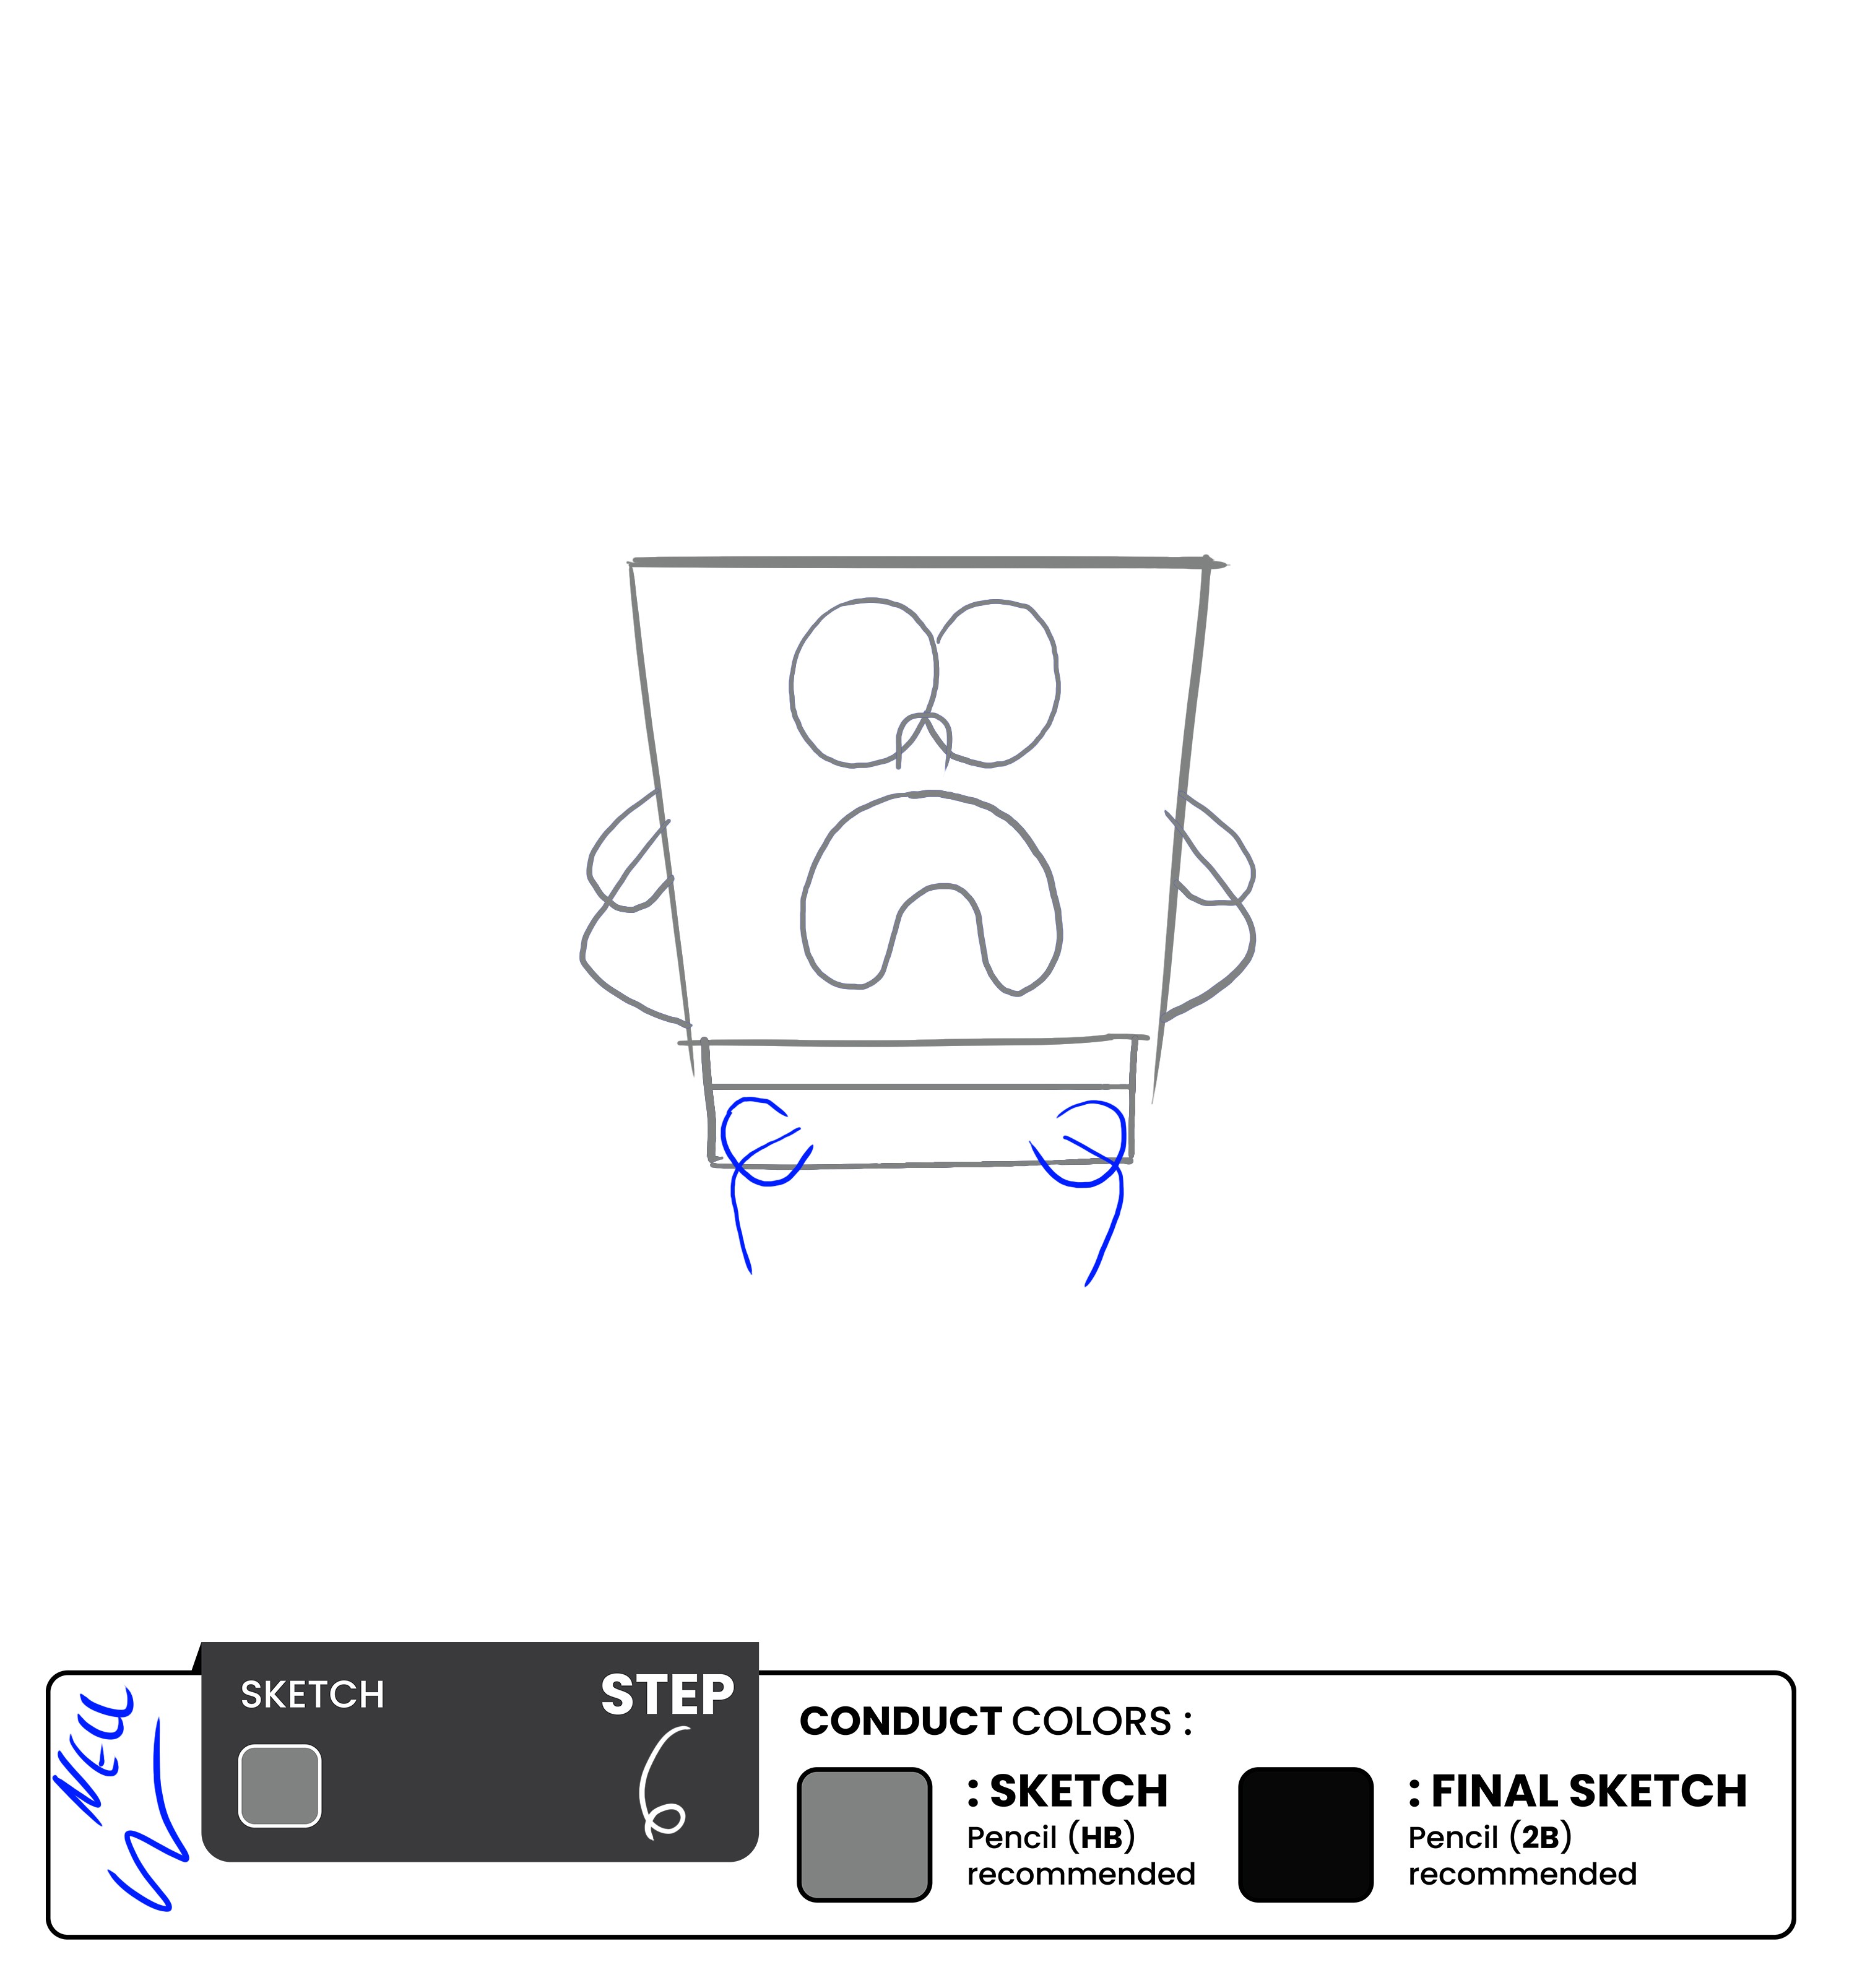
Step 7 - Sketch the Hands and Feet Outline
For the feet and hands, we need to put an outline to the final sketch first.
In order to do that, we need to draw a circle for where each hand and foot should be.
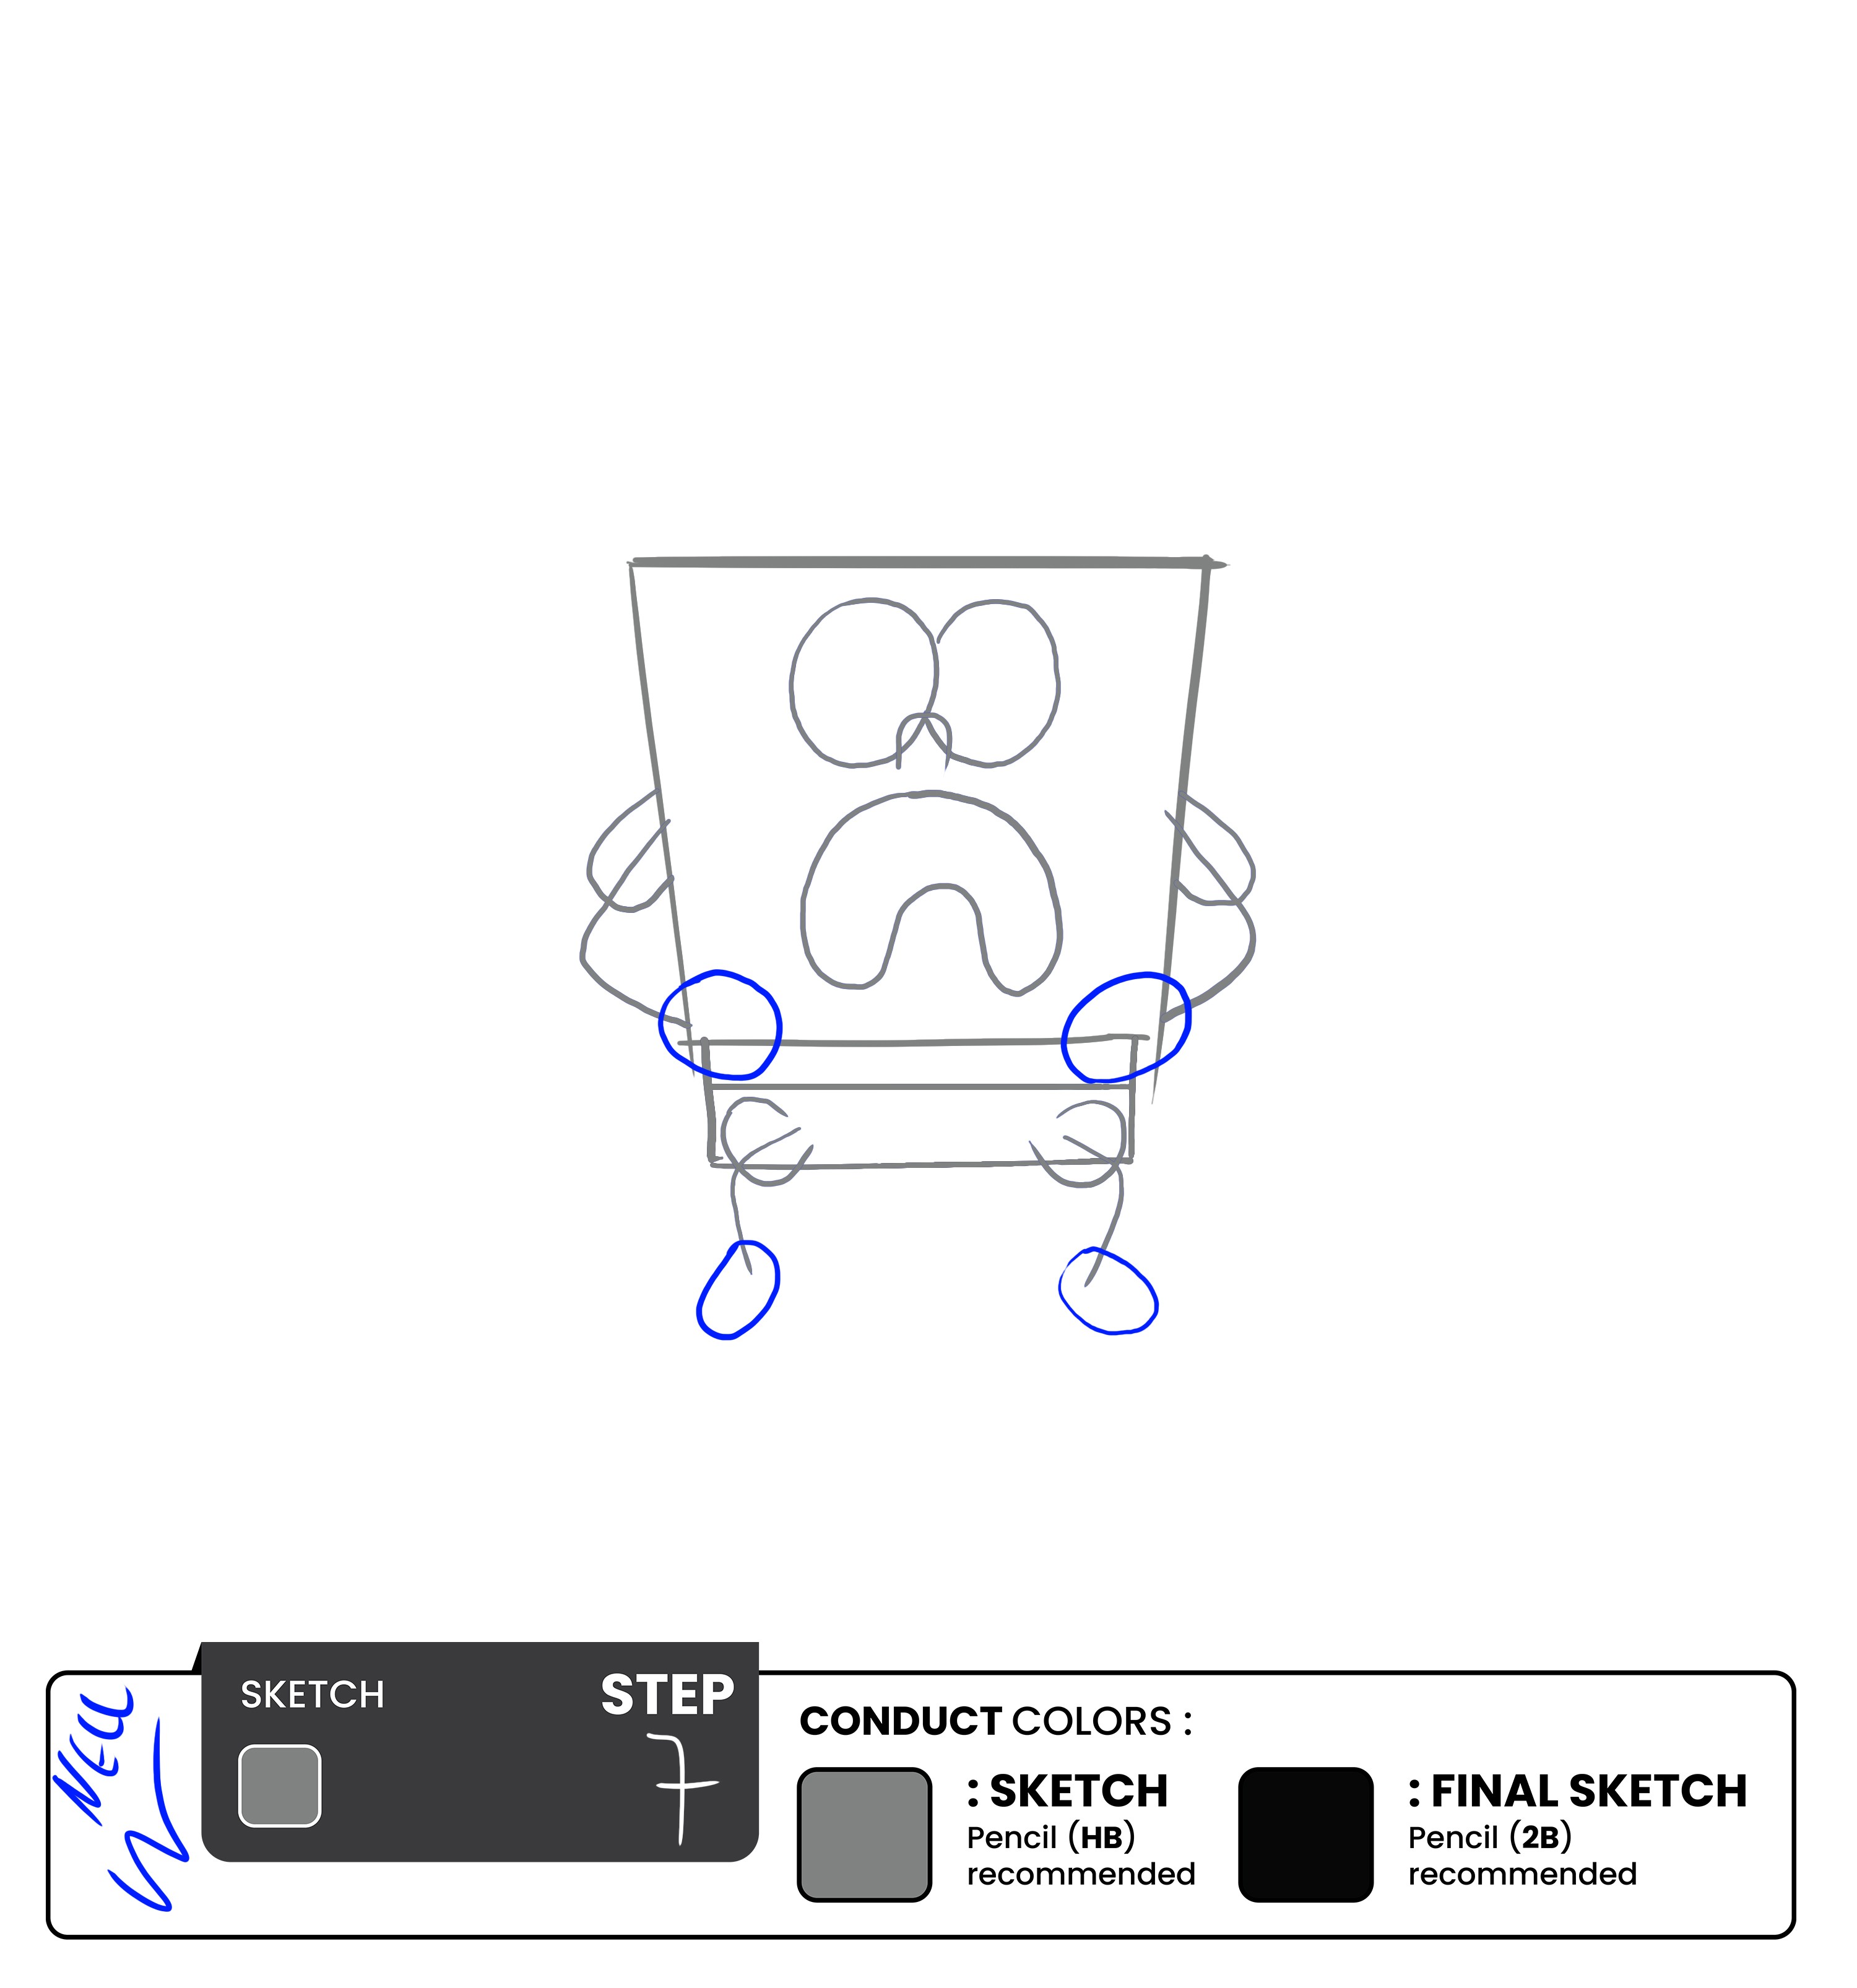
Step 8 – Start off with the Seat

Now that you are done with putting the sketch of the character, it’s time to move towards the commode it is settled on. To start the commode off, draw a triangle with a flat top at the bottom center of the character.
Once that’s done, add a rectangle on the back of his head for the rest of the commode sketch.
Step 9 – Add the Crying Eyes and Outline the Nose
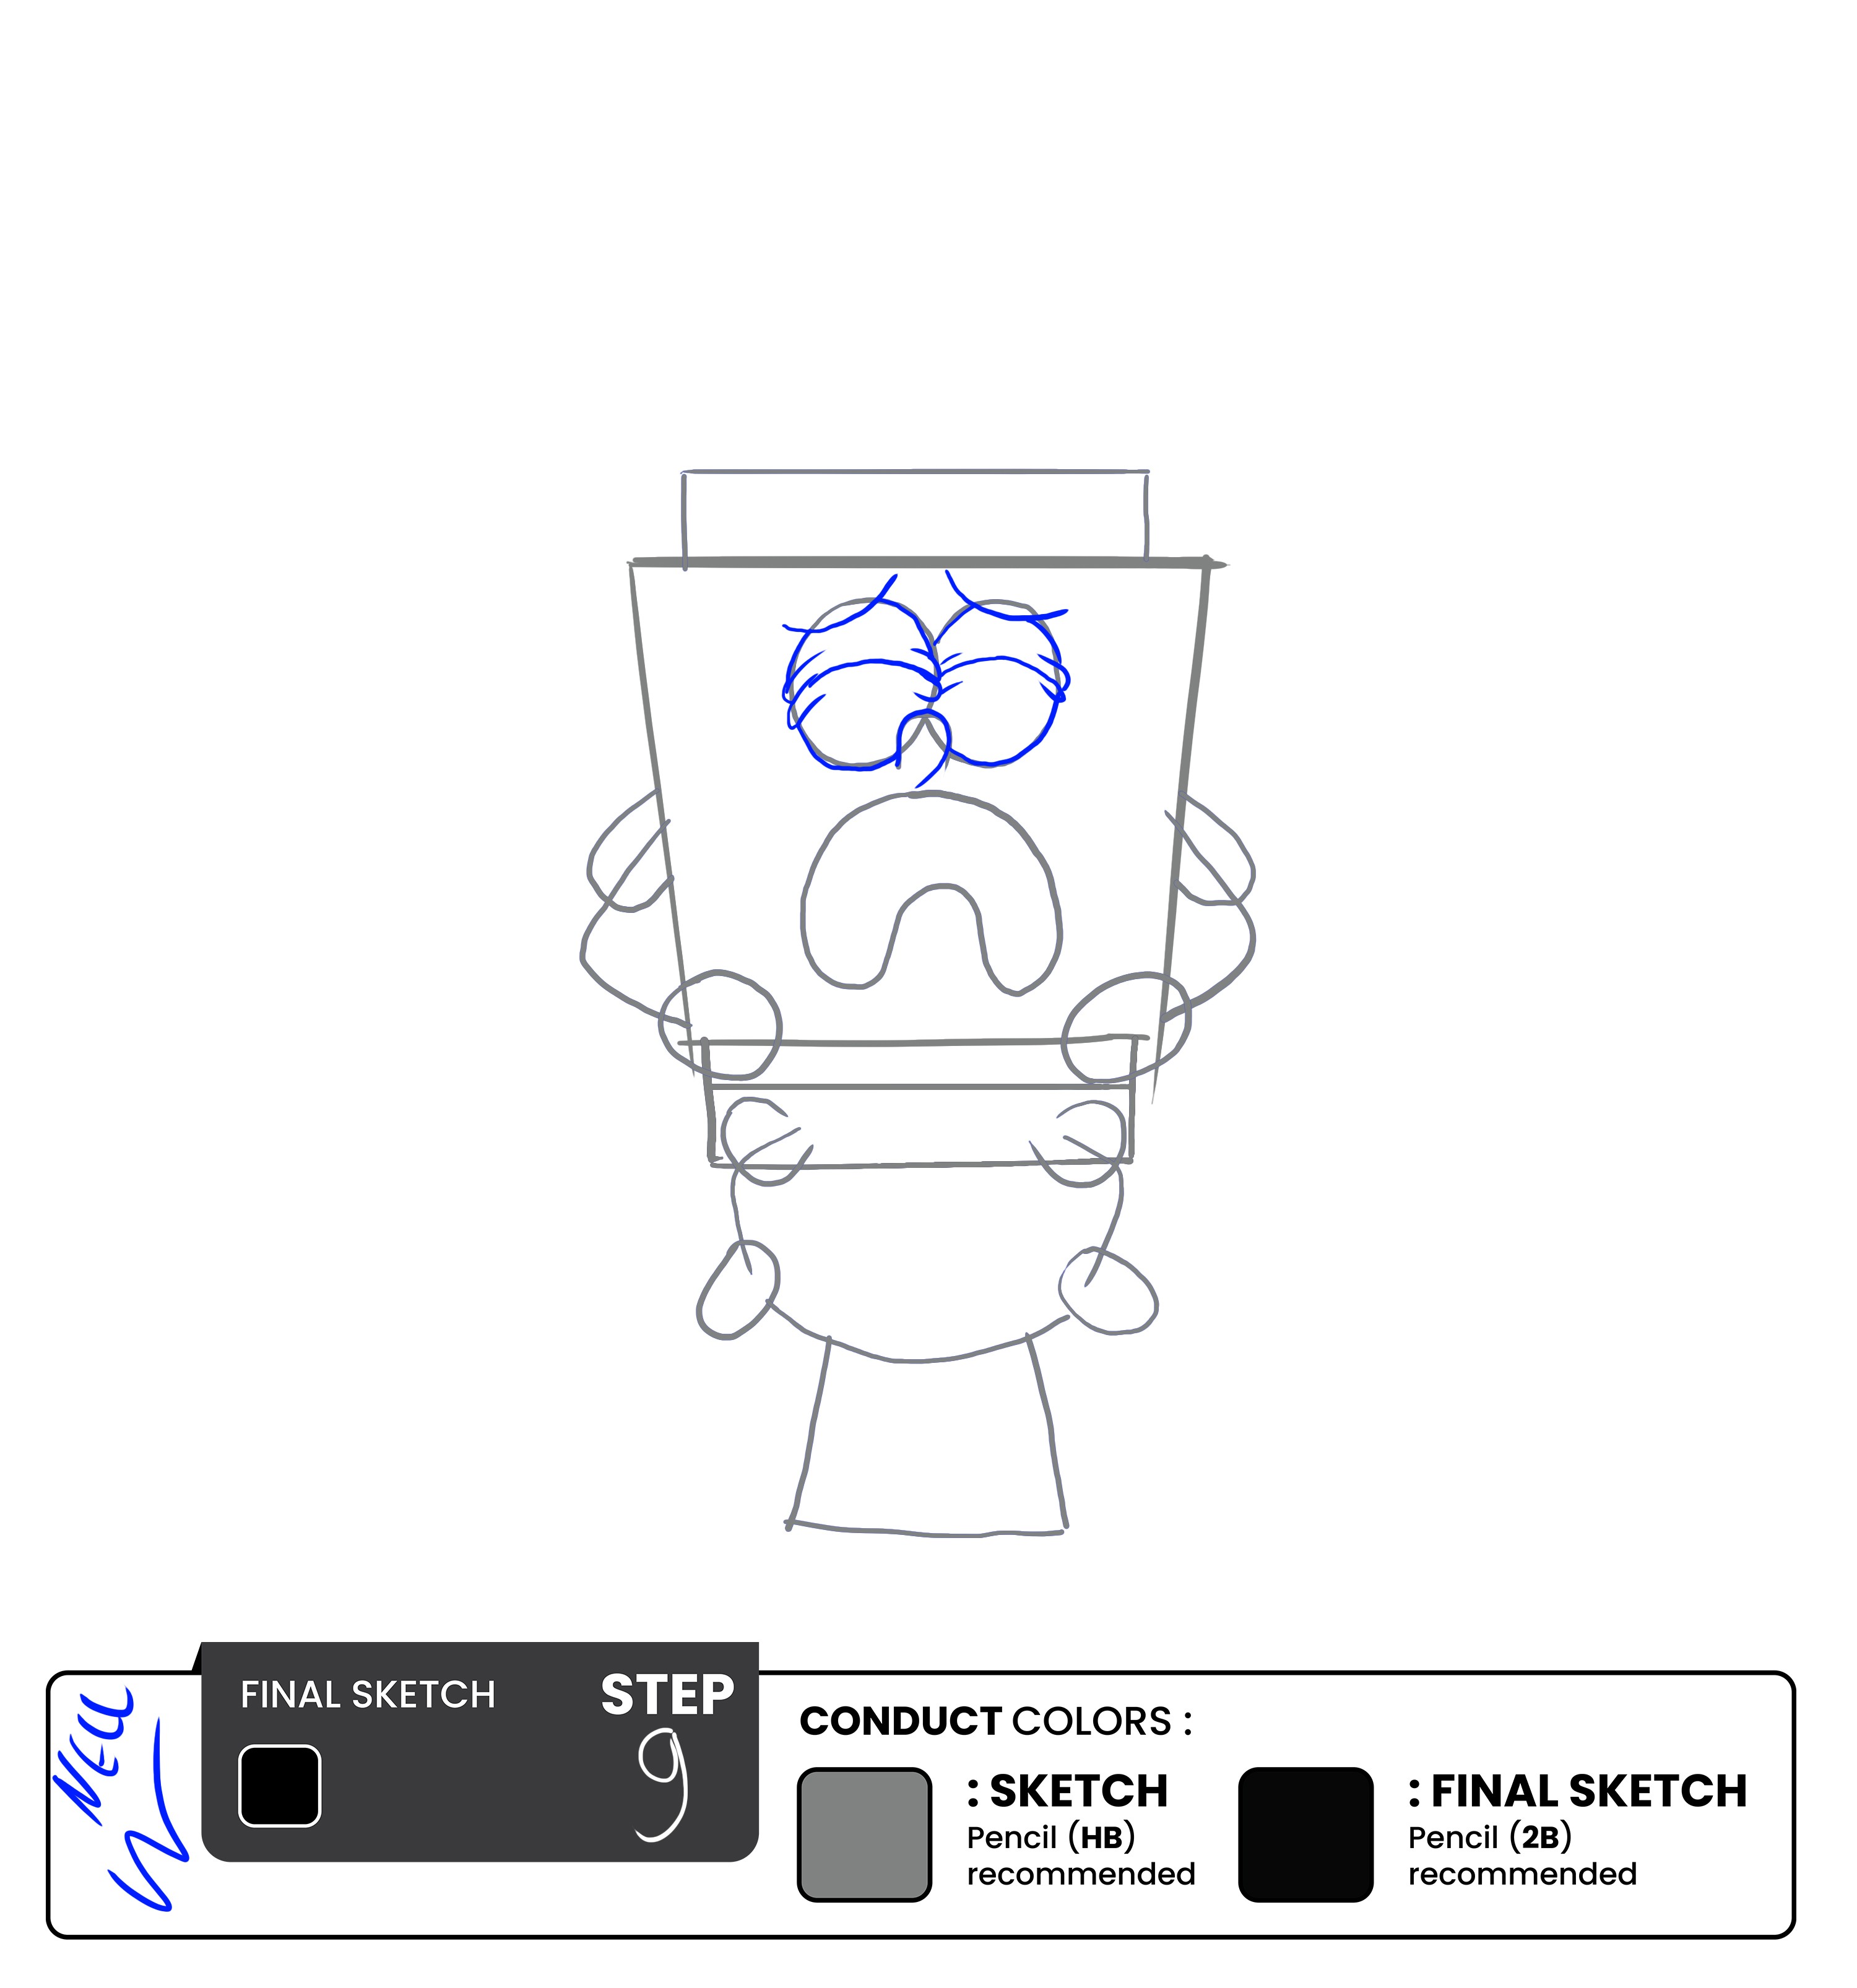
To draw the eye, make a basic oval first. Then, add an arch to the center of the oval to depict the eye as closed. Add fold details of the eyelid as shown in the reference image to your drawing, and you are down with the crying eye!
Like the last step, add the other eye right next to the eye you drew earlier. Make sure these eyes are drawn in the center of the square, right under the eyebrows.
Step 10 - Add the Eyebrows
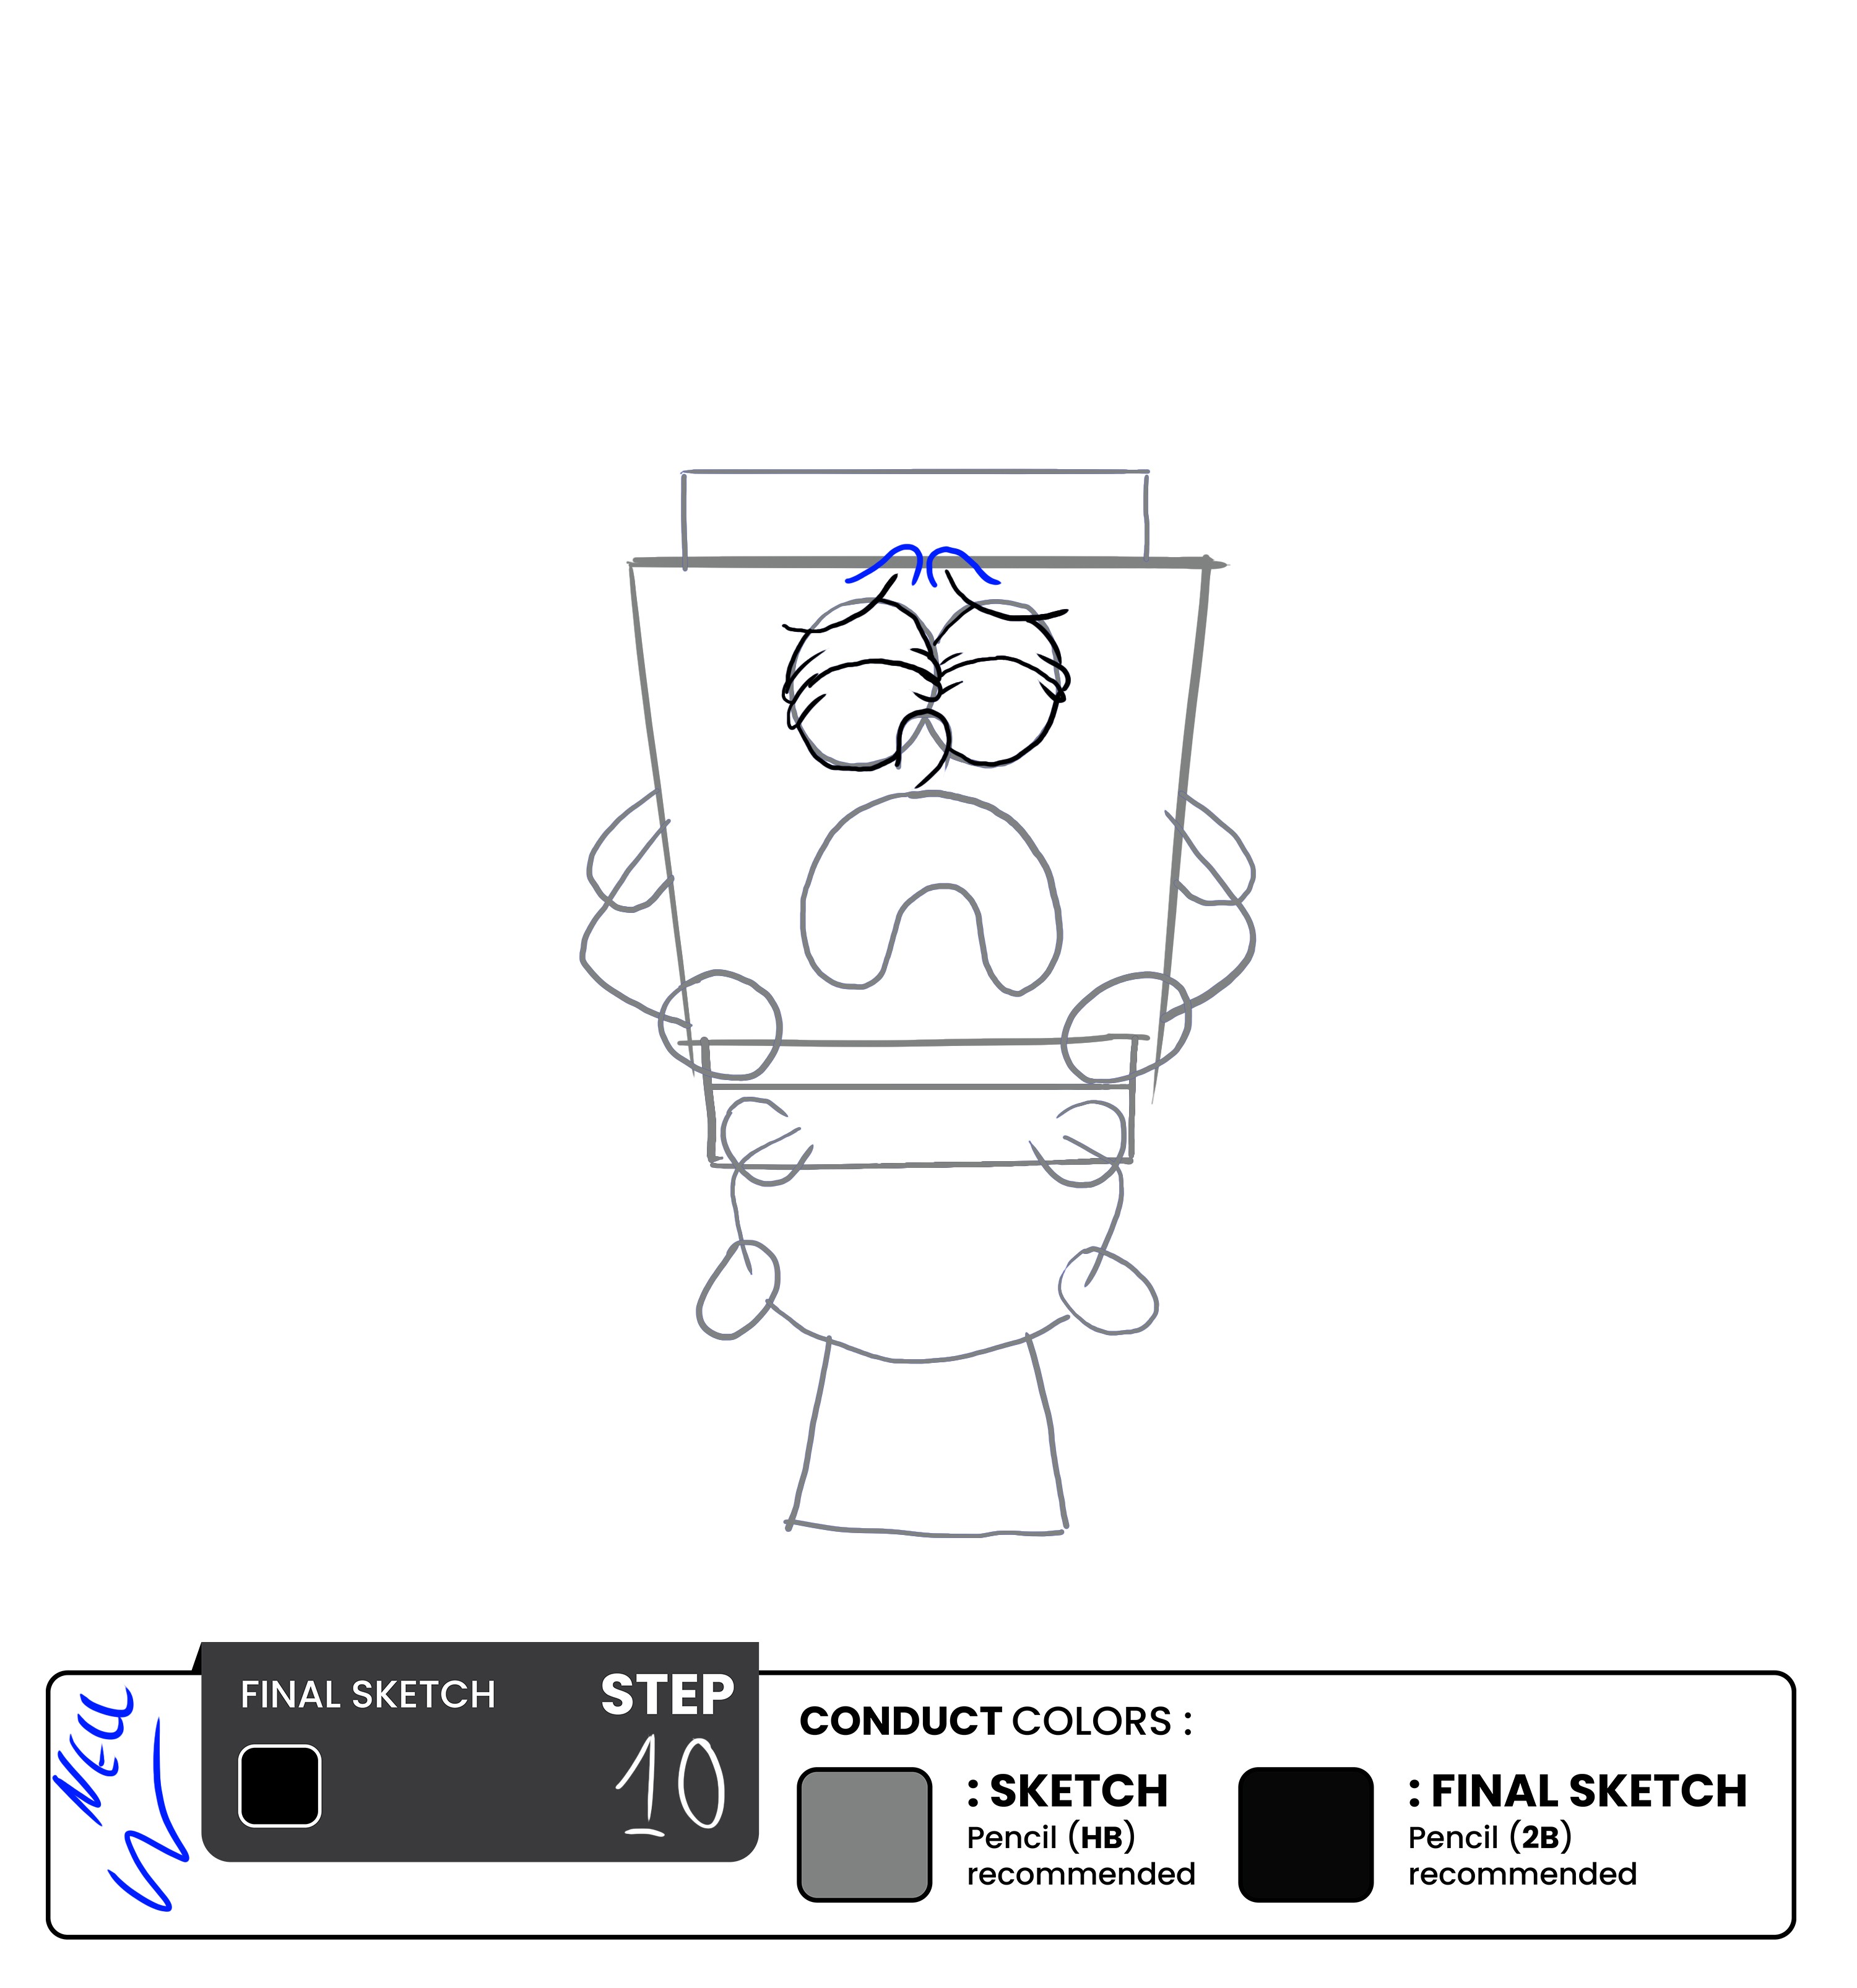
As with the previous steps, start with light sketching to get the placement of the eyebrows right. Place the two sagging arches close to the top center of the face, ensuring they are lower and droopier than SpongeBob's usual eyebrows.
Once you have the basic shape, add the semicircular arches at the top of each sagging arch to fully depict the eyebrows. These arches should be pointing down toward SpongeBob's eyes to emphasize his sadness.
Step 11 - Outline the Mouth, then Add the Teeth
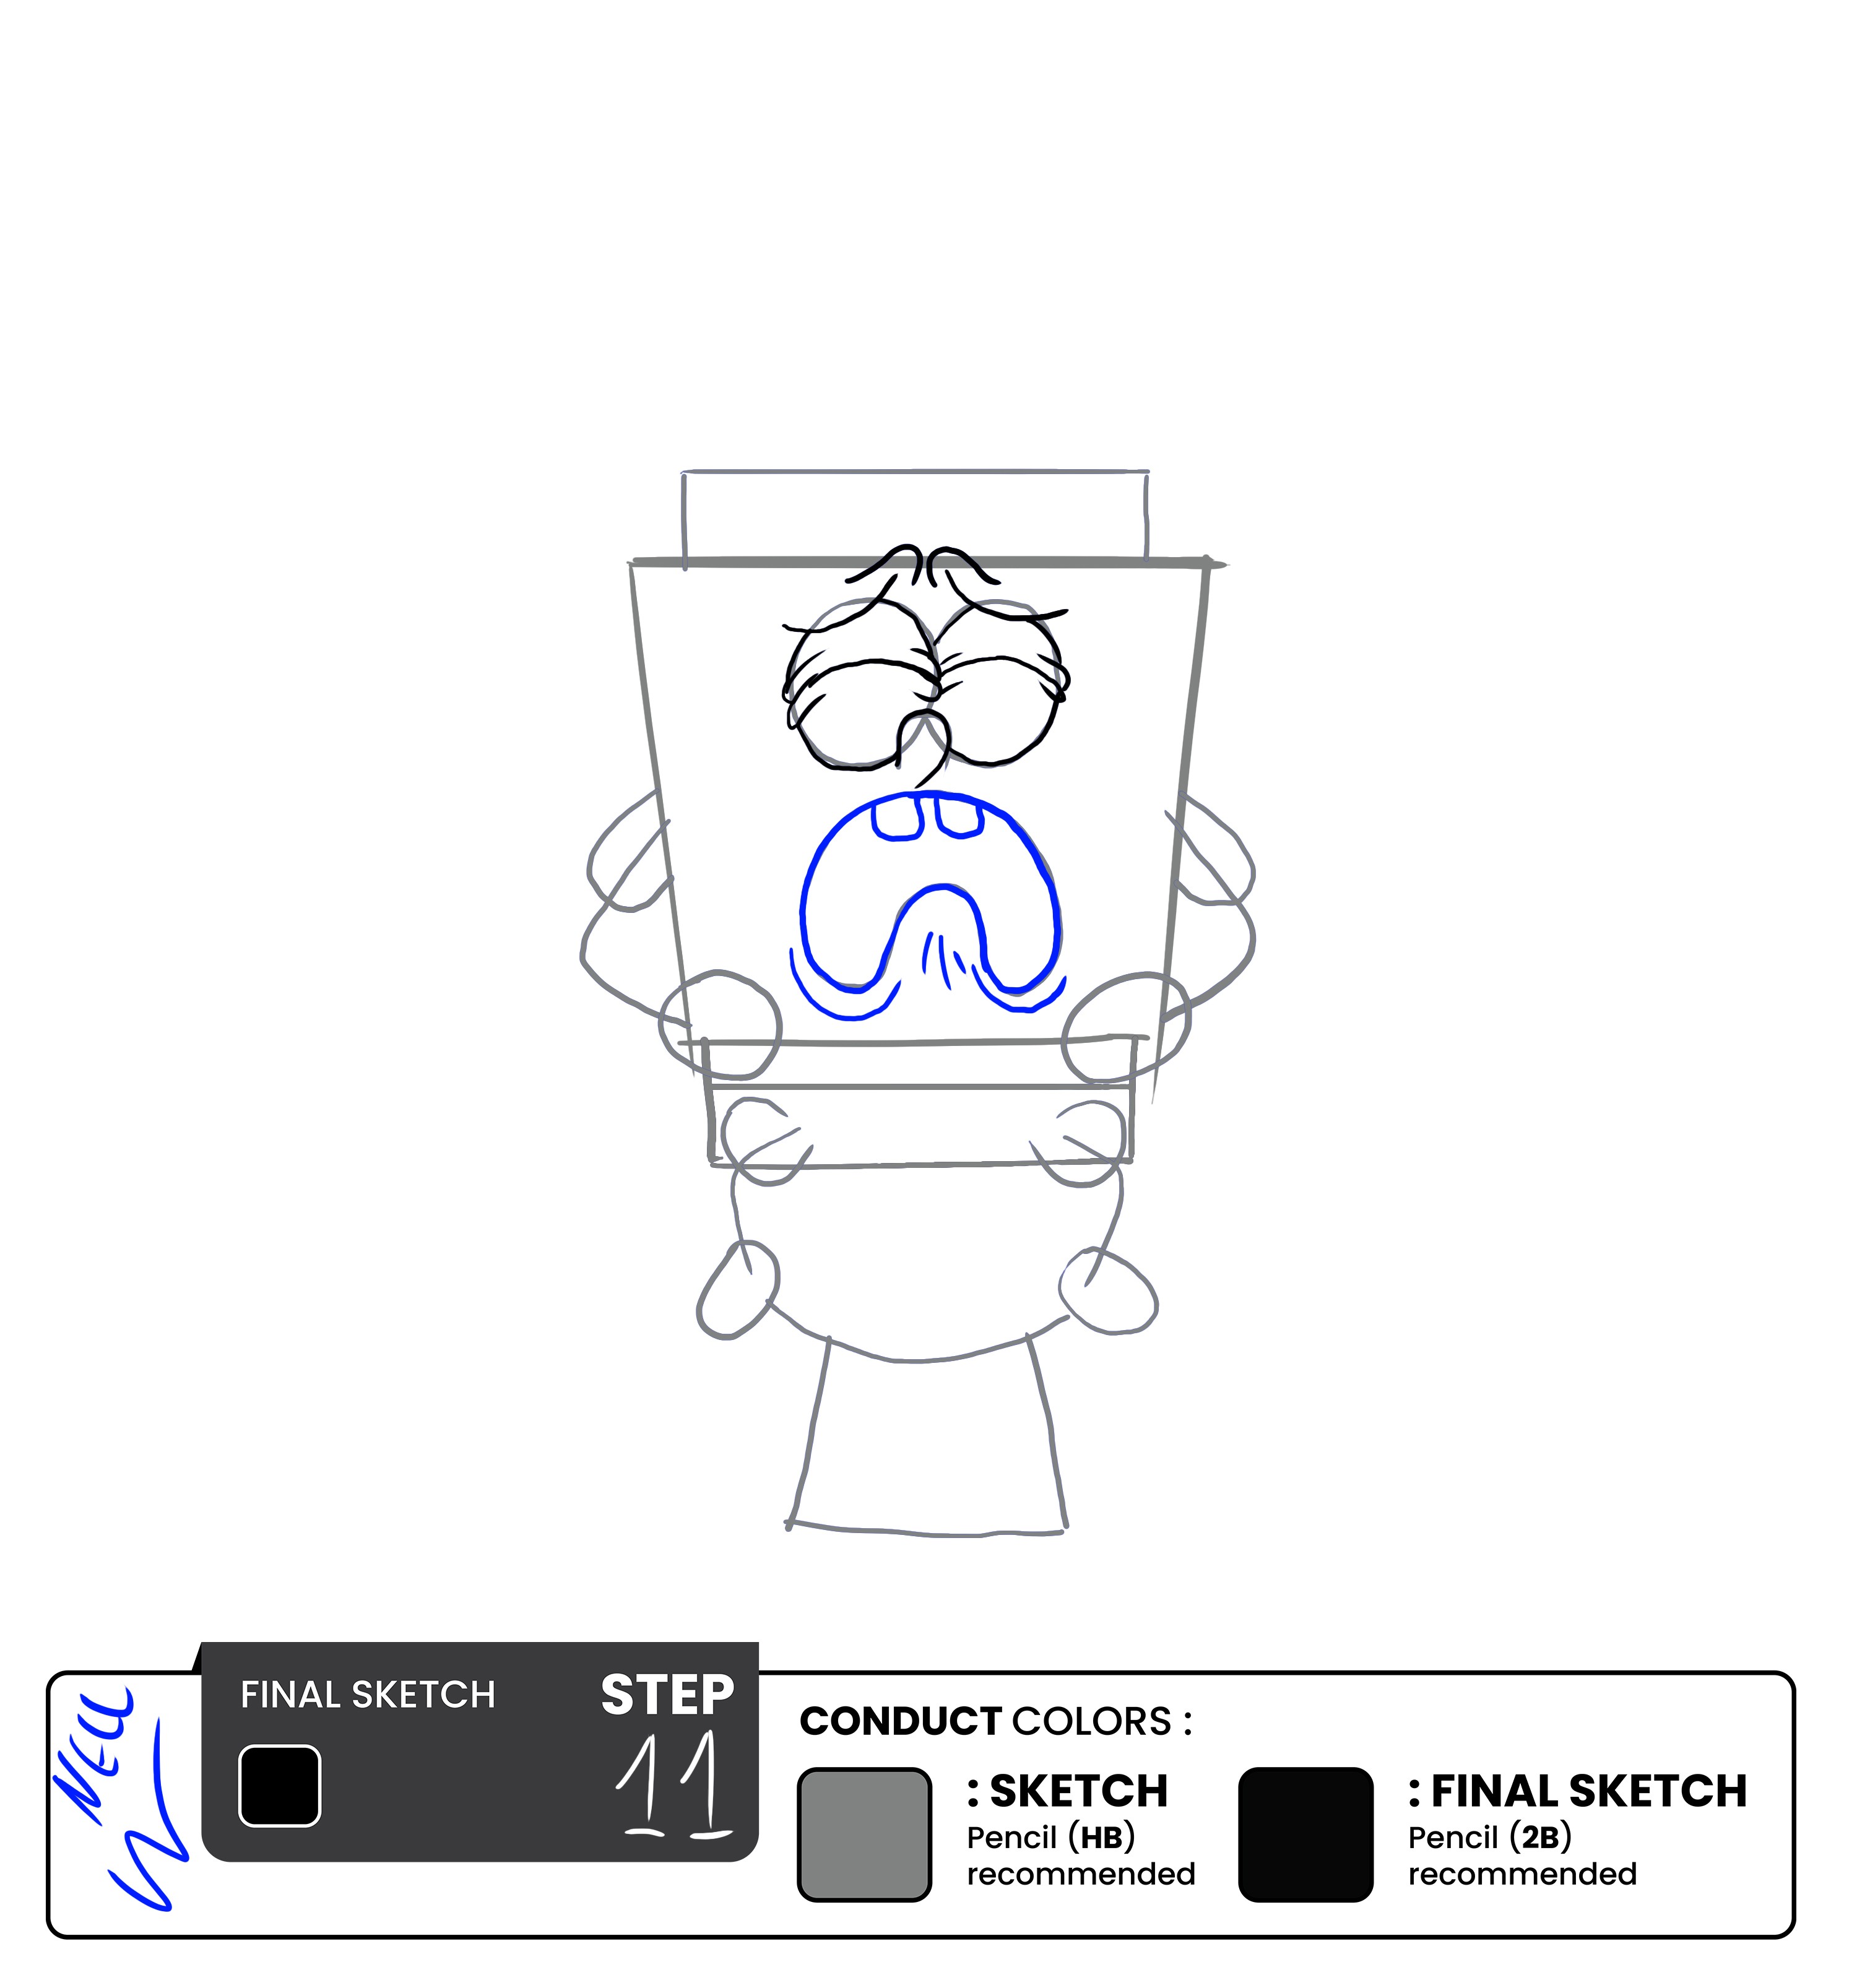
First, outline the crying mouth. Then, add the iconic two teeth of SpongeBob to the mouth. Make sure to add some wrinkle lines on the bottom to finish the look.
Step 12 - Draw the Sleeves
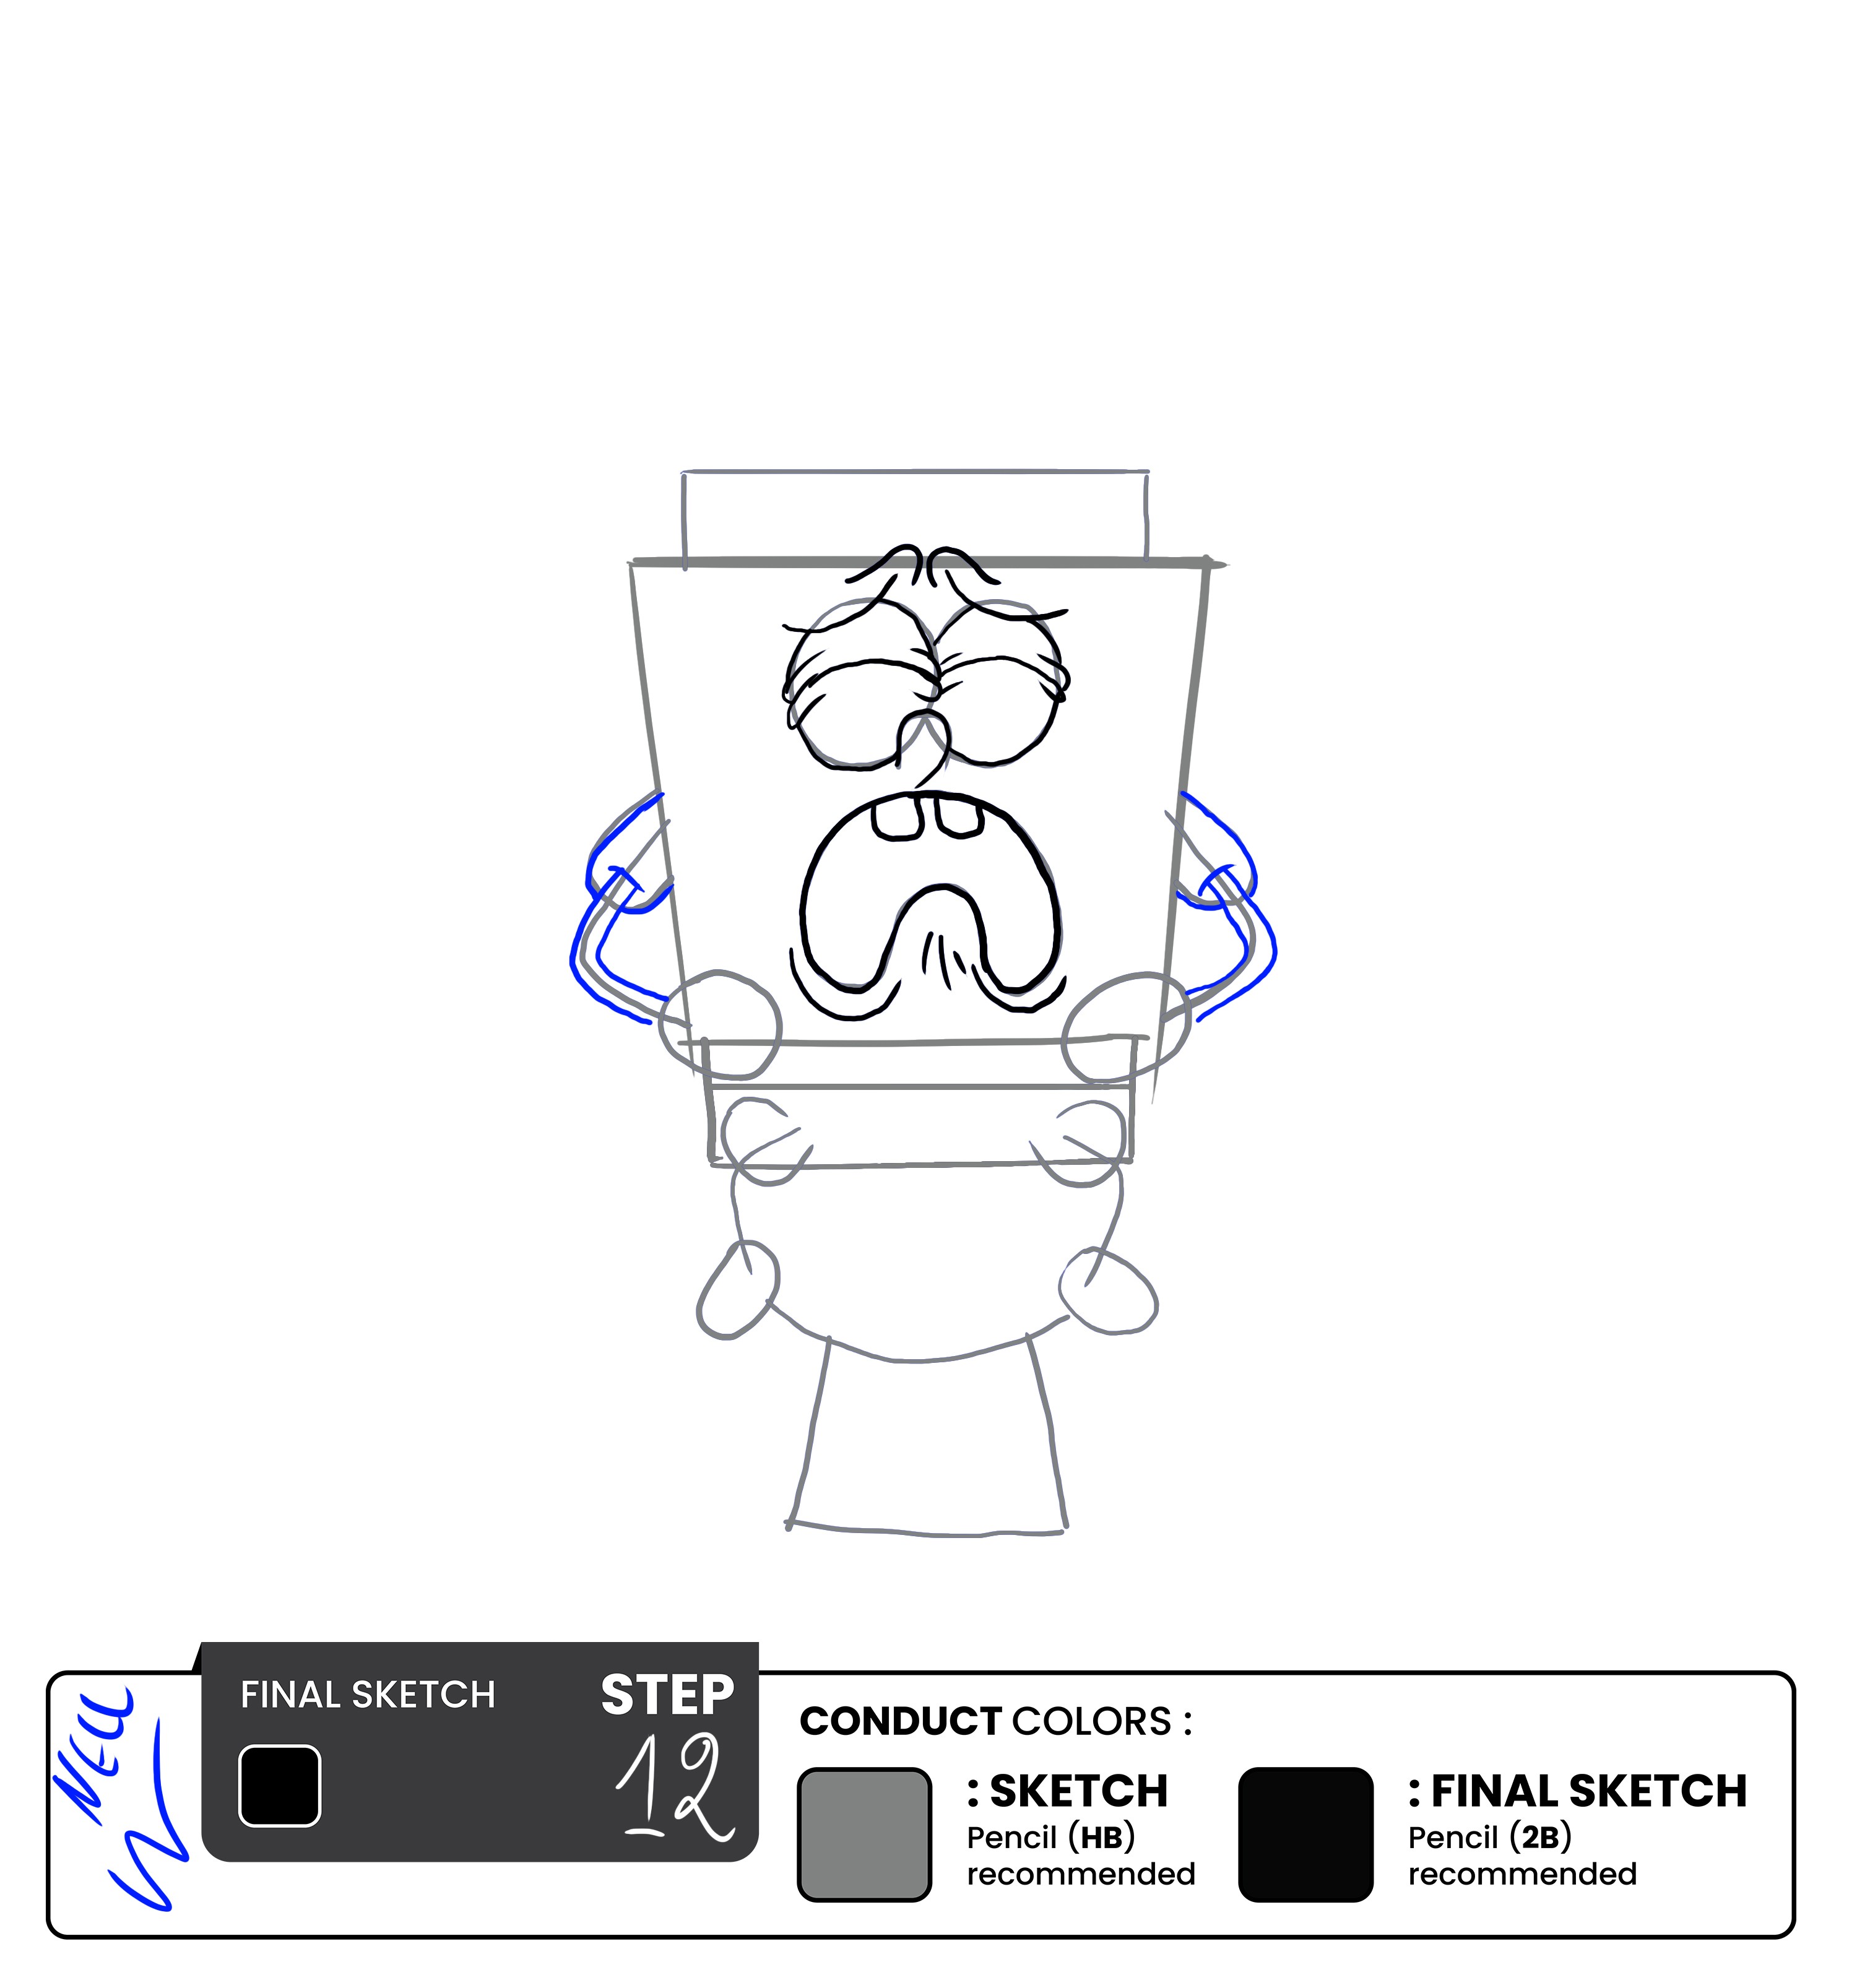
Draw the sleeves on the top part of the arms and then detail out the arms by double-lining the guidelines.
Step 13 - Draw the Hands
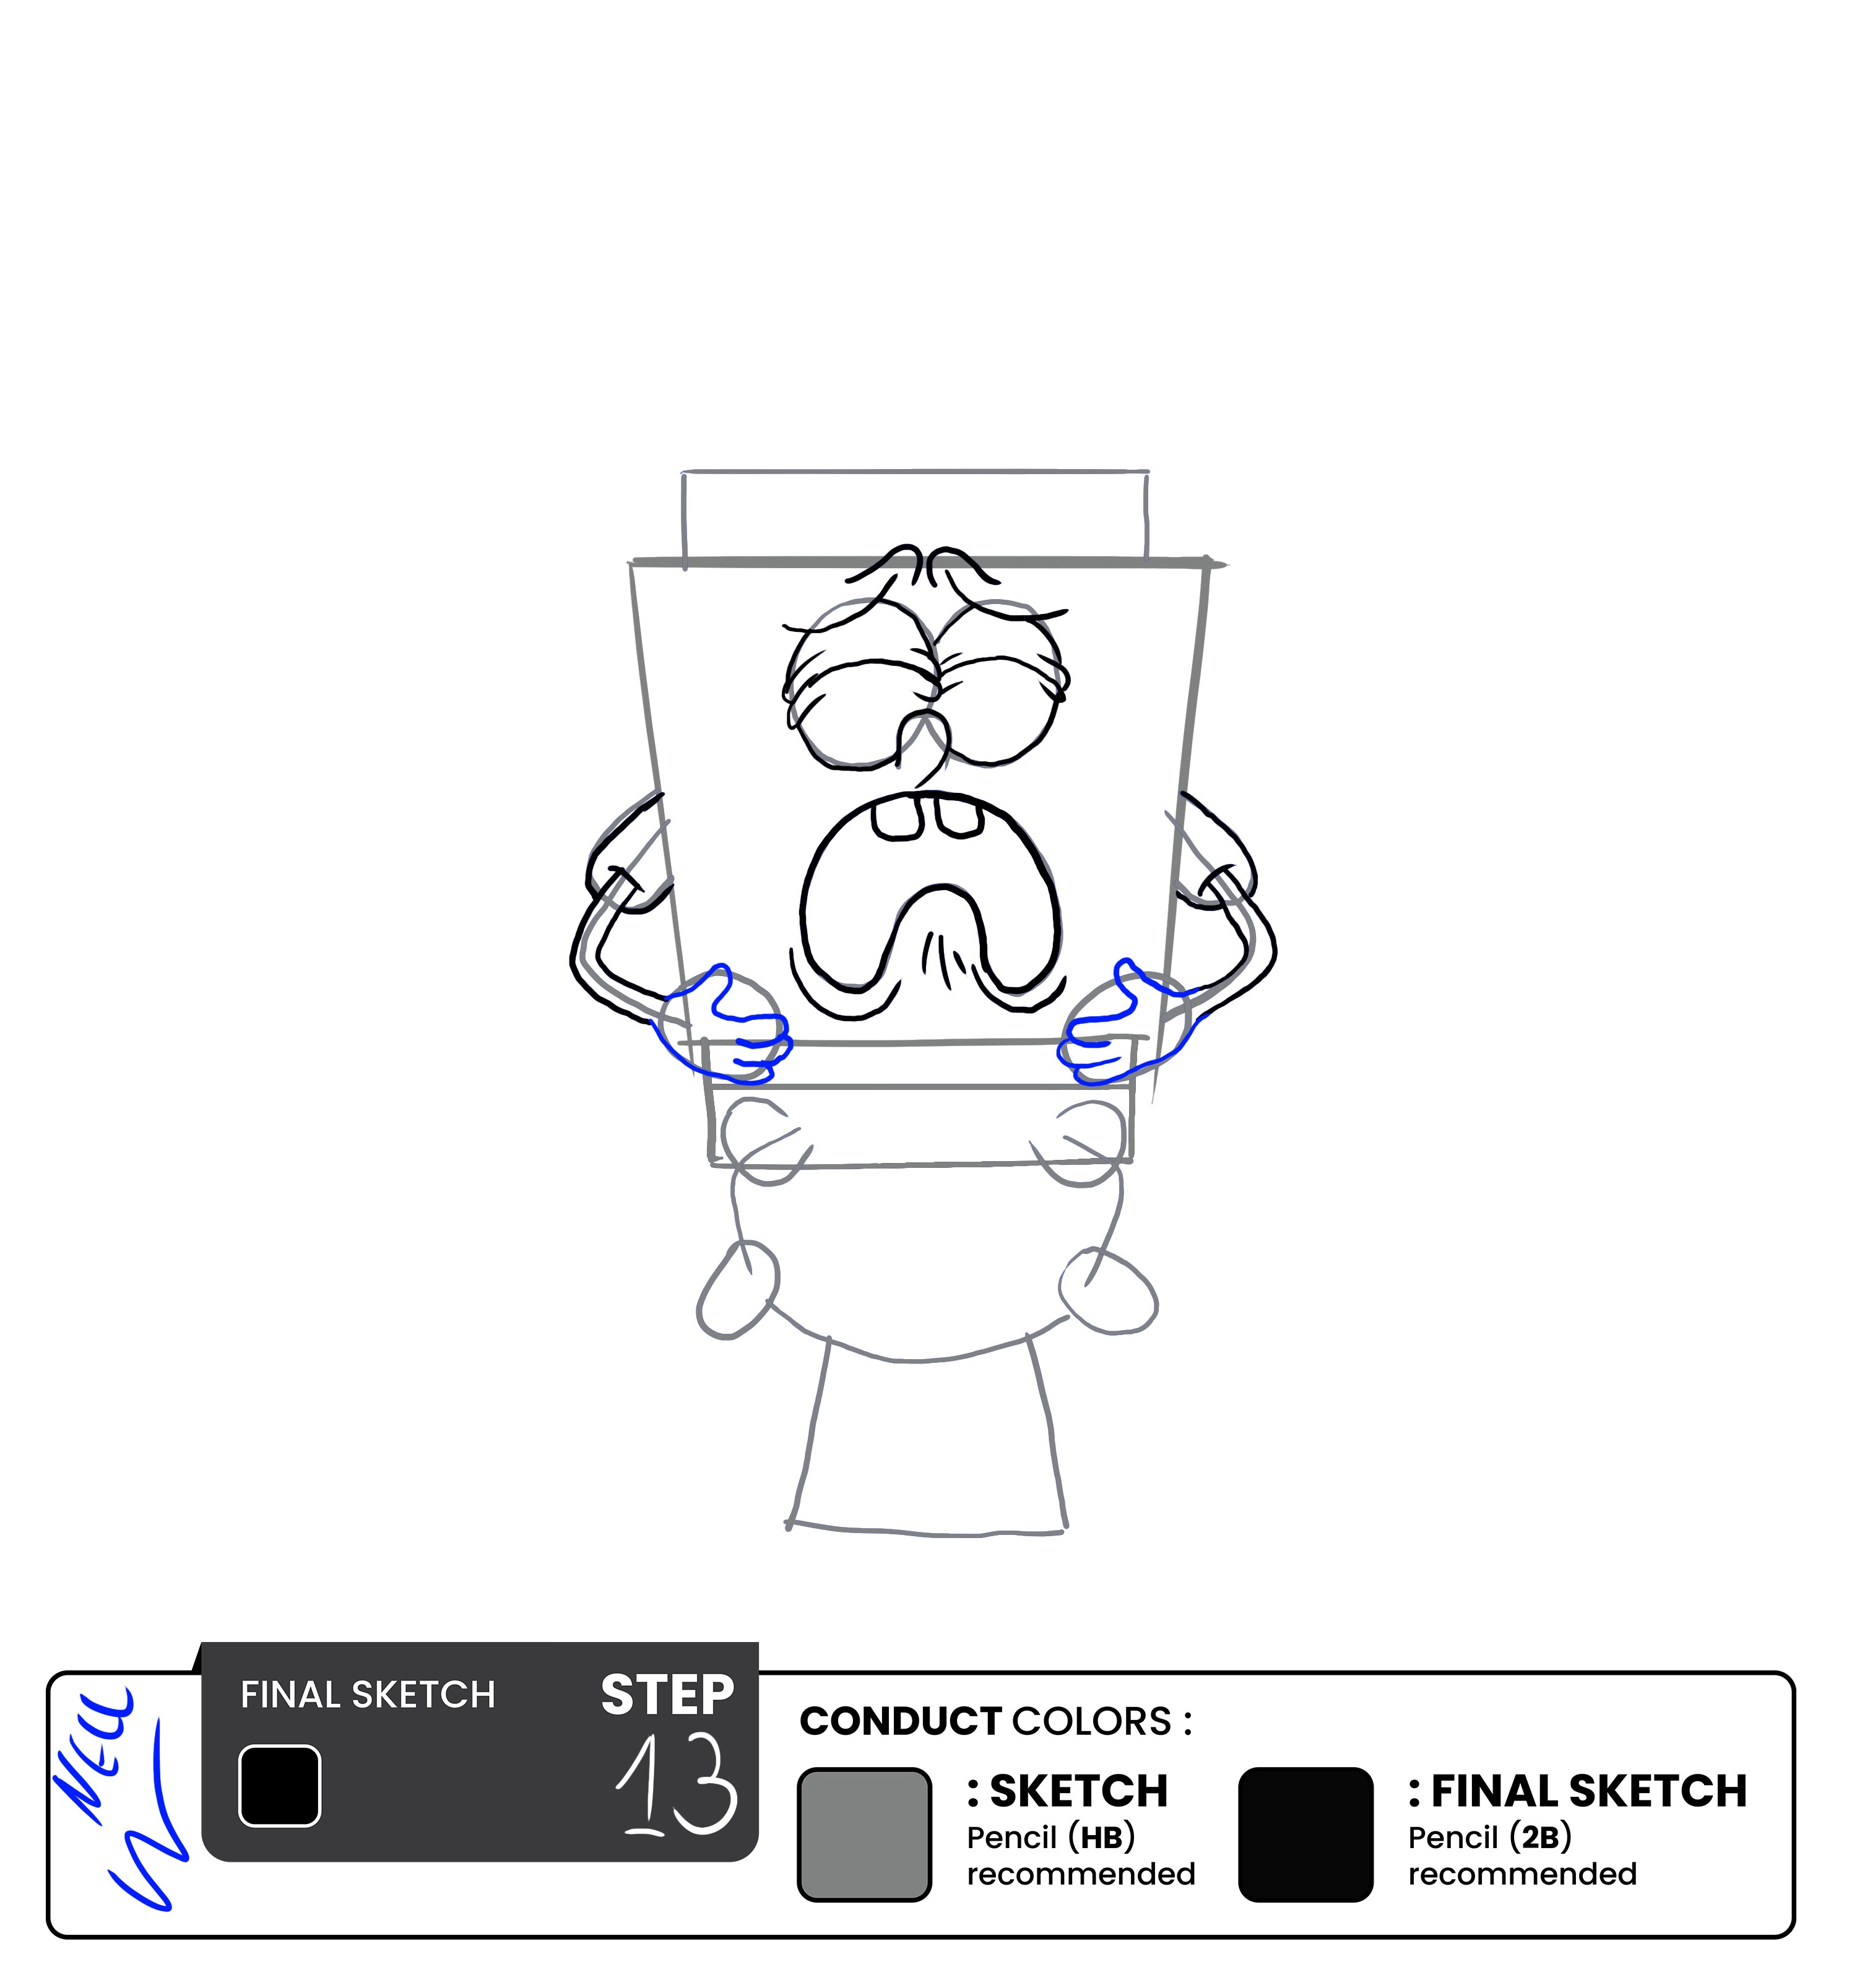
Now, draw the hands at the end of the guideline to complete off the arms.
Step 14 - Add Teardrops
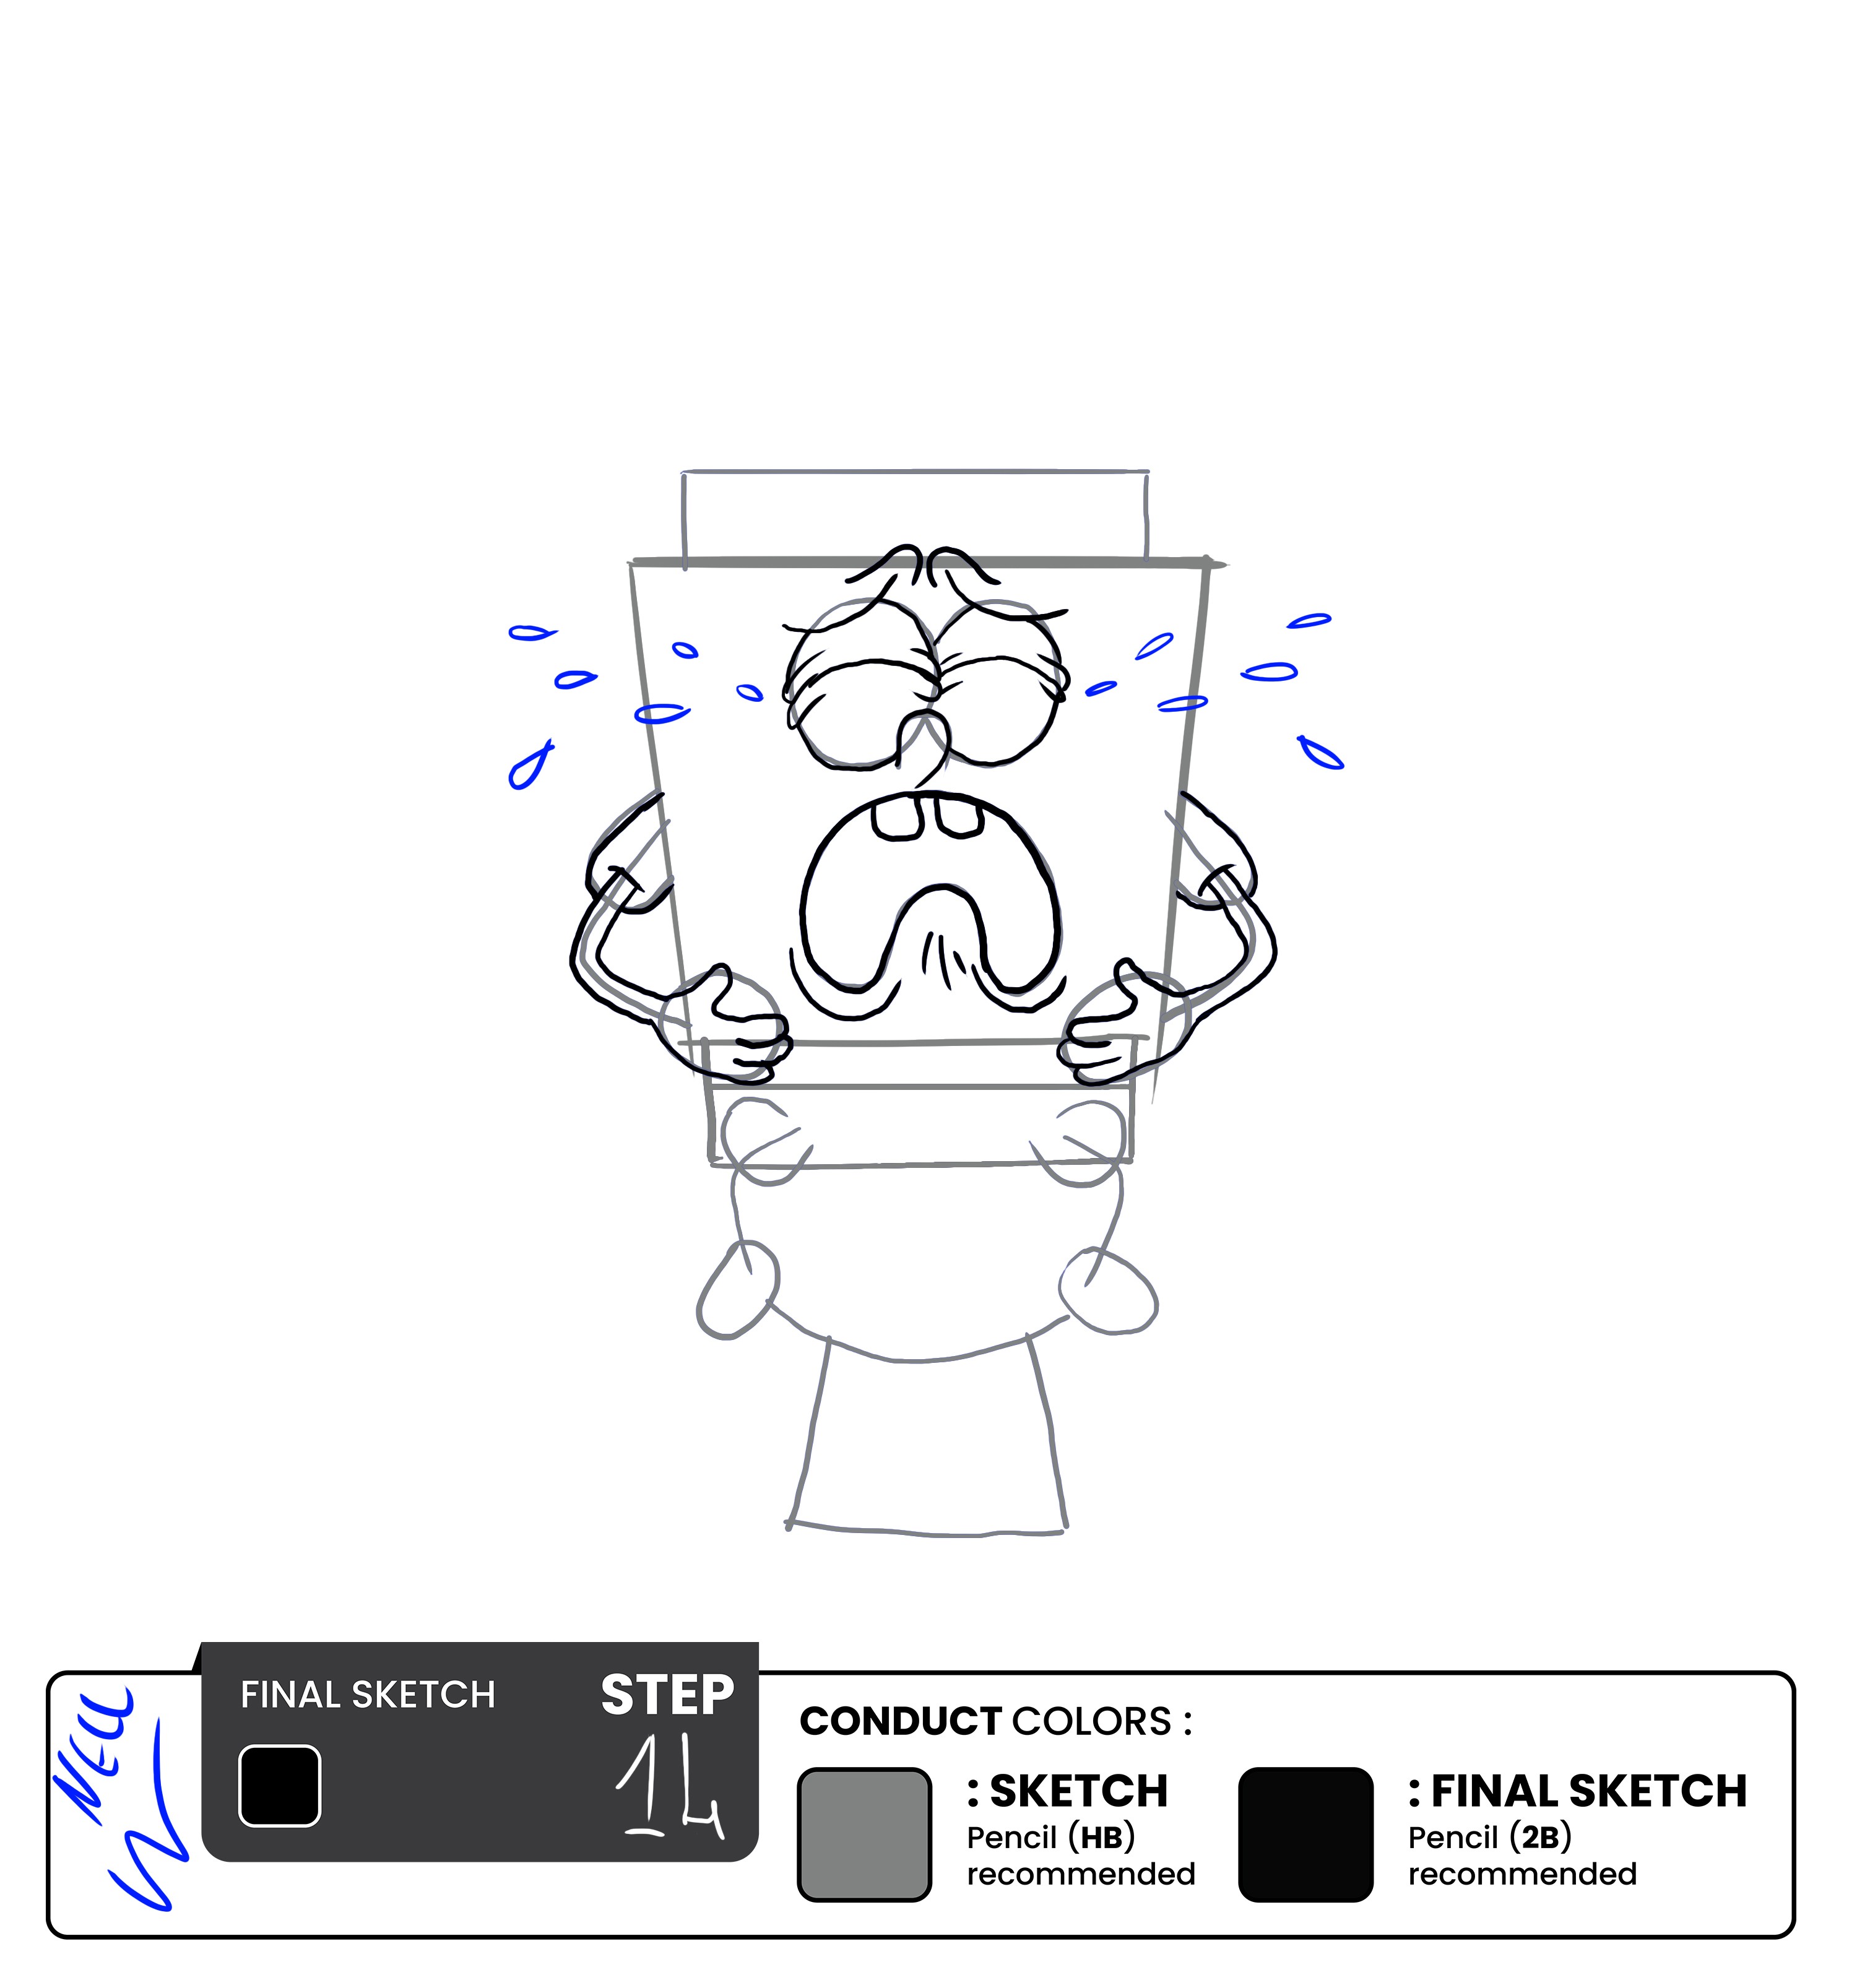
Add drops of tears. To draw tears, draw a small oval shape for the tear's main body, then draw a pointy end at the bottom of the oval to create a tear-like shape. Lastly, add a curve to the top of the oval to create a rounded top to the tear.
Steps 15 & 16 – Make the Irregular Outline, then Remove the Sketch Guidelines

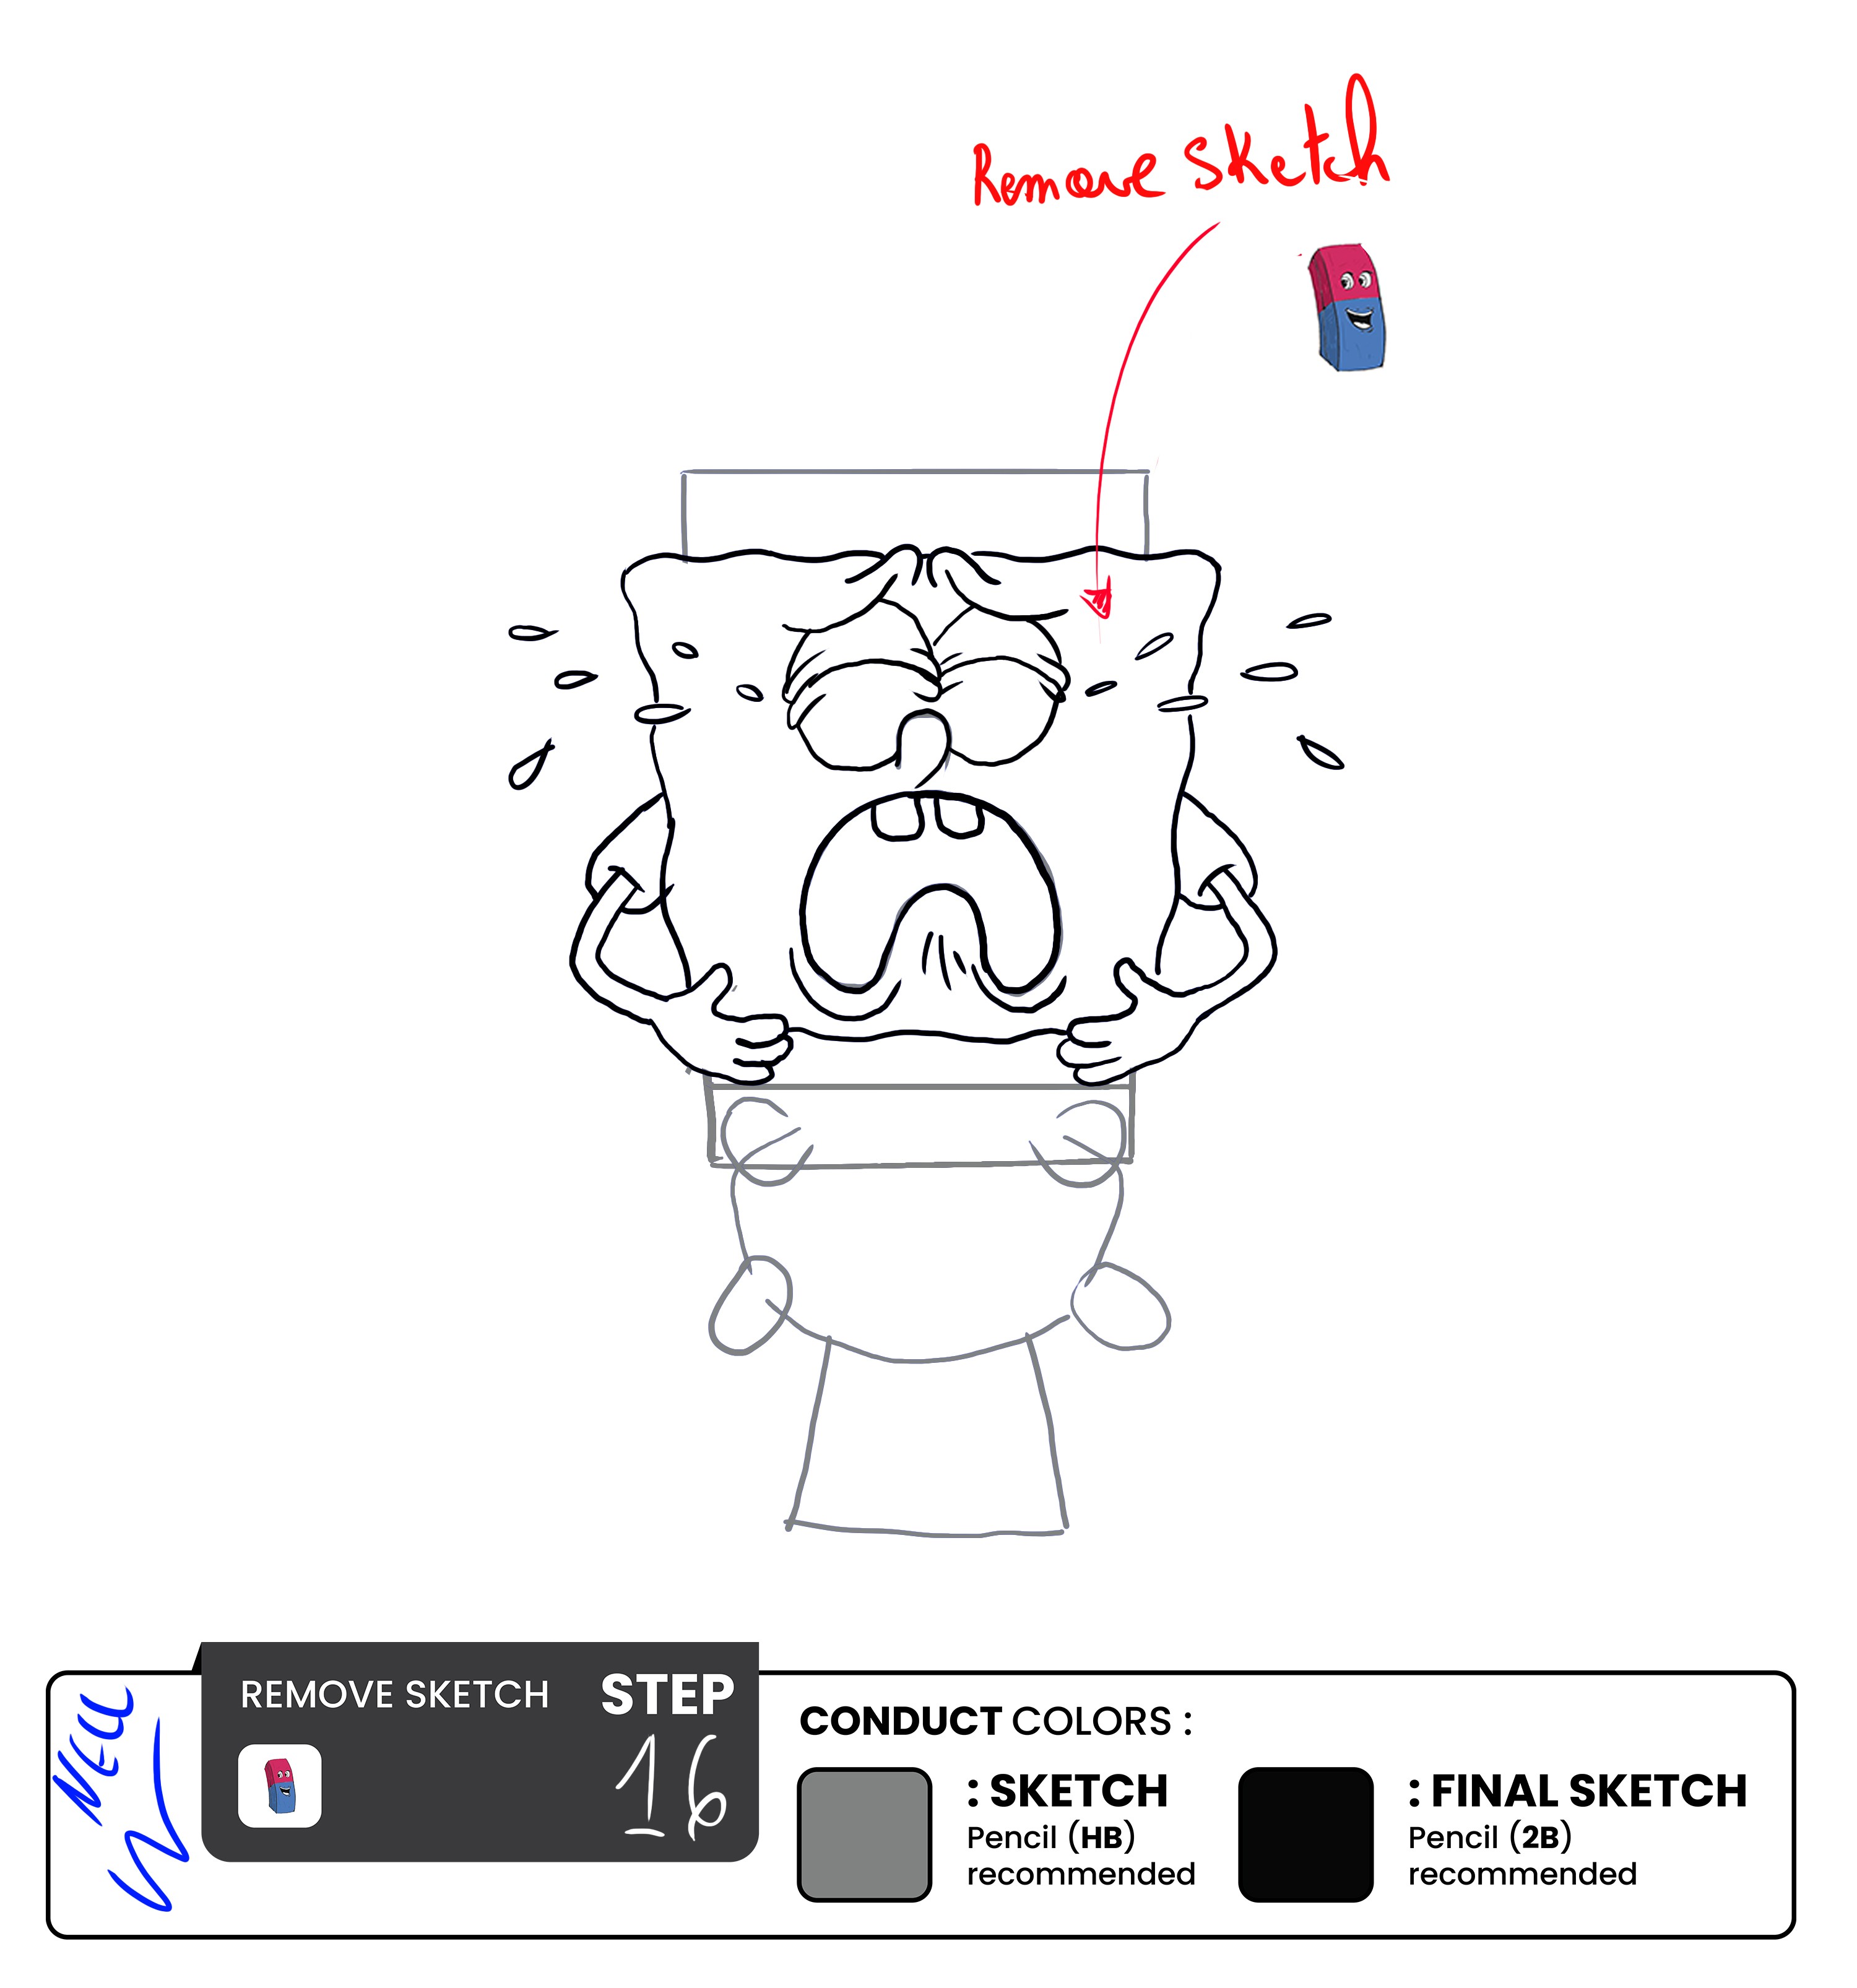
Since SpongeBob is a sponge, it is not a perfect square but has an uneven and curvy outline. So go ahead and add the irregular overlay line to the square face of SpongeBob.
Once that’s done, remove the guidelines using a clean eraser.
Steps 17 & 18 – Add the Flush Tank, then Remove the Sketch Guidelines.
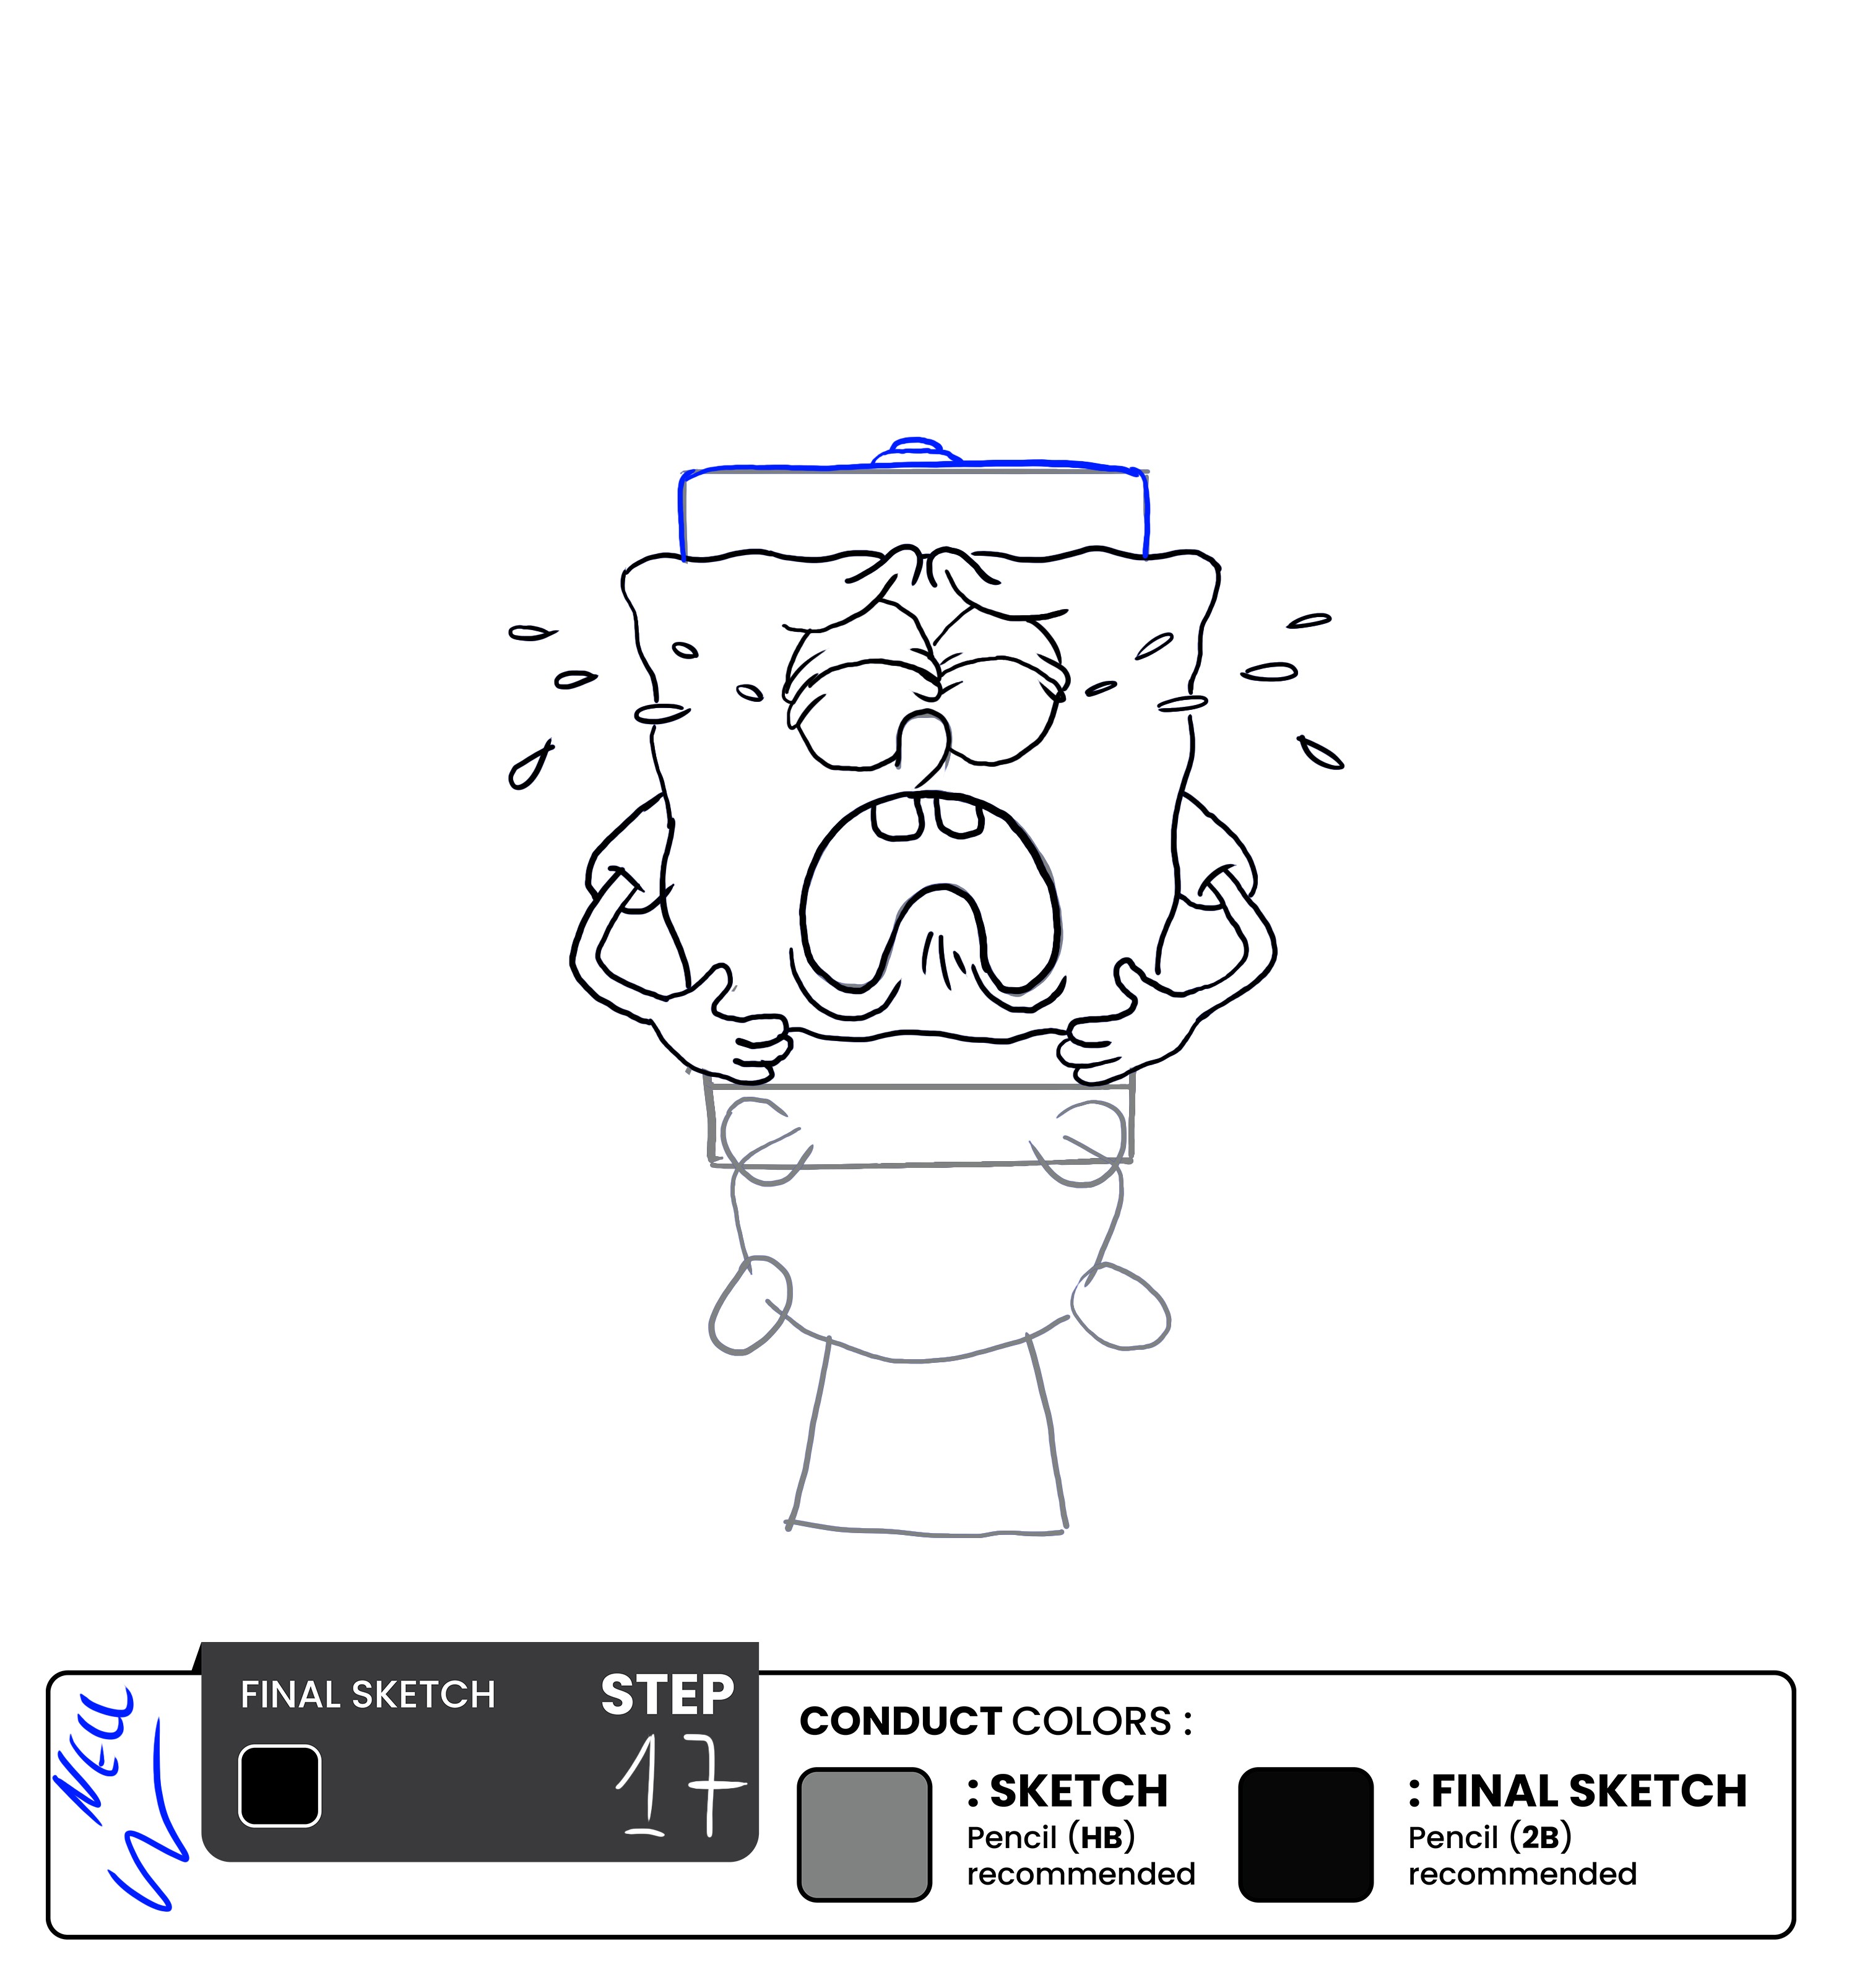
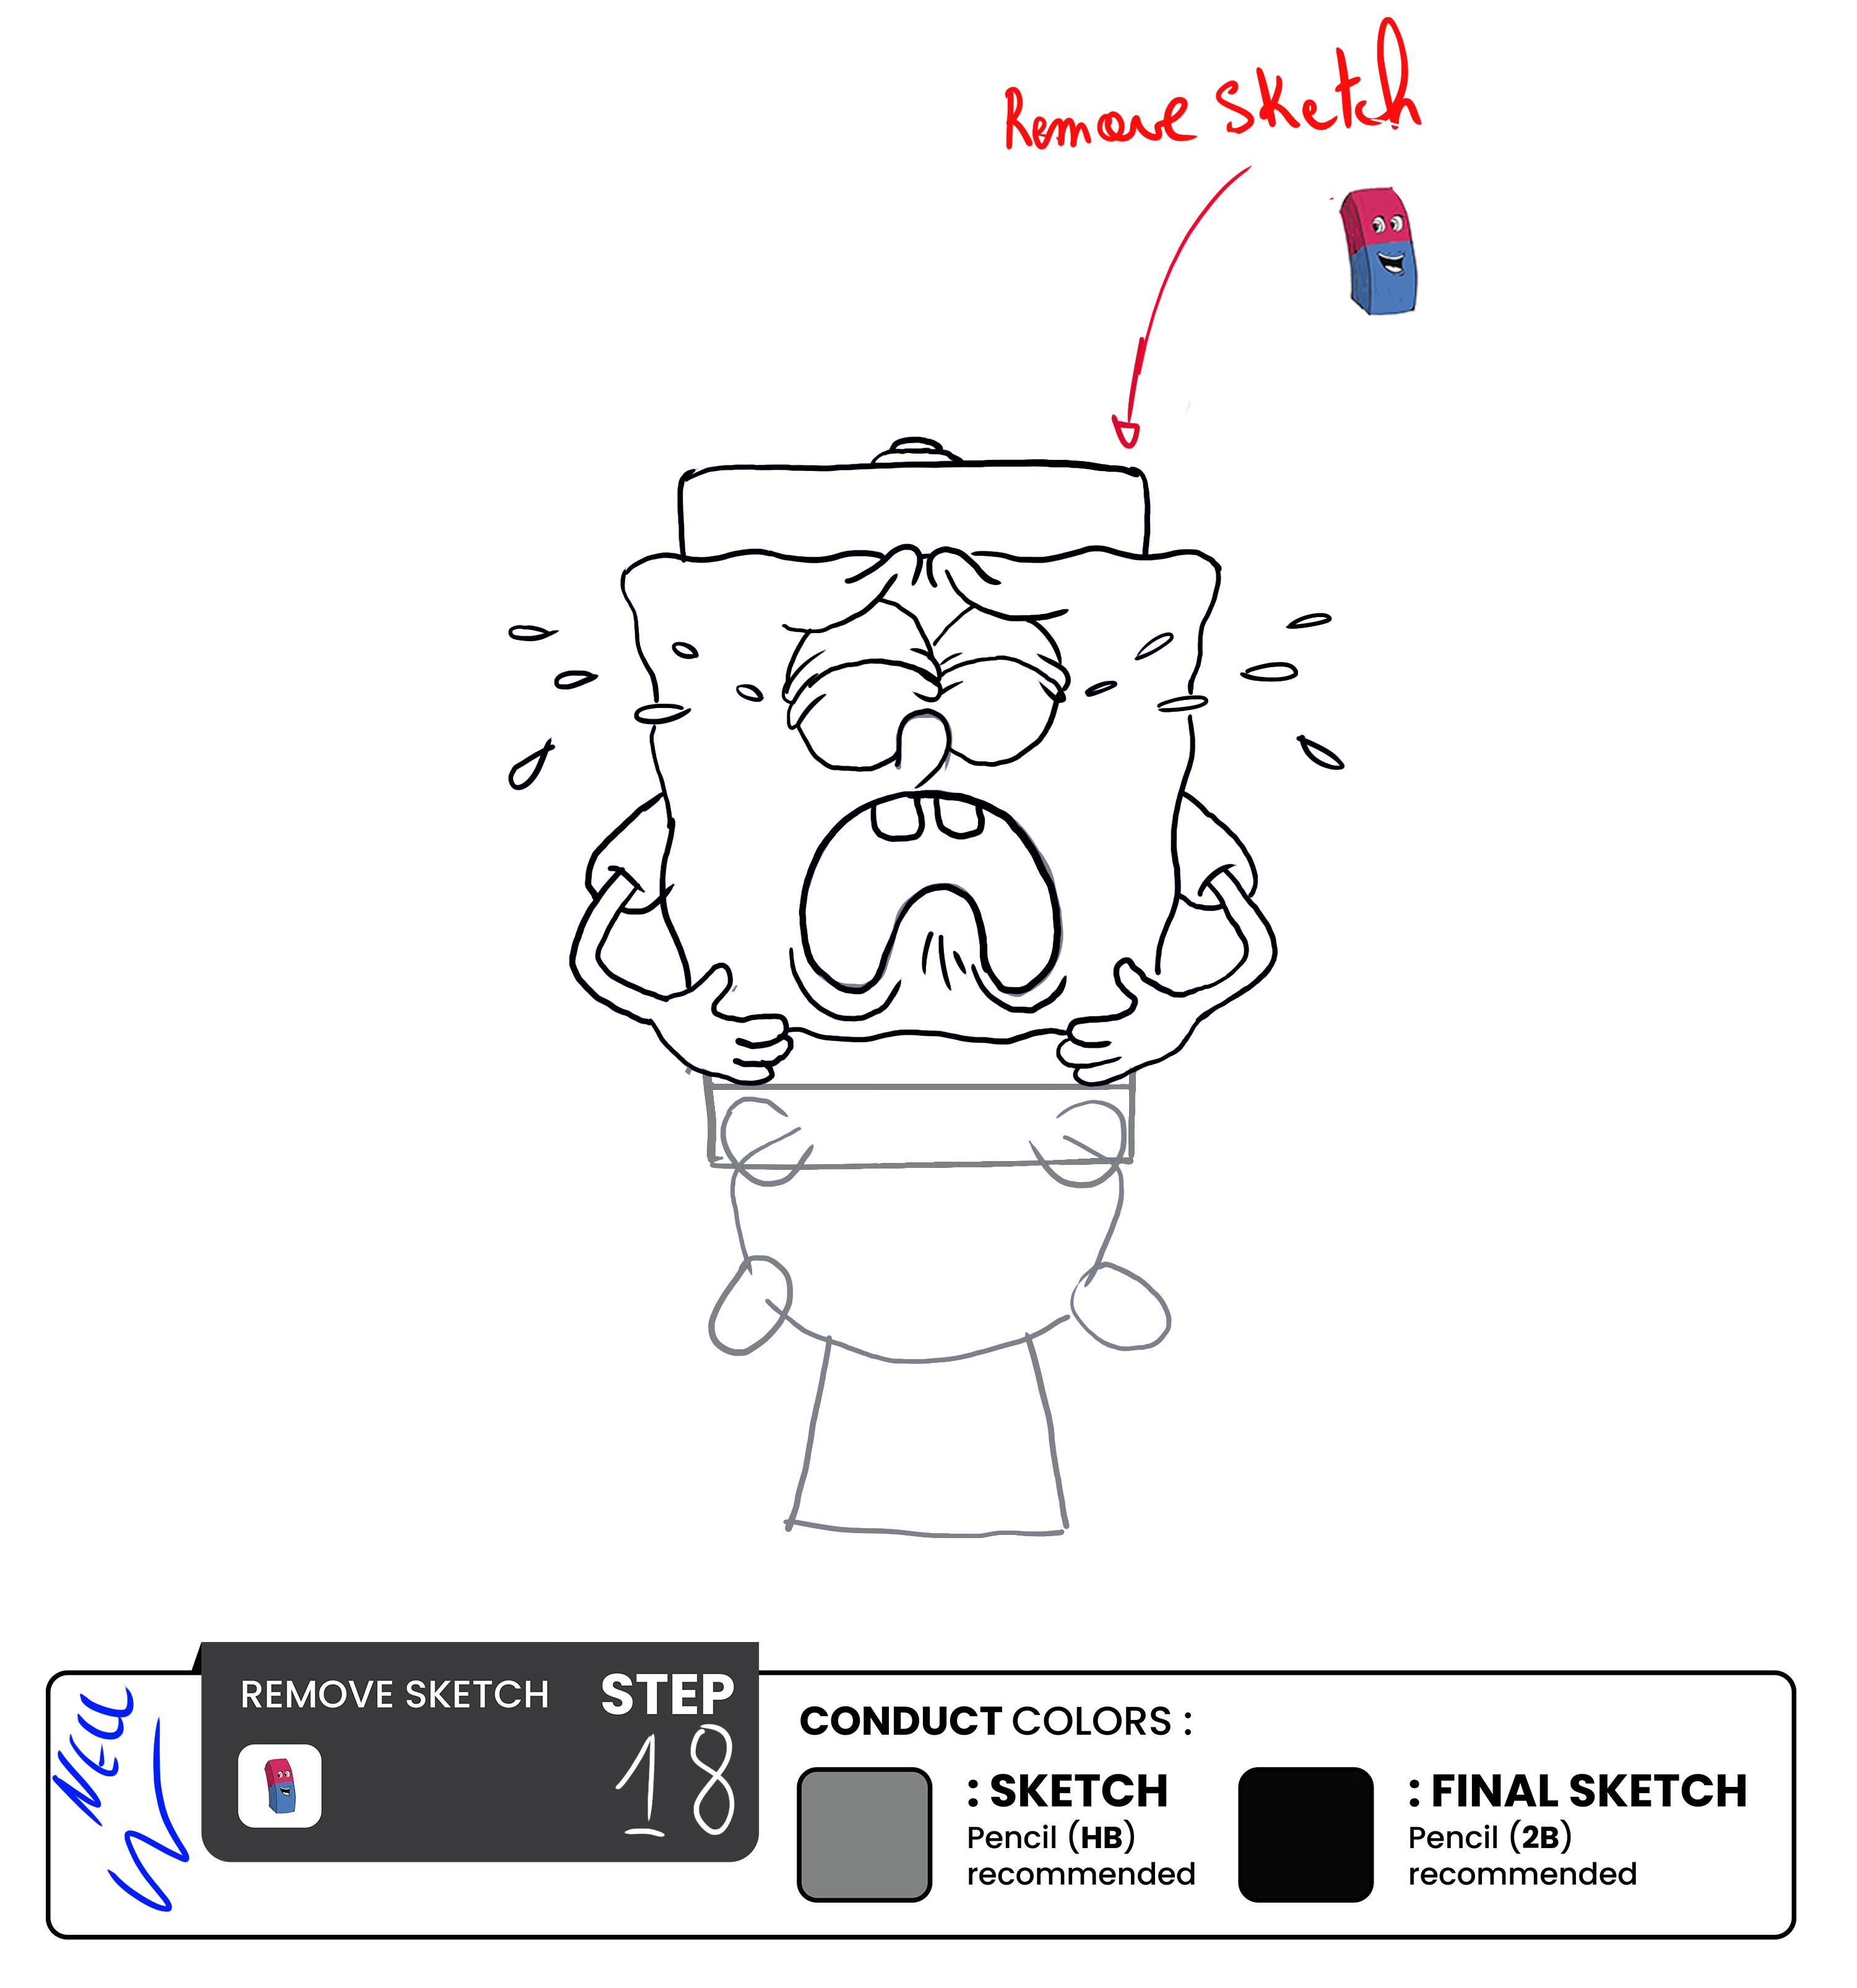
The next step is adding the flush tank and the commode bowl. The commode bowl is just a semicircle at the base of the toilet seat. The tank is supposed to be a square with rounded edges drawn behind SpongeBob.
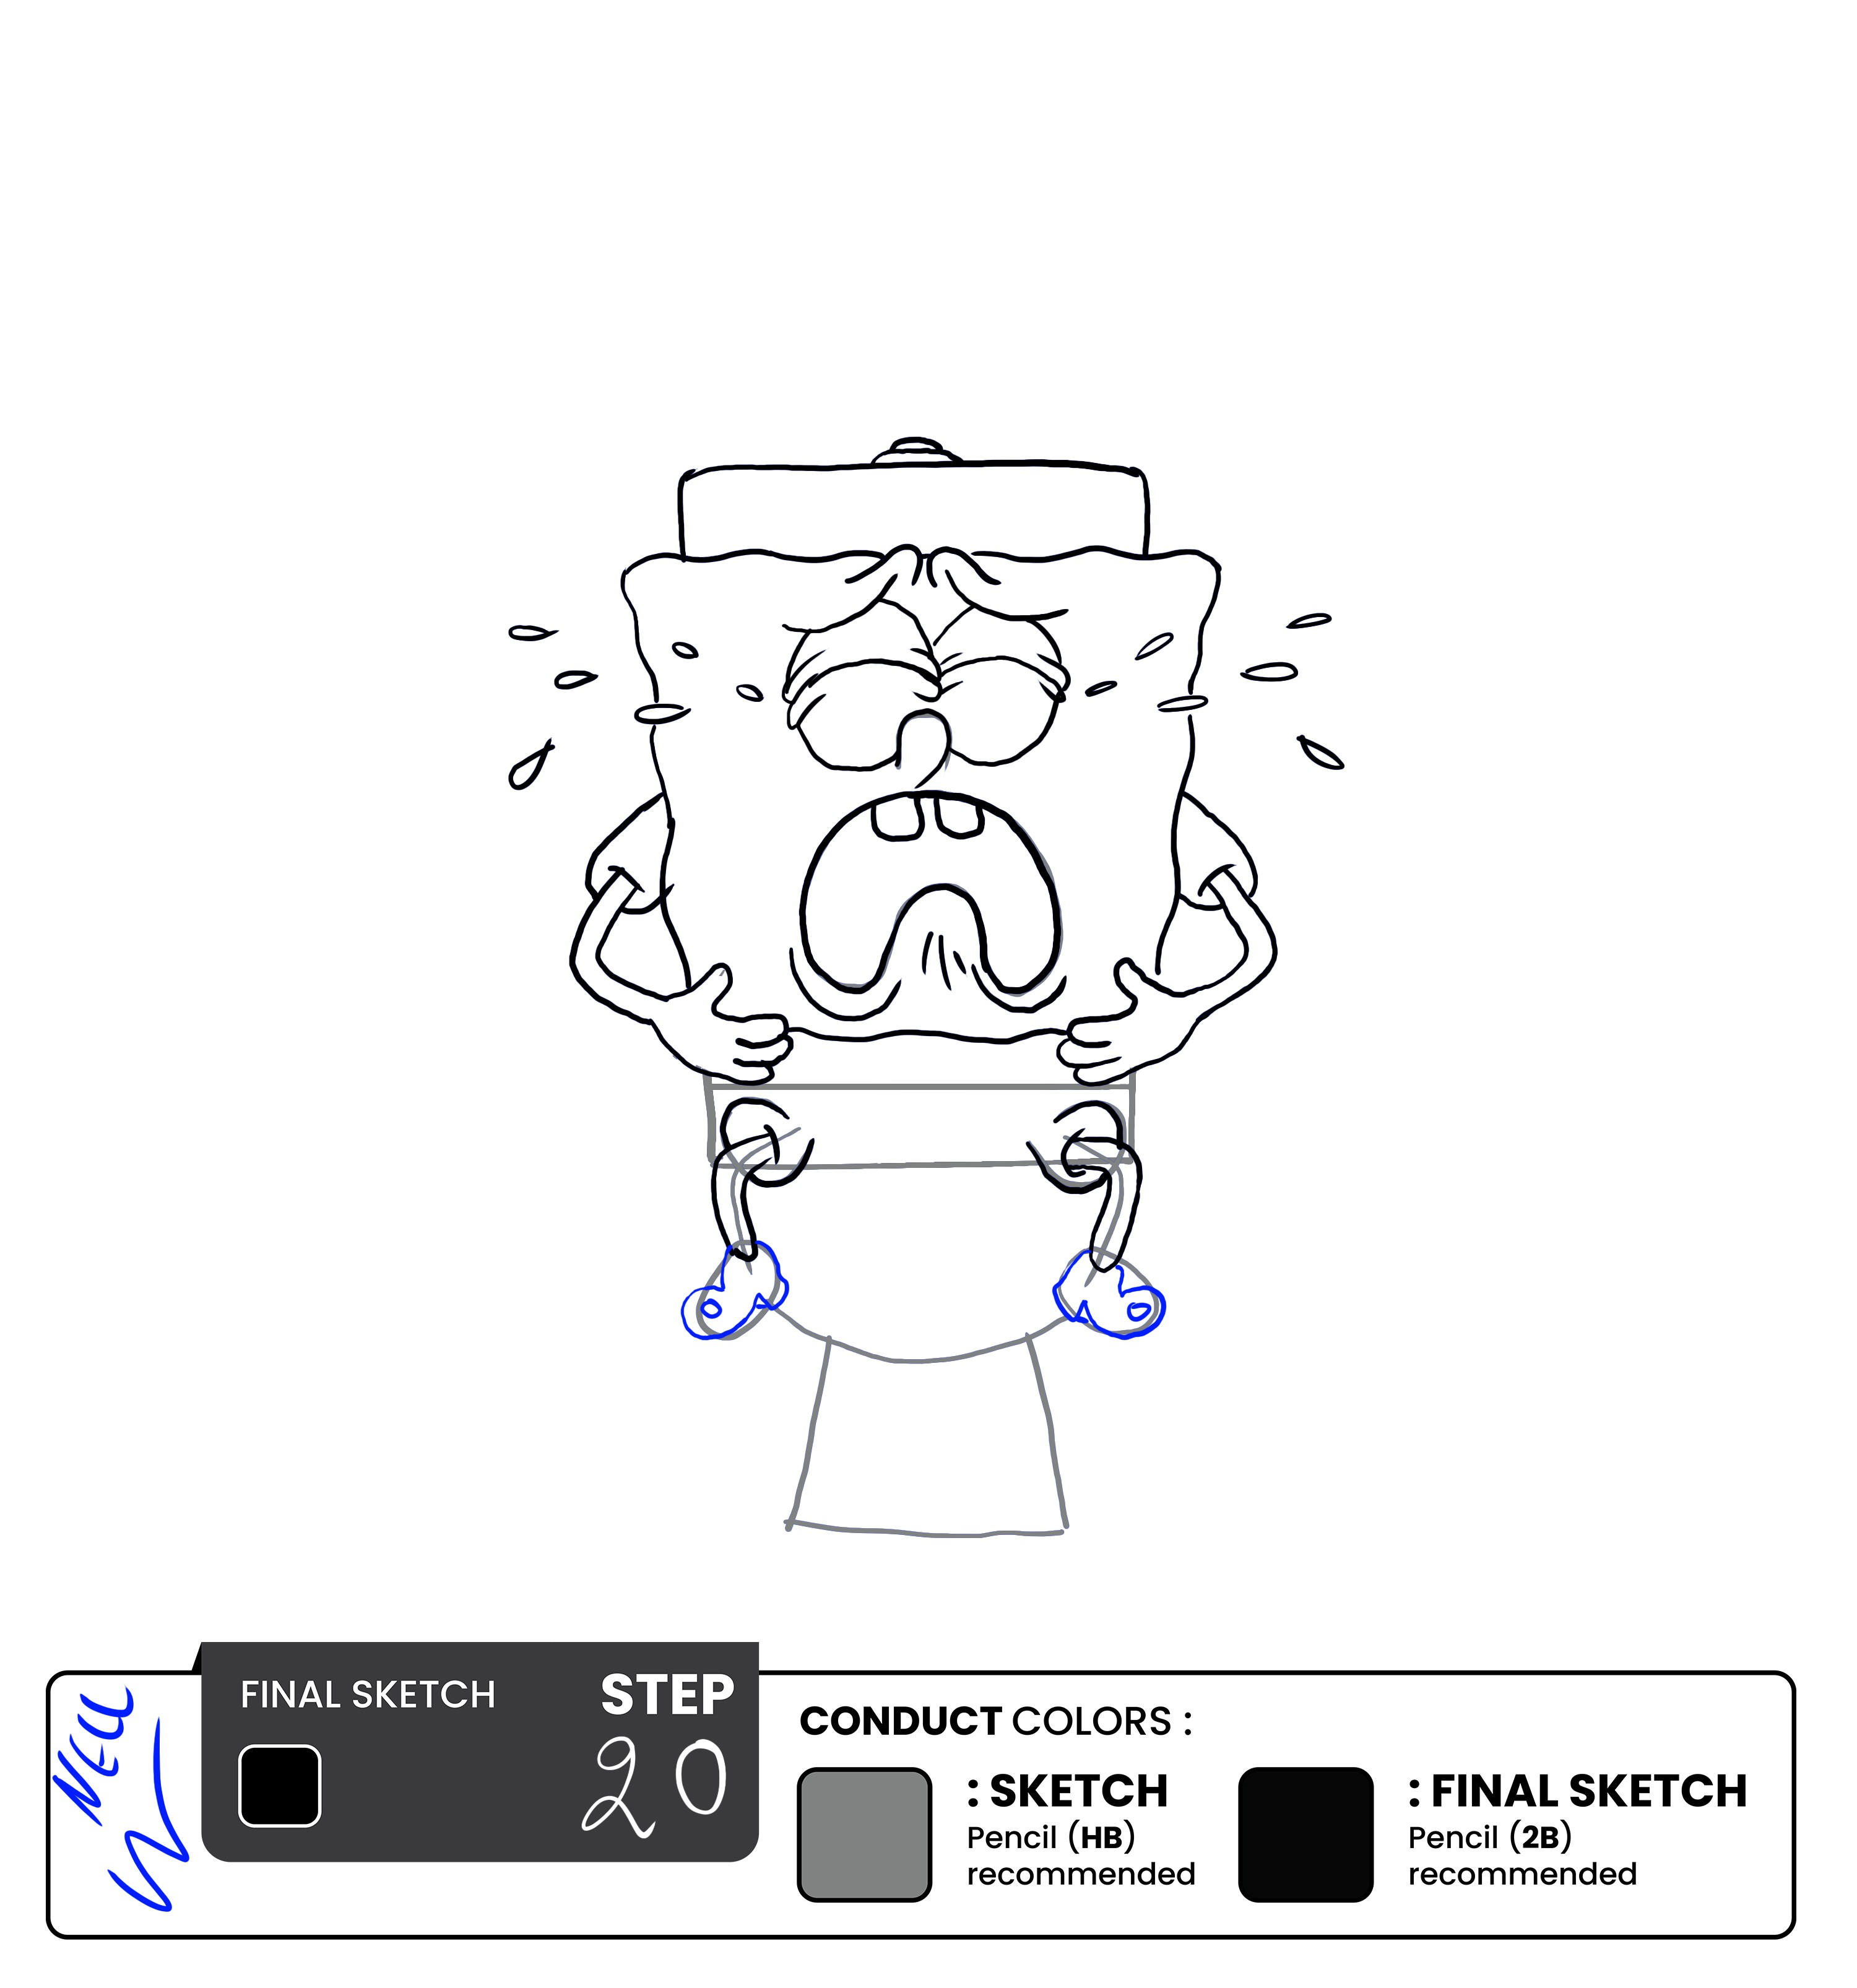
Step 19: Draw the Upper Part of the Pants

Detail out the legs of SpongeBob by double lining outside the guidelines and towards the bottom of the legs, add socks.
Step 20– Draw the shoes, then Remove the Sketch
Draw the shoes for SpongeBob. They are typical round-toed shoes with a classic shine. Don’t forget to add that shine by drawing a small circle at the tip of the shoe. Once that’s set, grab an eraser and clean off the sketch lines.
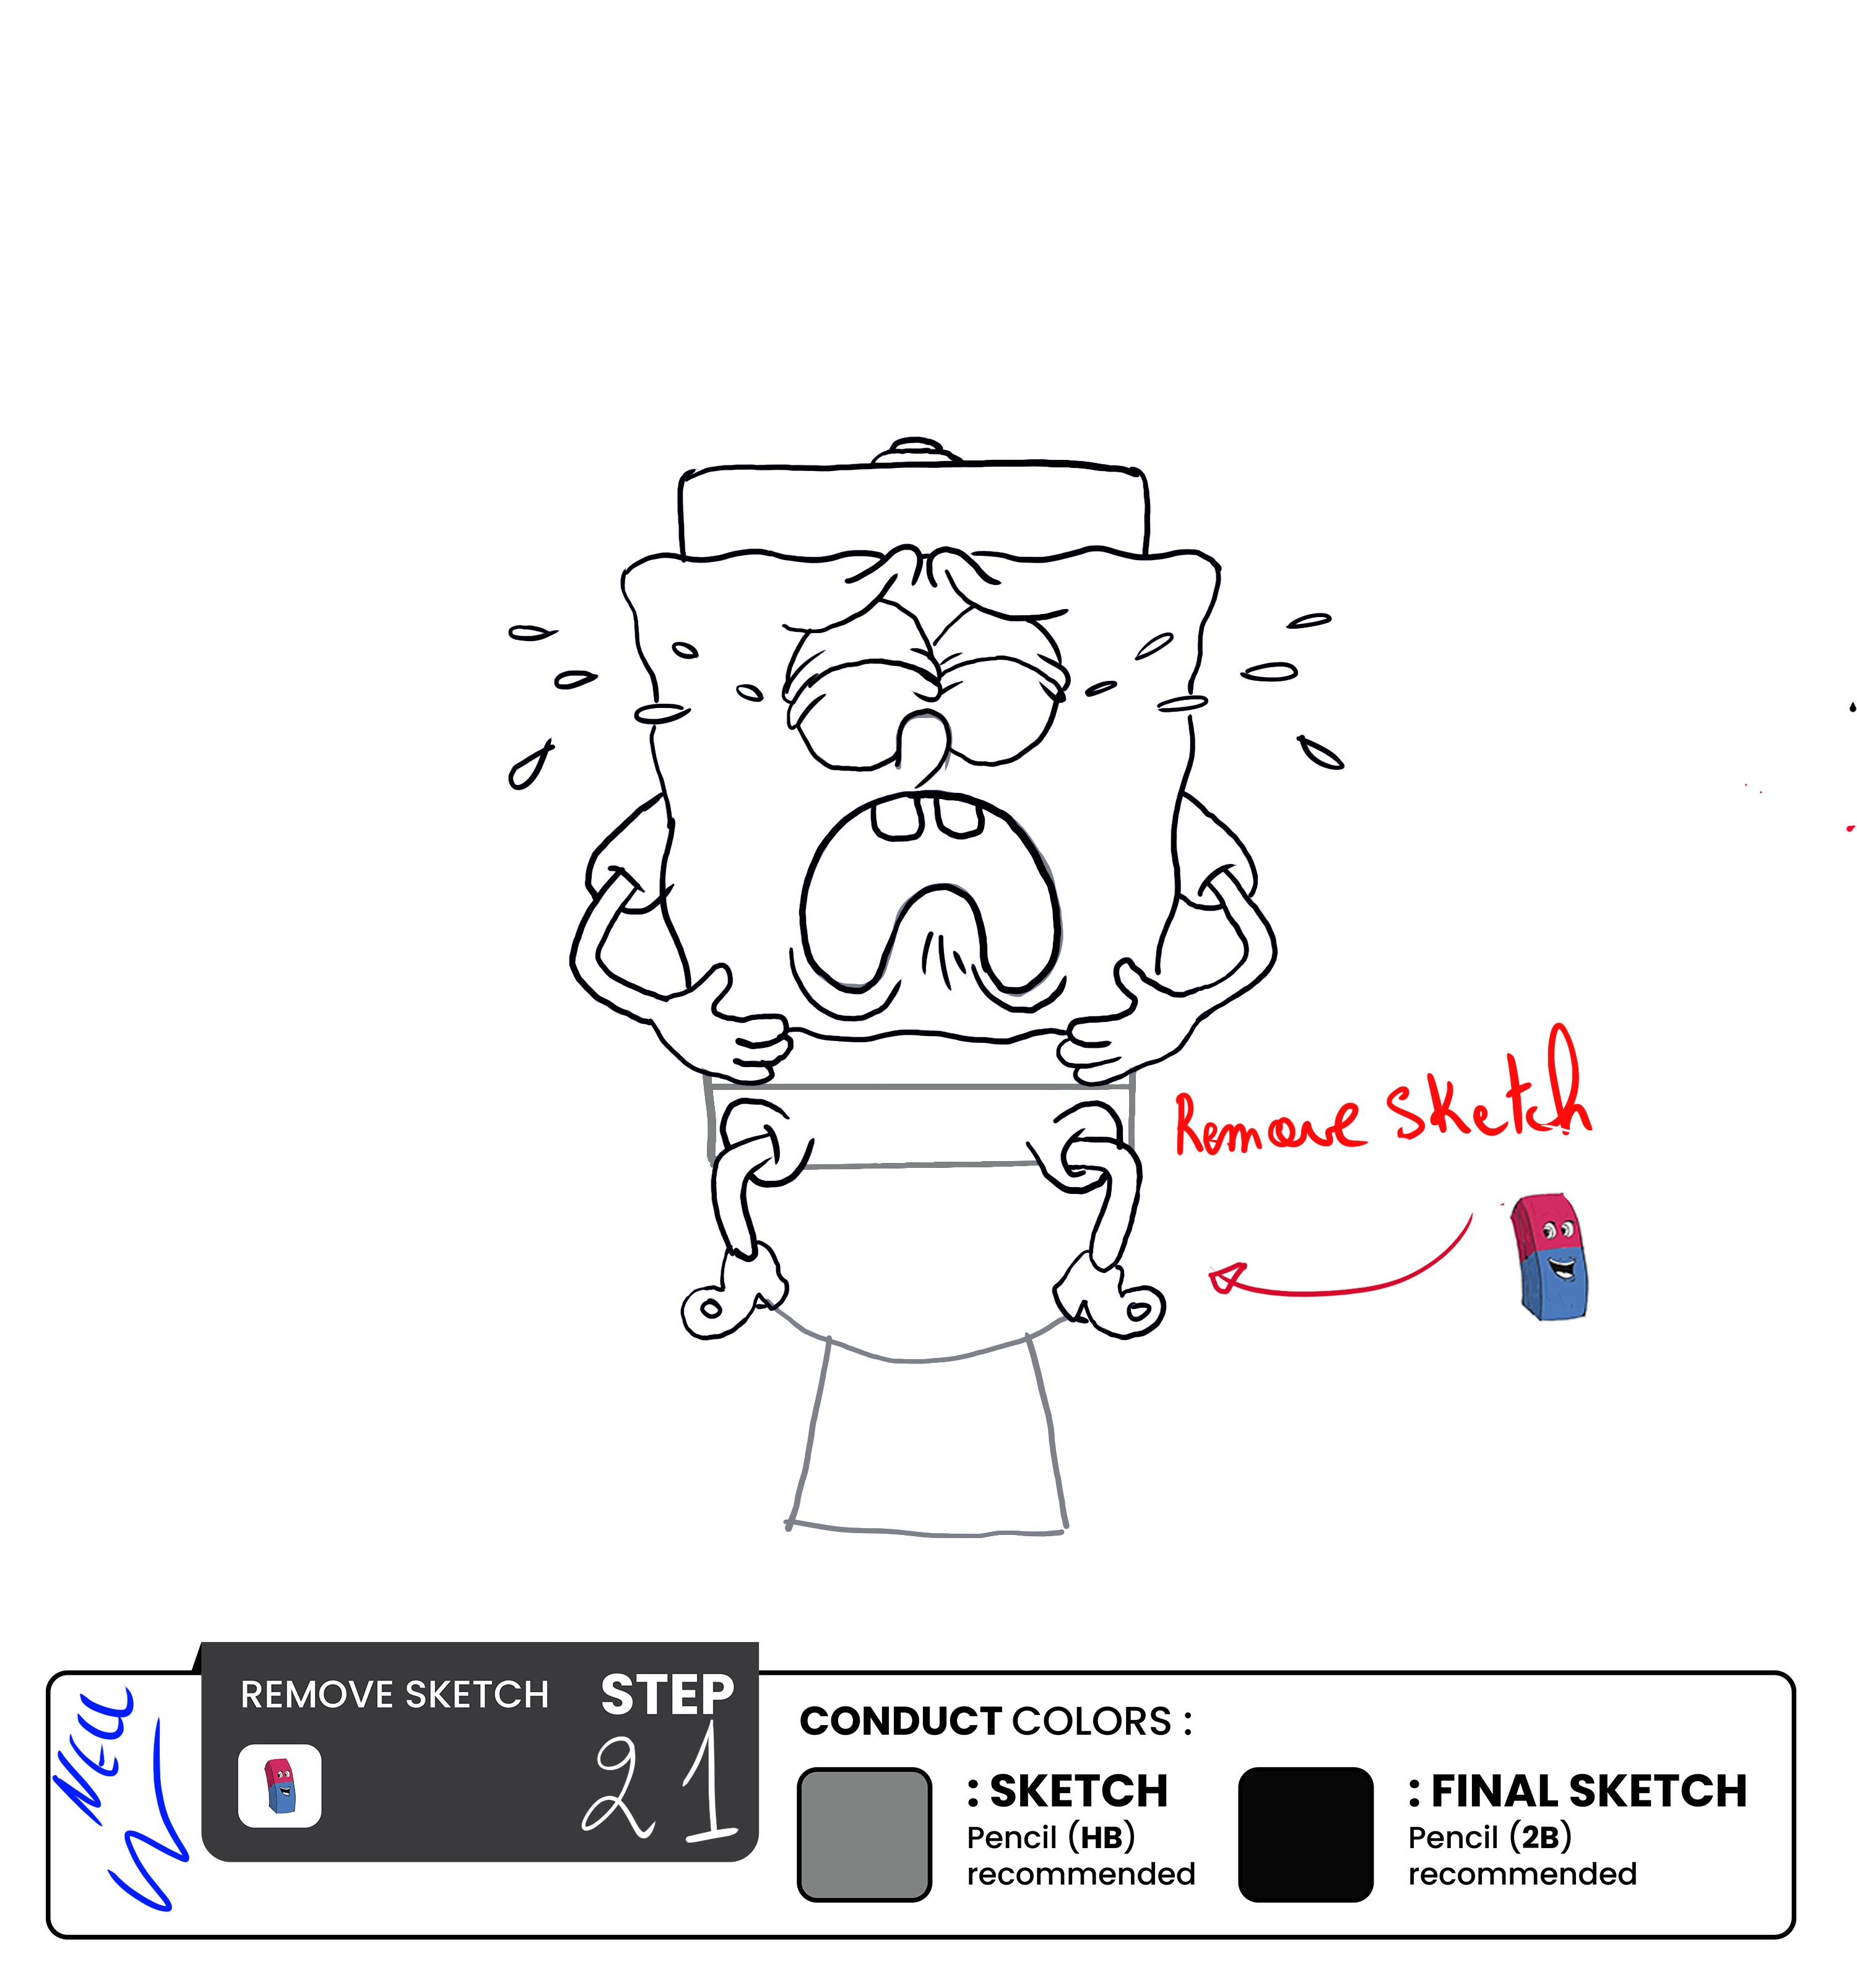
Steps 22 & 23- Add the details of clothes

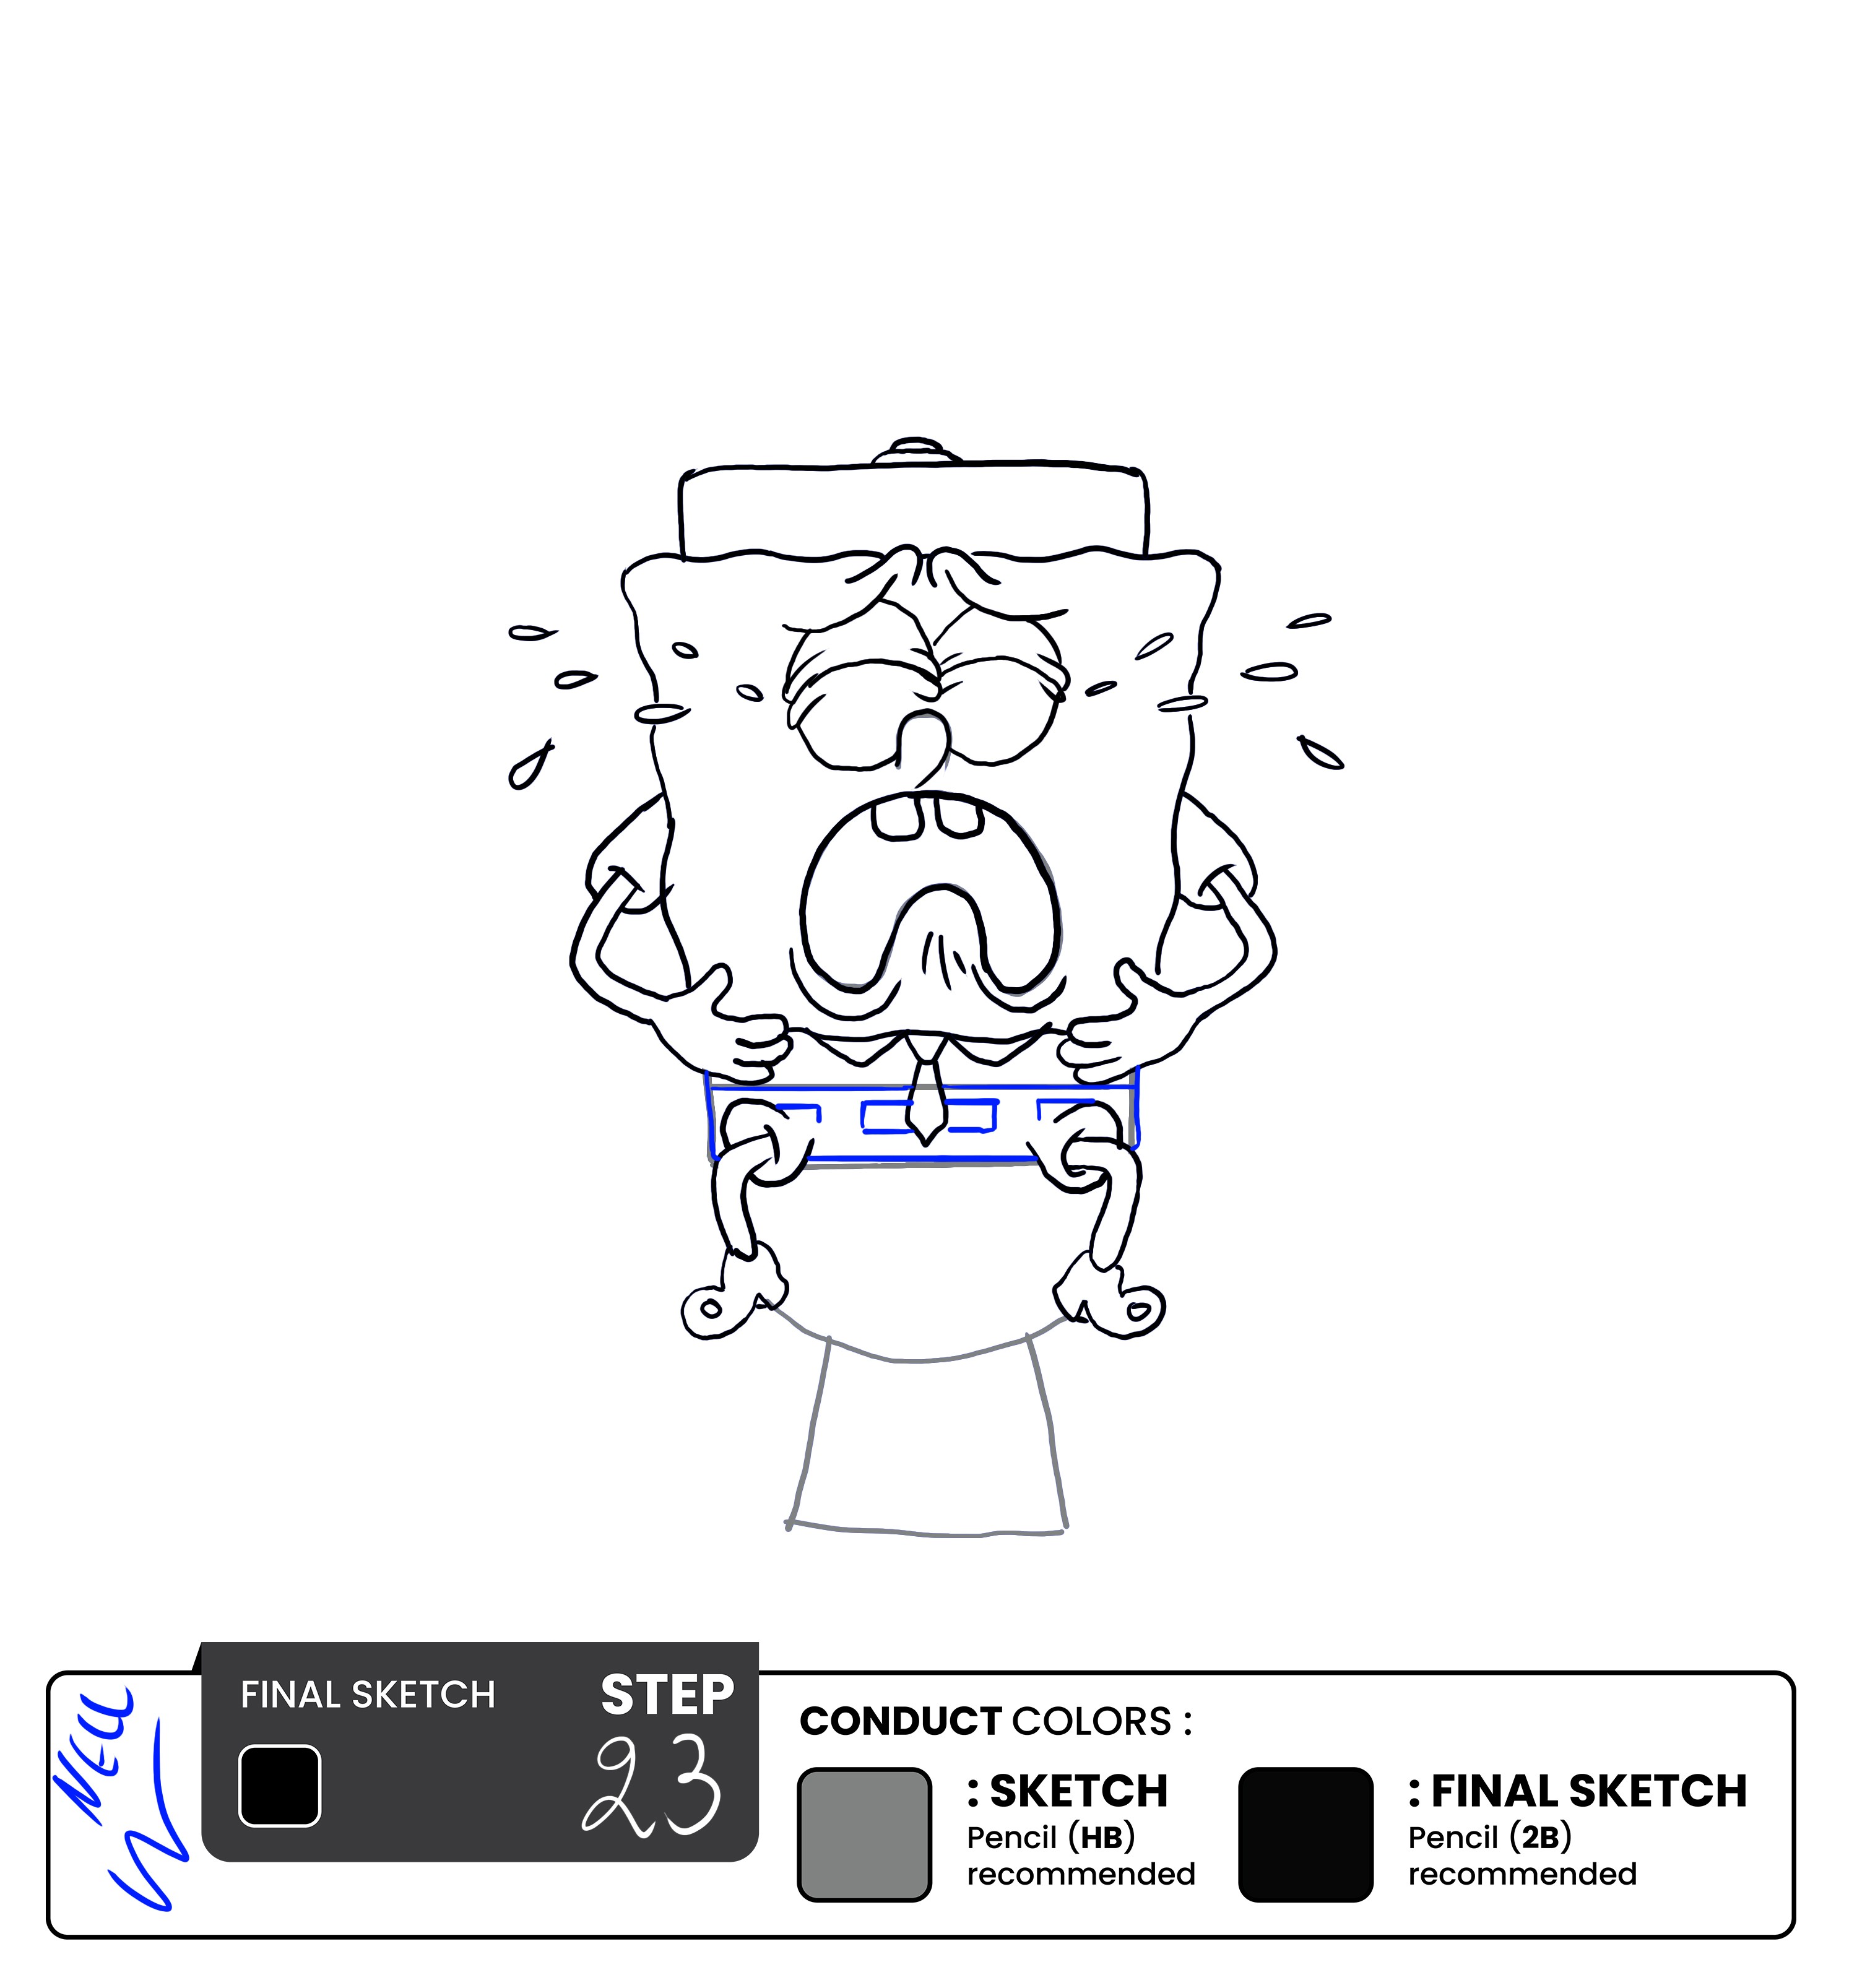
Next, add details of SpongeBob's clothing to the bottom rectangle you drew earlier.
To make the collar and tie, make three inverted triangles – two to denote the collar and one for the top of the tie. As for the tie itself, draw a diamond shape to complete it. Don't forget to add the belt detail to the rectangle to depict the pants, and you are done with SpongeBob's clothes.
Steps 24 & 25 – Add the Toilet Seat, then Remove the Sketch Guidelines
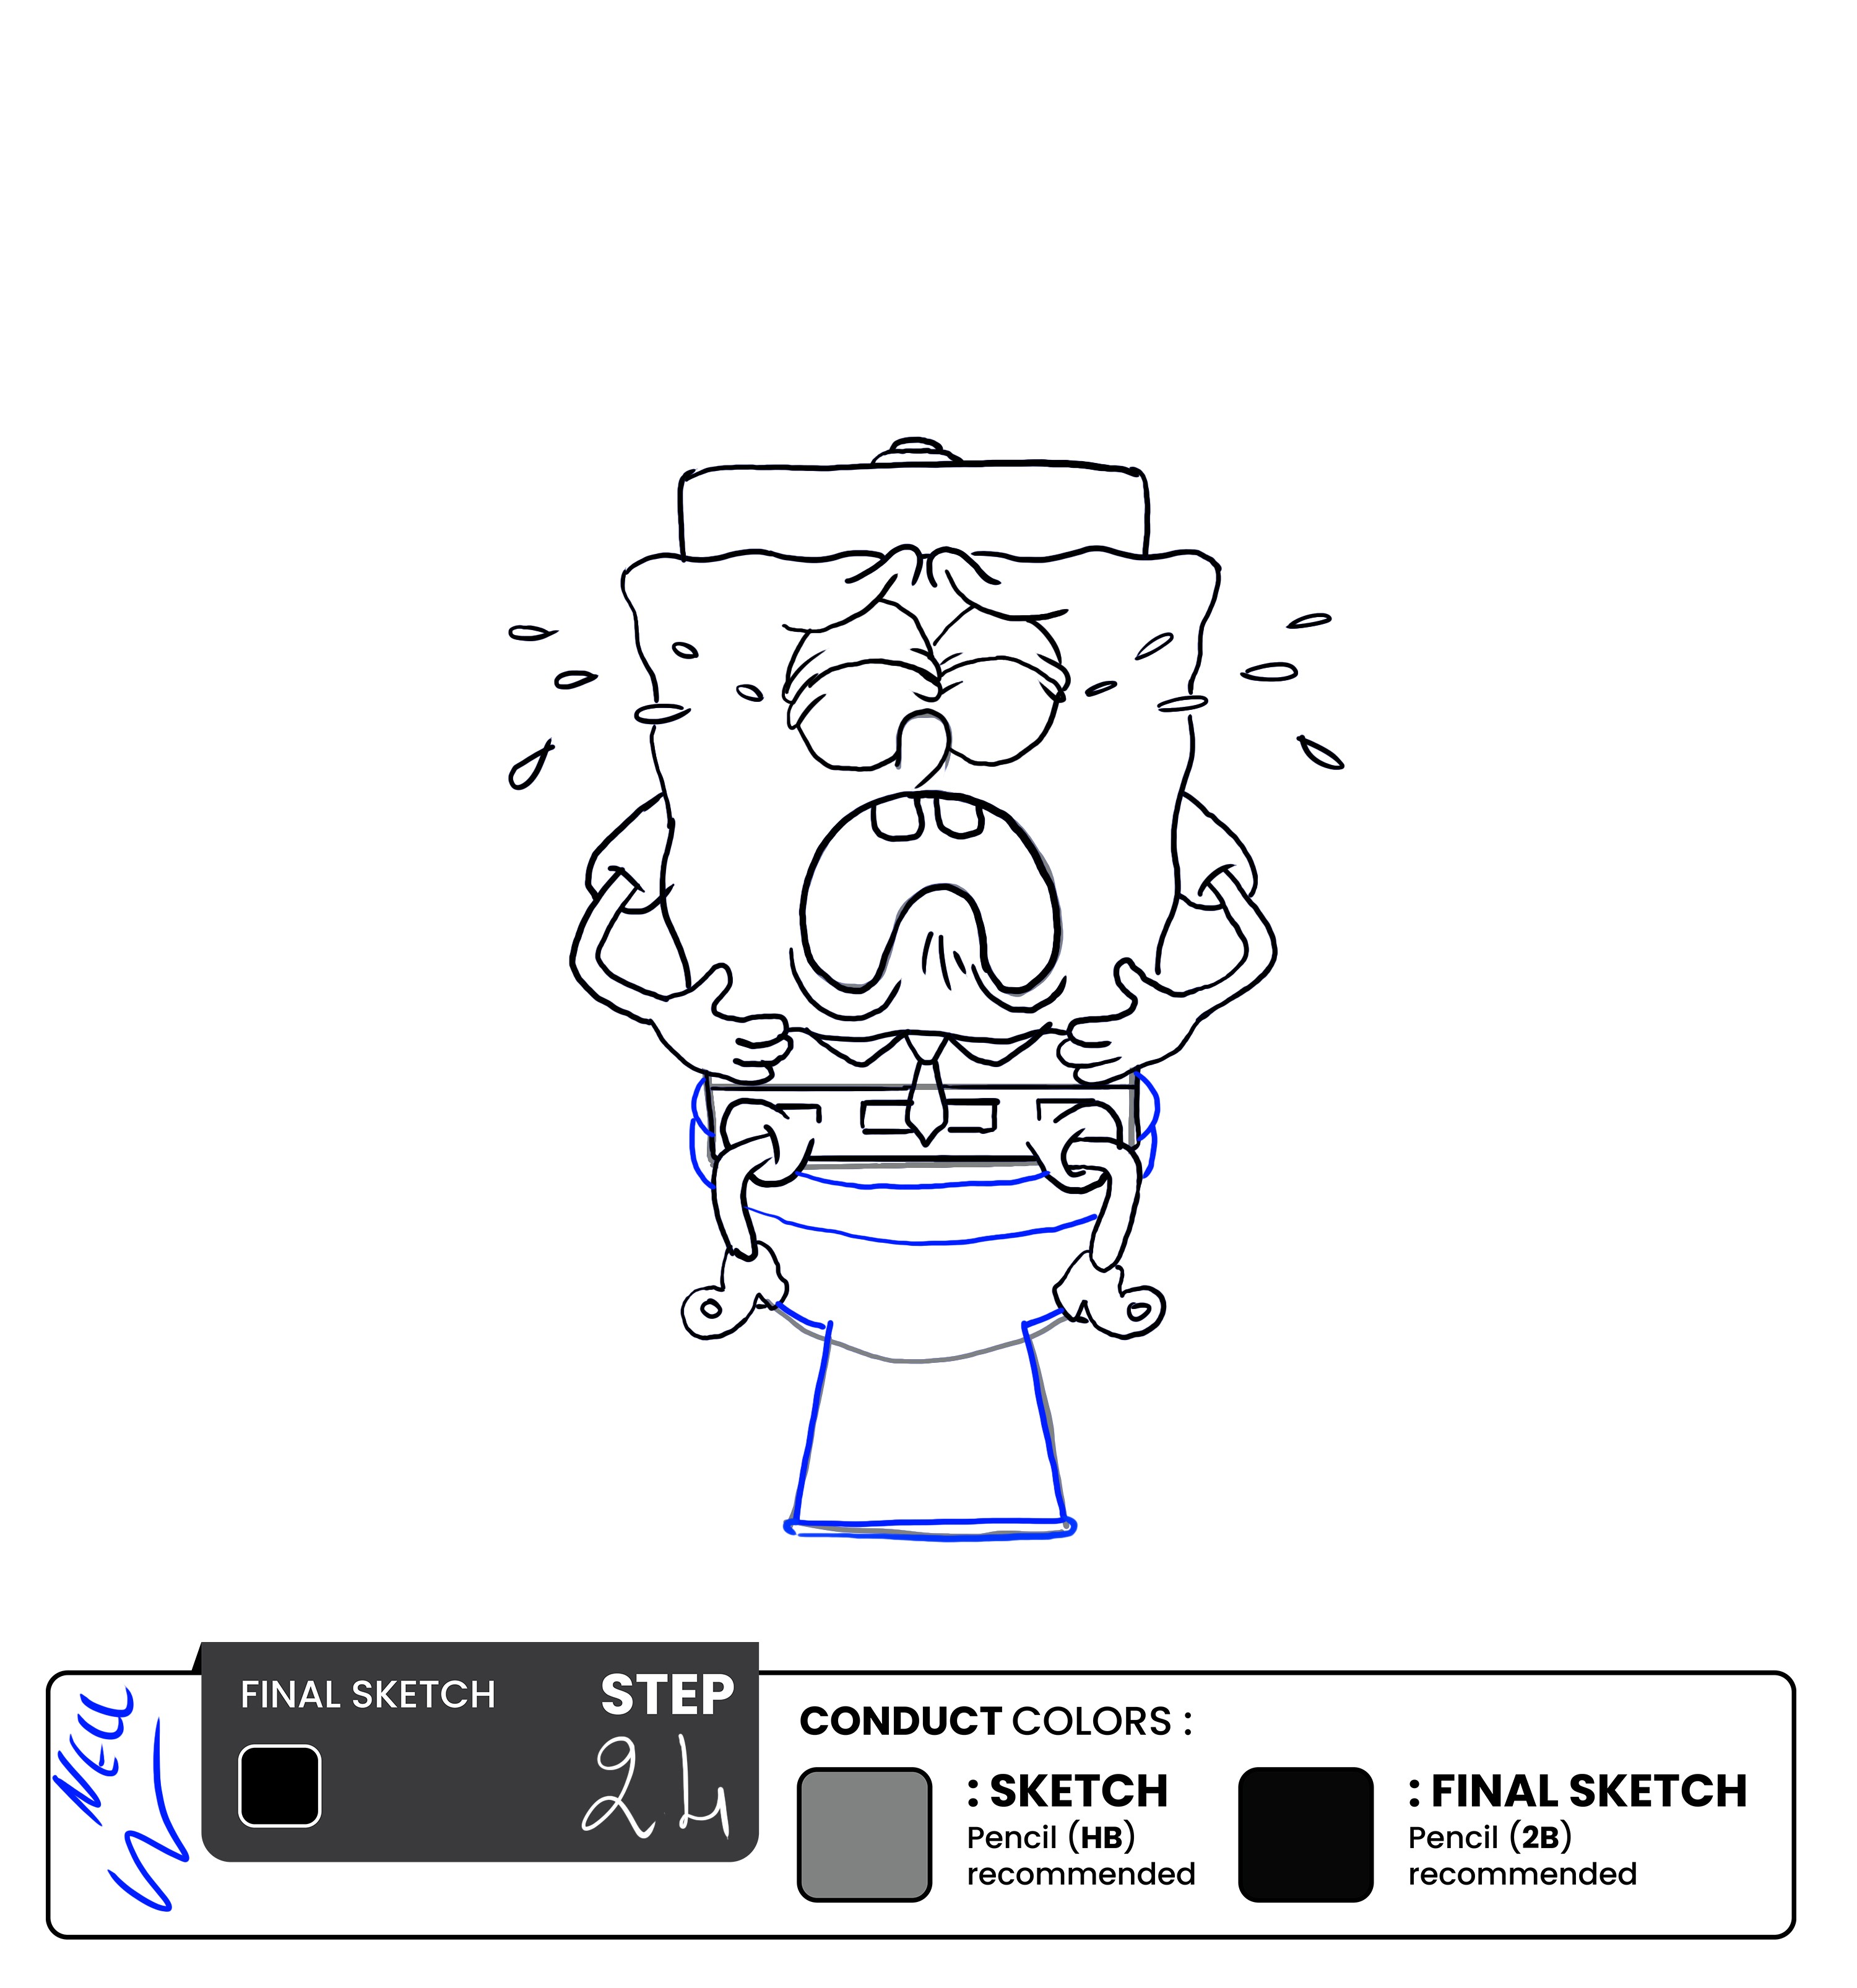
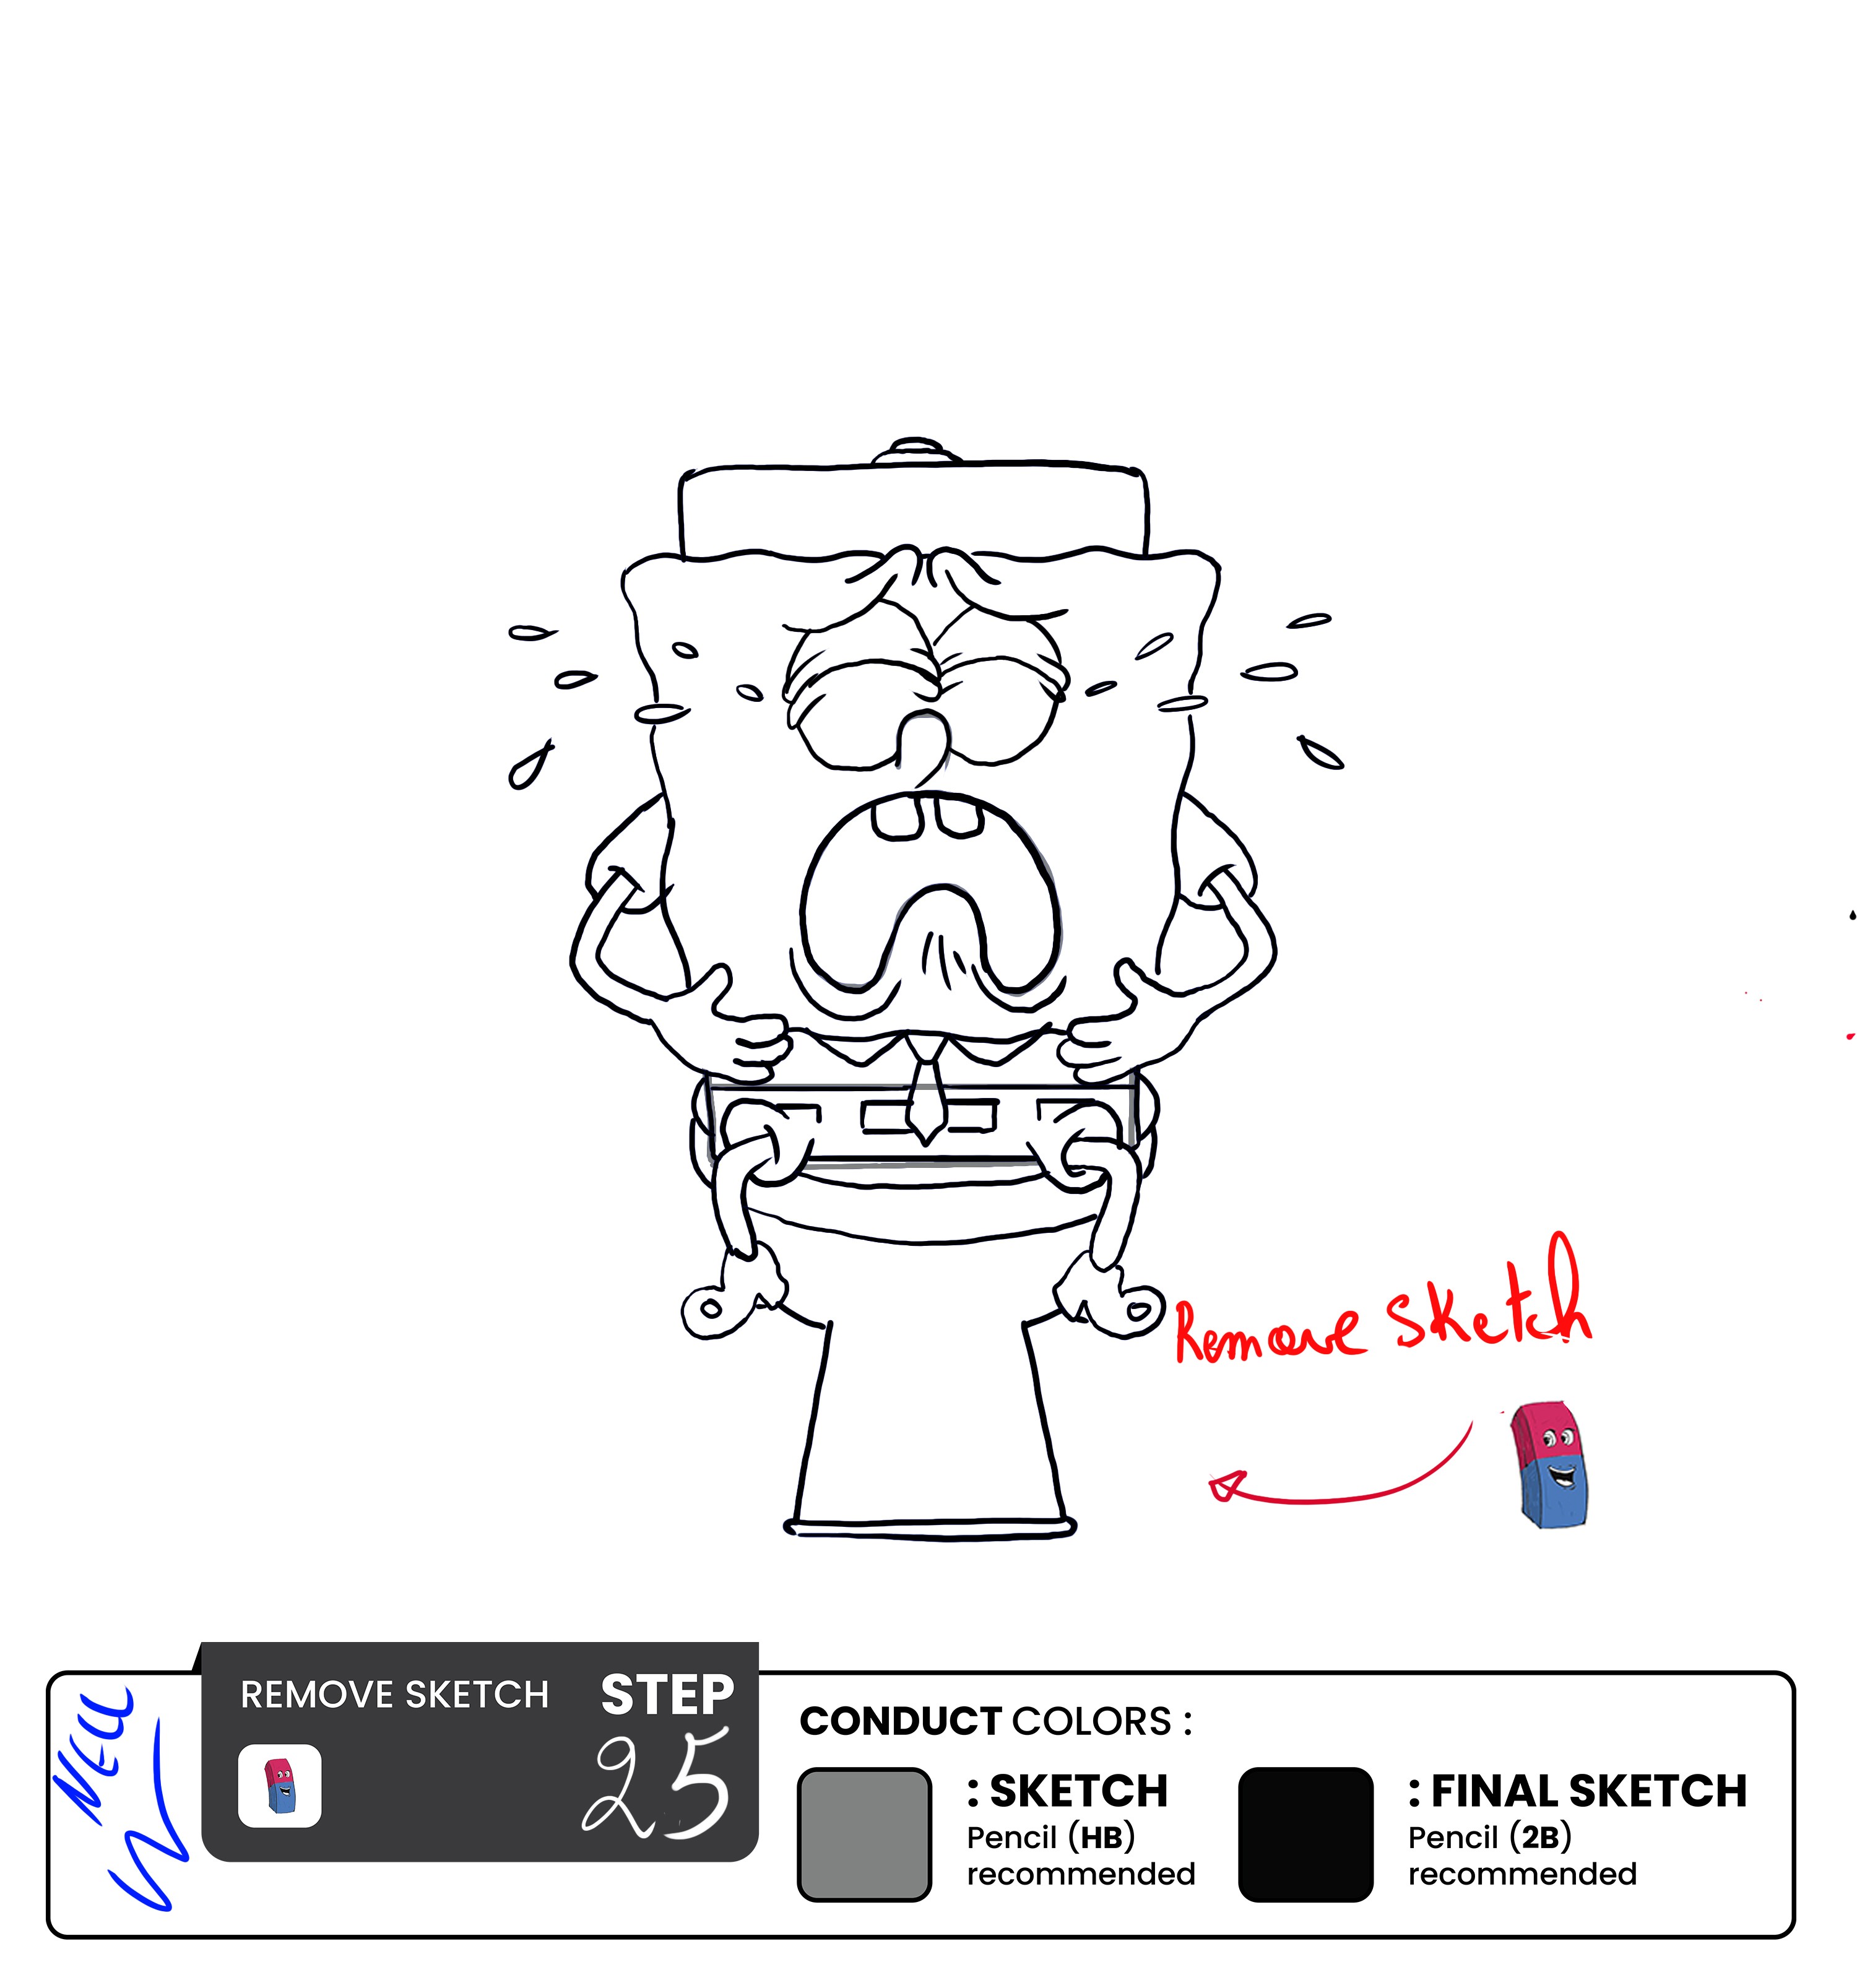
Add the toilet seat to the top of the triangle. It is a sideways oval with a bit of depth given to it by double lining it as the base. Once that’s done, connect the upper part with the lower one, then remove the sketch lines that helped you achieve the final result.
Congratulations, you have successfully finished drawing Sponge Bob on a WC crying!

To finalize your SpongeBob drawing, clean up any extra lines, go over the entire drawing, and rub out any guidelines or construction lines you may have missed. Be careful not to erase any important lines or details while you do so.
Once you have traced over all of the lines, erase any remaining pencil marks. Then, step back and assess your drawing for any inconsistencies. If you notice anything, correct them, and you are done!
Final Word!
Drawing SpongeBob in WC crying may seem like a silly and irreverent exercise. But it actually holds a lot of value. It is a great way to flex your artistic skills and promotes empathy, understanding, and mental health awareness.
So why not grab a pencil and some paper and join the fun? Whether you're a die-hard SpongeBob fan or just looking for a fun and unique drawing challenge, creating your own version of SpongeBob on the toilet is a great way to express yourself and connect with others.
Remember, it's okay to struggle with everyday activities like using the toilet, and it's important to talk about our struggles and support one another.
Let Spongebob's tears remind us that we're all in this together. Laughter and creativity can help us find common ground and foster compassion and understanding.